

Join Hack Club Horizons! Ship your projects and fly to your first hackathon →
In this workshop, we'll be building a clicker game! By the end of this workshop, you'll have your own game like this one and learn more about React along the way.
Getting started
We'll be using Repl.it to write our code. Get started by opening the starter repl here, and pressing the 'Fork' button at the top of the screen. Then go ahead and hit 'Run', and you should see something like this. Don't worry if you see any warnings in the console - we'll fix that later.
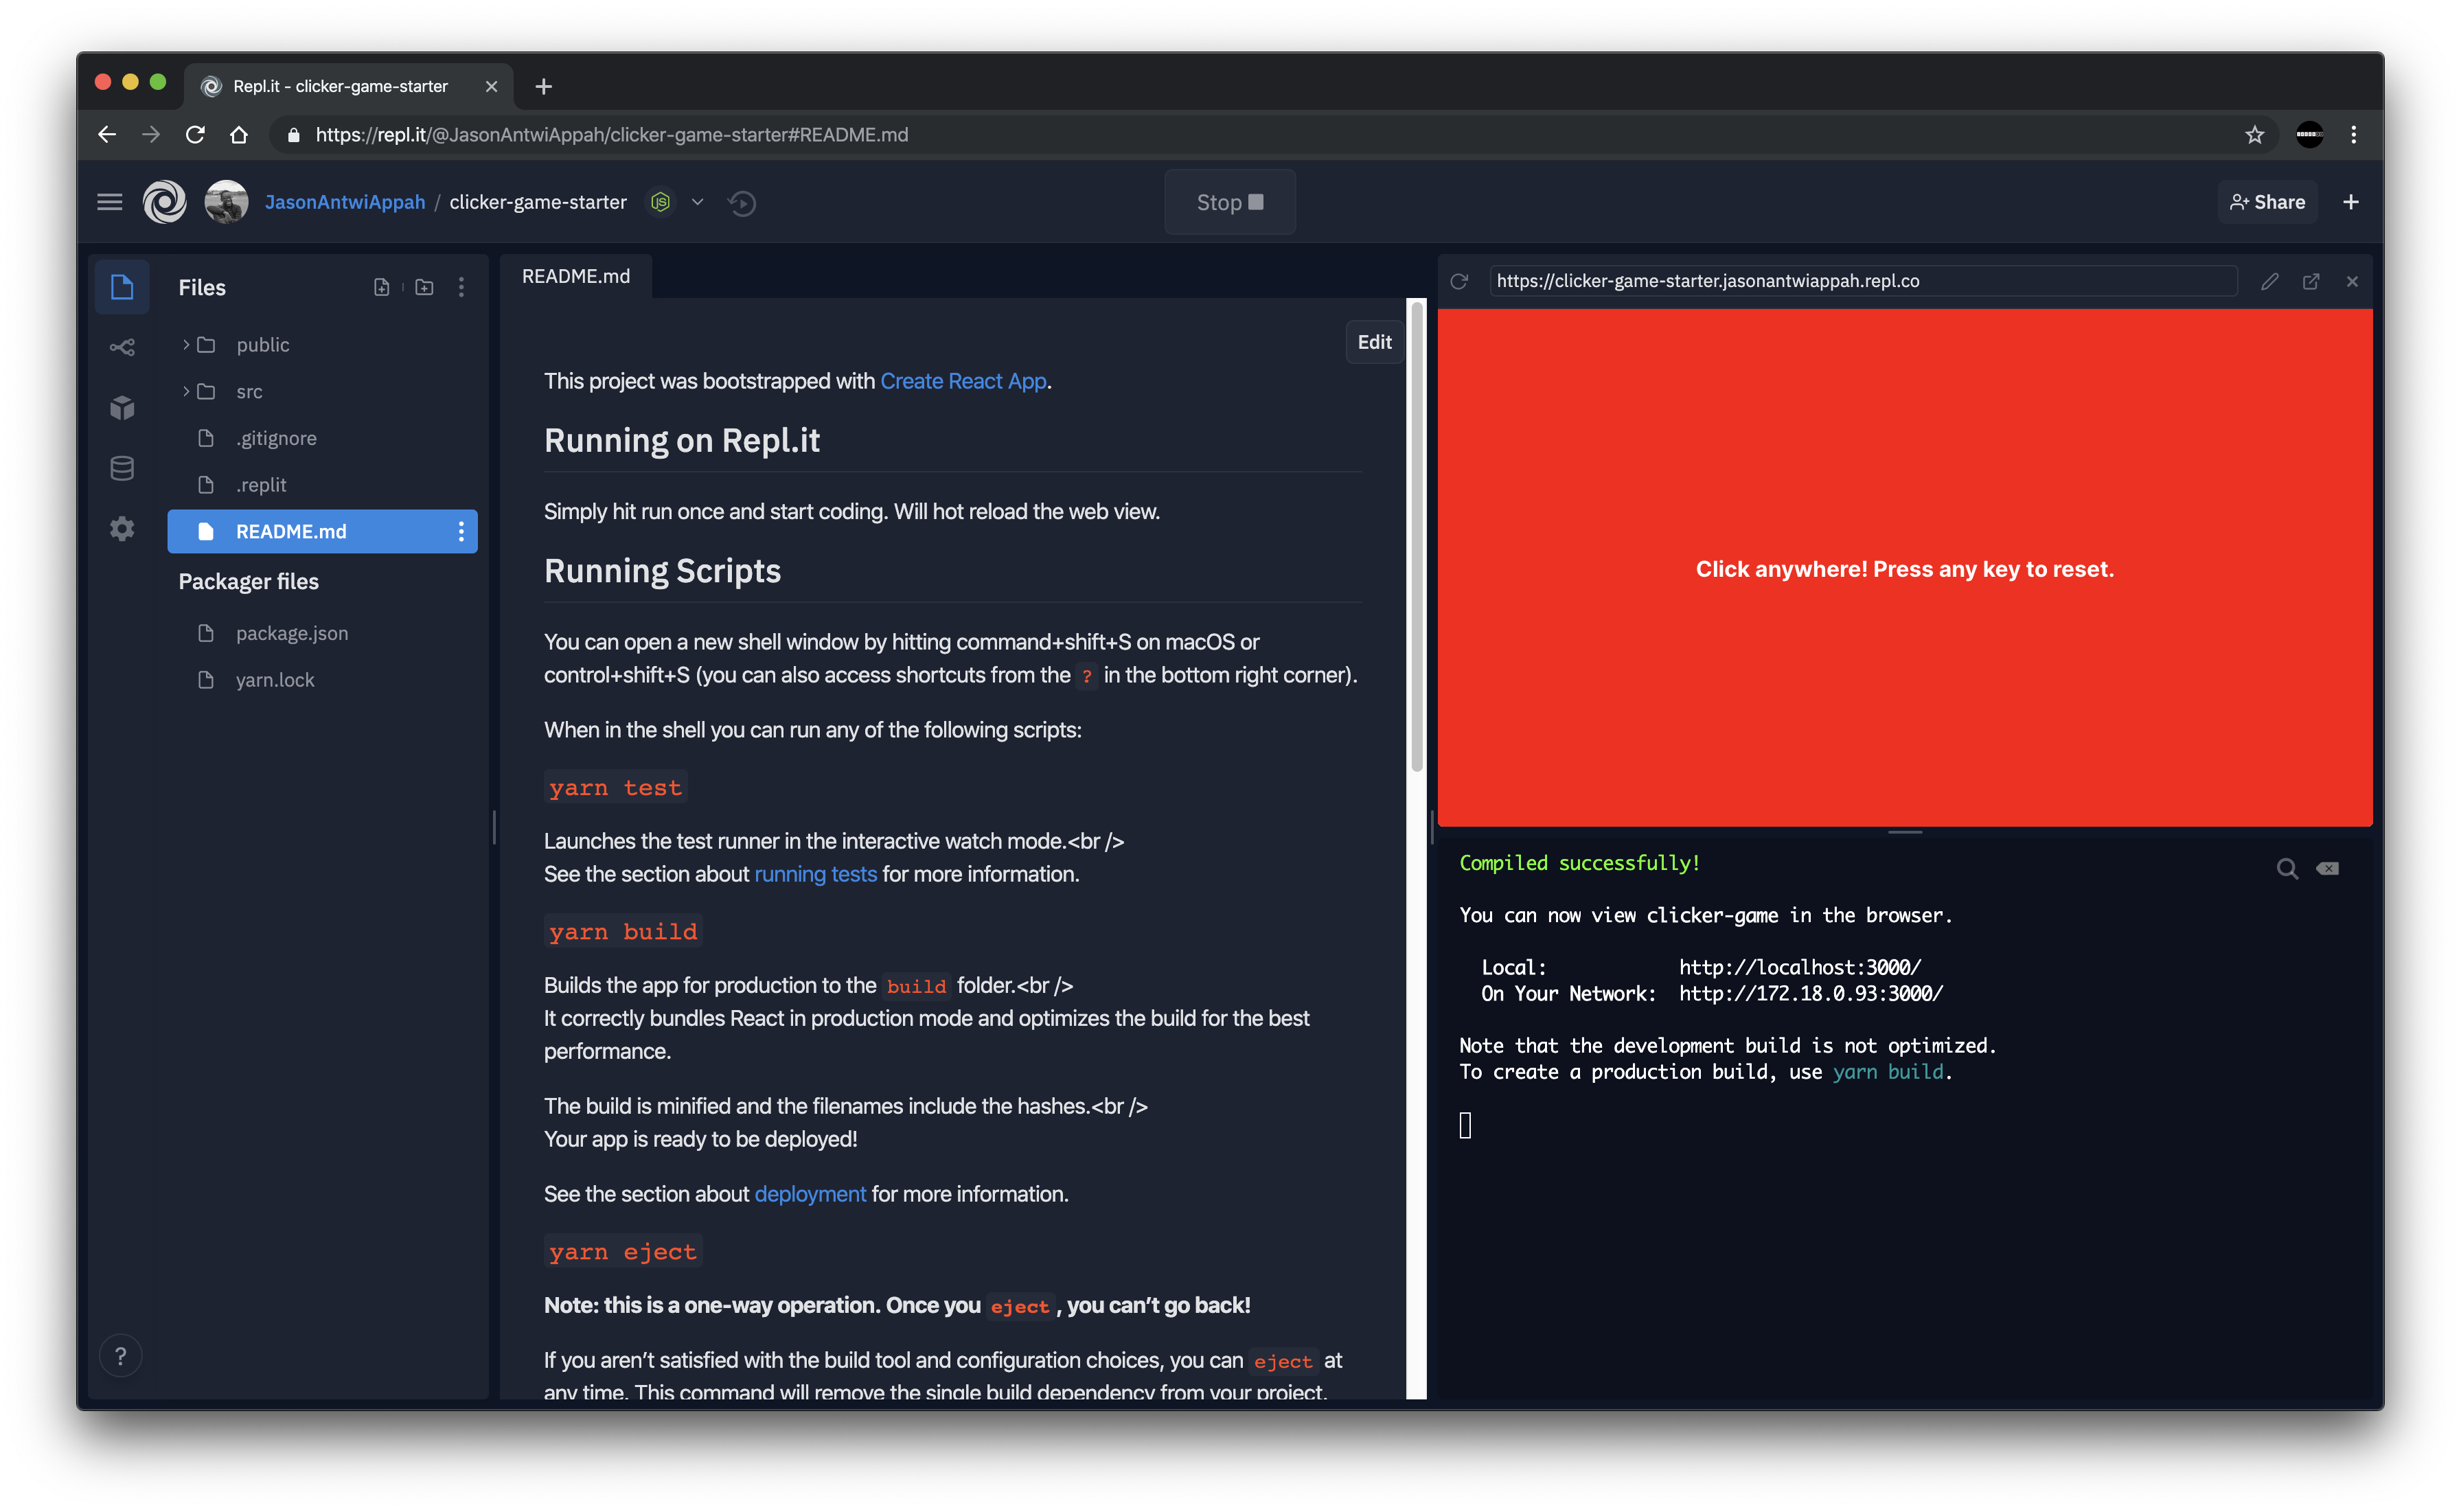
If you see a red screen with some white text in the center, you're good to go! Right now, the game doesn't really do a whole lot - if we click the screen or press any keys, nothing happens.
Moving on!
Now let's take a look at the files we already have.
- In the root of our repl, we have
package.jsonandyarn.lock- these 2 files list all the packages that our project needs to function, including React. - Next, the
publicfolder contains the HTML file we will be rendering our game in, favicons (the little icons at the top of each browser tab), and other files, but for now we won't need to poke in there. - Let's look at the files in
src.serviceWorker.jsgives us access to a service worker, which lets us use features like push notifications and offline support, but we can leave this file alone since we won't be using any of those features in this workshop. If you want to learn more about service workers, check out this link from Google's Web Fundamentals site. App.cssandindex.cssare CSS files - there, we can change the styling of the pages. Most of our styling is inApp.css.- Then, we have
App.js. This is where the magic really happens - here is where we'll be building our game. - Finally, we have
index.js. This is where all the pieces come together to render our game in the HTML file.
Let's hop into App.js. In the end, we need to be able to count many times the screen gets clicked, see how many points we have accumulated, and be able to reset our points by pressing on our keyboard. To keep track of the clicks, let's make a count variable and add an onClick handler to the main <div> element, like so:
function App() {
    // variable to keep track of our click count
    var count = 0;
    return (
        <div onClick={() => {
            count++ // uses the increment operator to increase our count variable by one
            console.log(count) // prints the current count to the browser console
        }} className="App">
            <h4>Click anywhere to add to your count! Press any key to reset.</h4>
        </div>
    );
}
Now let's test what we've done so far. Open your application in a new tab, right-click on the screen, and hit inspect element, then click Console. Now, you should be able to see the count variable get printed to our console every time we click on the screen!
We're making progress - but now we need to figure out how to get the variable to show up on the page. Let's add an <h1> element to show our number. Insert this line right above your <h4> tag:
<h1>Number here</h1>
Now we have our <h1> tag, so all we need to do is put the count variable inside the tags, like this!
<h1>{count}</h1>
Now, when we test, everything should work... or not? Try it out and see what happens.
As you can see, the variable is still being increased every time we click, which we can tell because we can see the updated count being printed to the console. But, for some reason, the page isn't updating. Why is that? Well, we have to explicitly tell React to re-render a certain component when we want to update it - otherwise, it'll stay the same as it was from the initial render when we first load the page. How do we do that? That's where the React useState() hook comes in.
useState() is a function that returns 2 things: a variable and a function. The variable acts like a regular variable and can be set to any value, but to edit the variable, you have to use the function. When you use the function to edit the variable, it also re-renders the component - so the variable will be updated everywhere in the component where the variable is used. Here's a quick example of how useState() works.
const [variable, setVariable] = useState("value")
console.log(variable) // prints "value"
setVariable("different value")
console.log(variable) // prints "different value"
It's totally fine if that didn't make any sense. Let's look at another example before we use this hook in our code. If you want, you can run this example in your repl - just make sure to undo the changes when you're done.
Another example of a React Hook
// In addition to importing React, we also need to import useState.
// Without doing this, our game won't be able to use useState at all!
import React, { useState } from 'react';
import './App.css';

// Here, we are creating a component.
function App() {
    // This defines a state variable named bgColor and sets it to green.
    // It also defines the setColor function, which we can use to edit the bgColor variable.
    const [bgColor, setColor] = useState("green")

    console.log(bgColor) // prints "green" to the console

    return (
        <div className="App">
            {/* This is an <h1> element that uses our state variable, bgColor to set its background color. */}
            <h1 style={{ backgroundColor: bgColor }}>This is some text.</h1>

            {/* Using the setColor function, we can change the bgColor variable to blue,
                which will re-render this component and update any elements that use it - including our <h1> tag.
                When we console.log this time, it will print blue.
                If the button gets clicked again, the component will re-render,
                but the <h1> tag will have the same color because we are setting the bgColor to blue again.
             */}

            <button onClick={() => {
                setColor("blue")
                console.log(bgColor)
            }}>Change Color to Blue!</button>
        </div>
    )

}

export default App;
Now let's try this in our own code!
At the beginning of our App() component, before the return statement, replace this...
var count = 0;
with this:
const [count, setCount] = useState(0)
This new line initializes a variable named count and sets its initial value to 0, and gives us a function named setCount() that we can use to edit count and re-render the component. Now, let's edit the onClick handler in the <div> to use our setCount() function, like this:
<div onClick={() => {
    setCount(count+1)
    console.log(count)
}} className="App">
Now let's see if everything works!
That's cool, but what about when we want to reset? Sure, we could just refresh the page, but that's not very elegant. Let's use the keyboard to reset count to 0, by adding this line of code before our return statement.
document.addEventListener("keydown", () => {setCount(0)}, false);
Basically, this will use our setCount function to set count to 0 every time the browser detects that a key has been pressed. Let's be sure everything works!
If you run your repl now, you should see it working as intended!
Anddd... we're done!
Yay! Everything works! Here are some ideas you could use to change up your game:
- Change the background color every time you click, or when you reach a certain score (hint: look at the example component to get started!)
- Add sounds every time you click (check out the
use-soundhook here, and take a look at this example) - Create a click per second (CPS) calculator
- Edit
App.cssto completely change the styling and give your game a theme, like this cookie clicker game?