

Join Hack Club Horizons! Ship your projects and fly to your first hackathon →
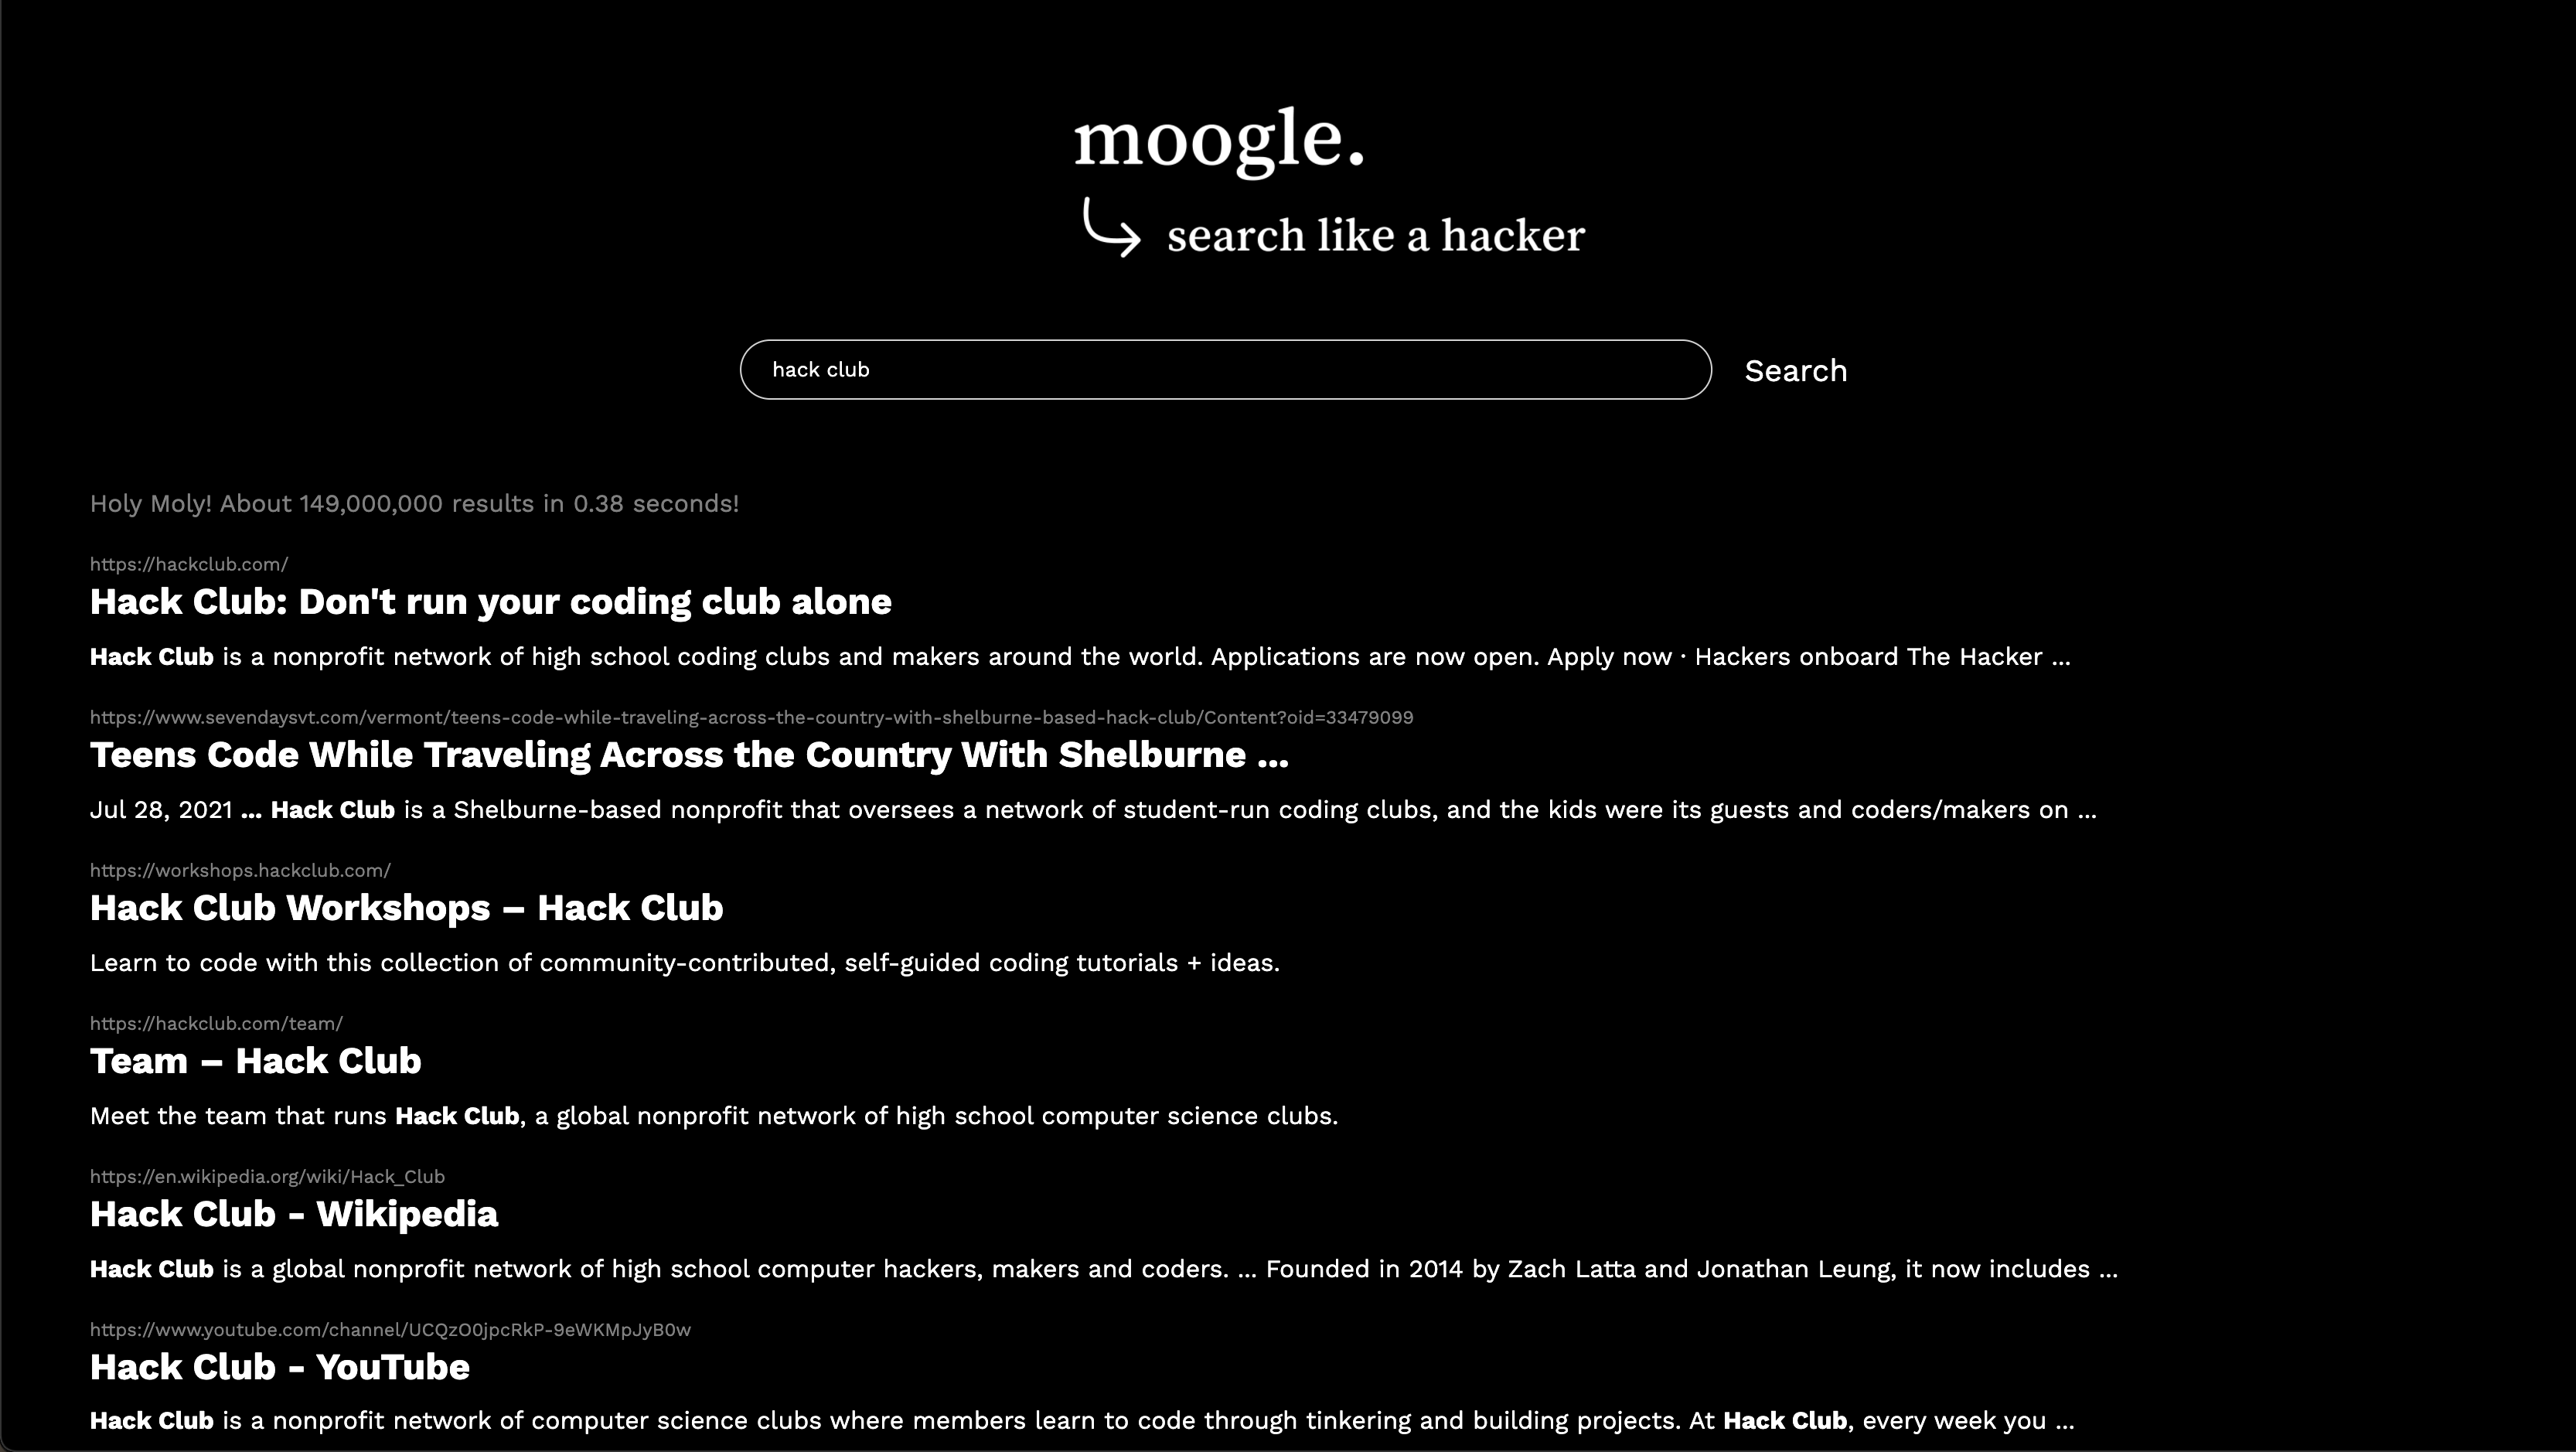
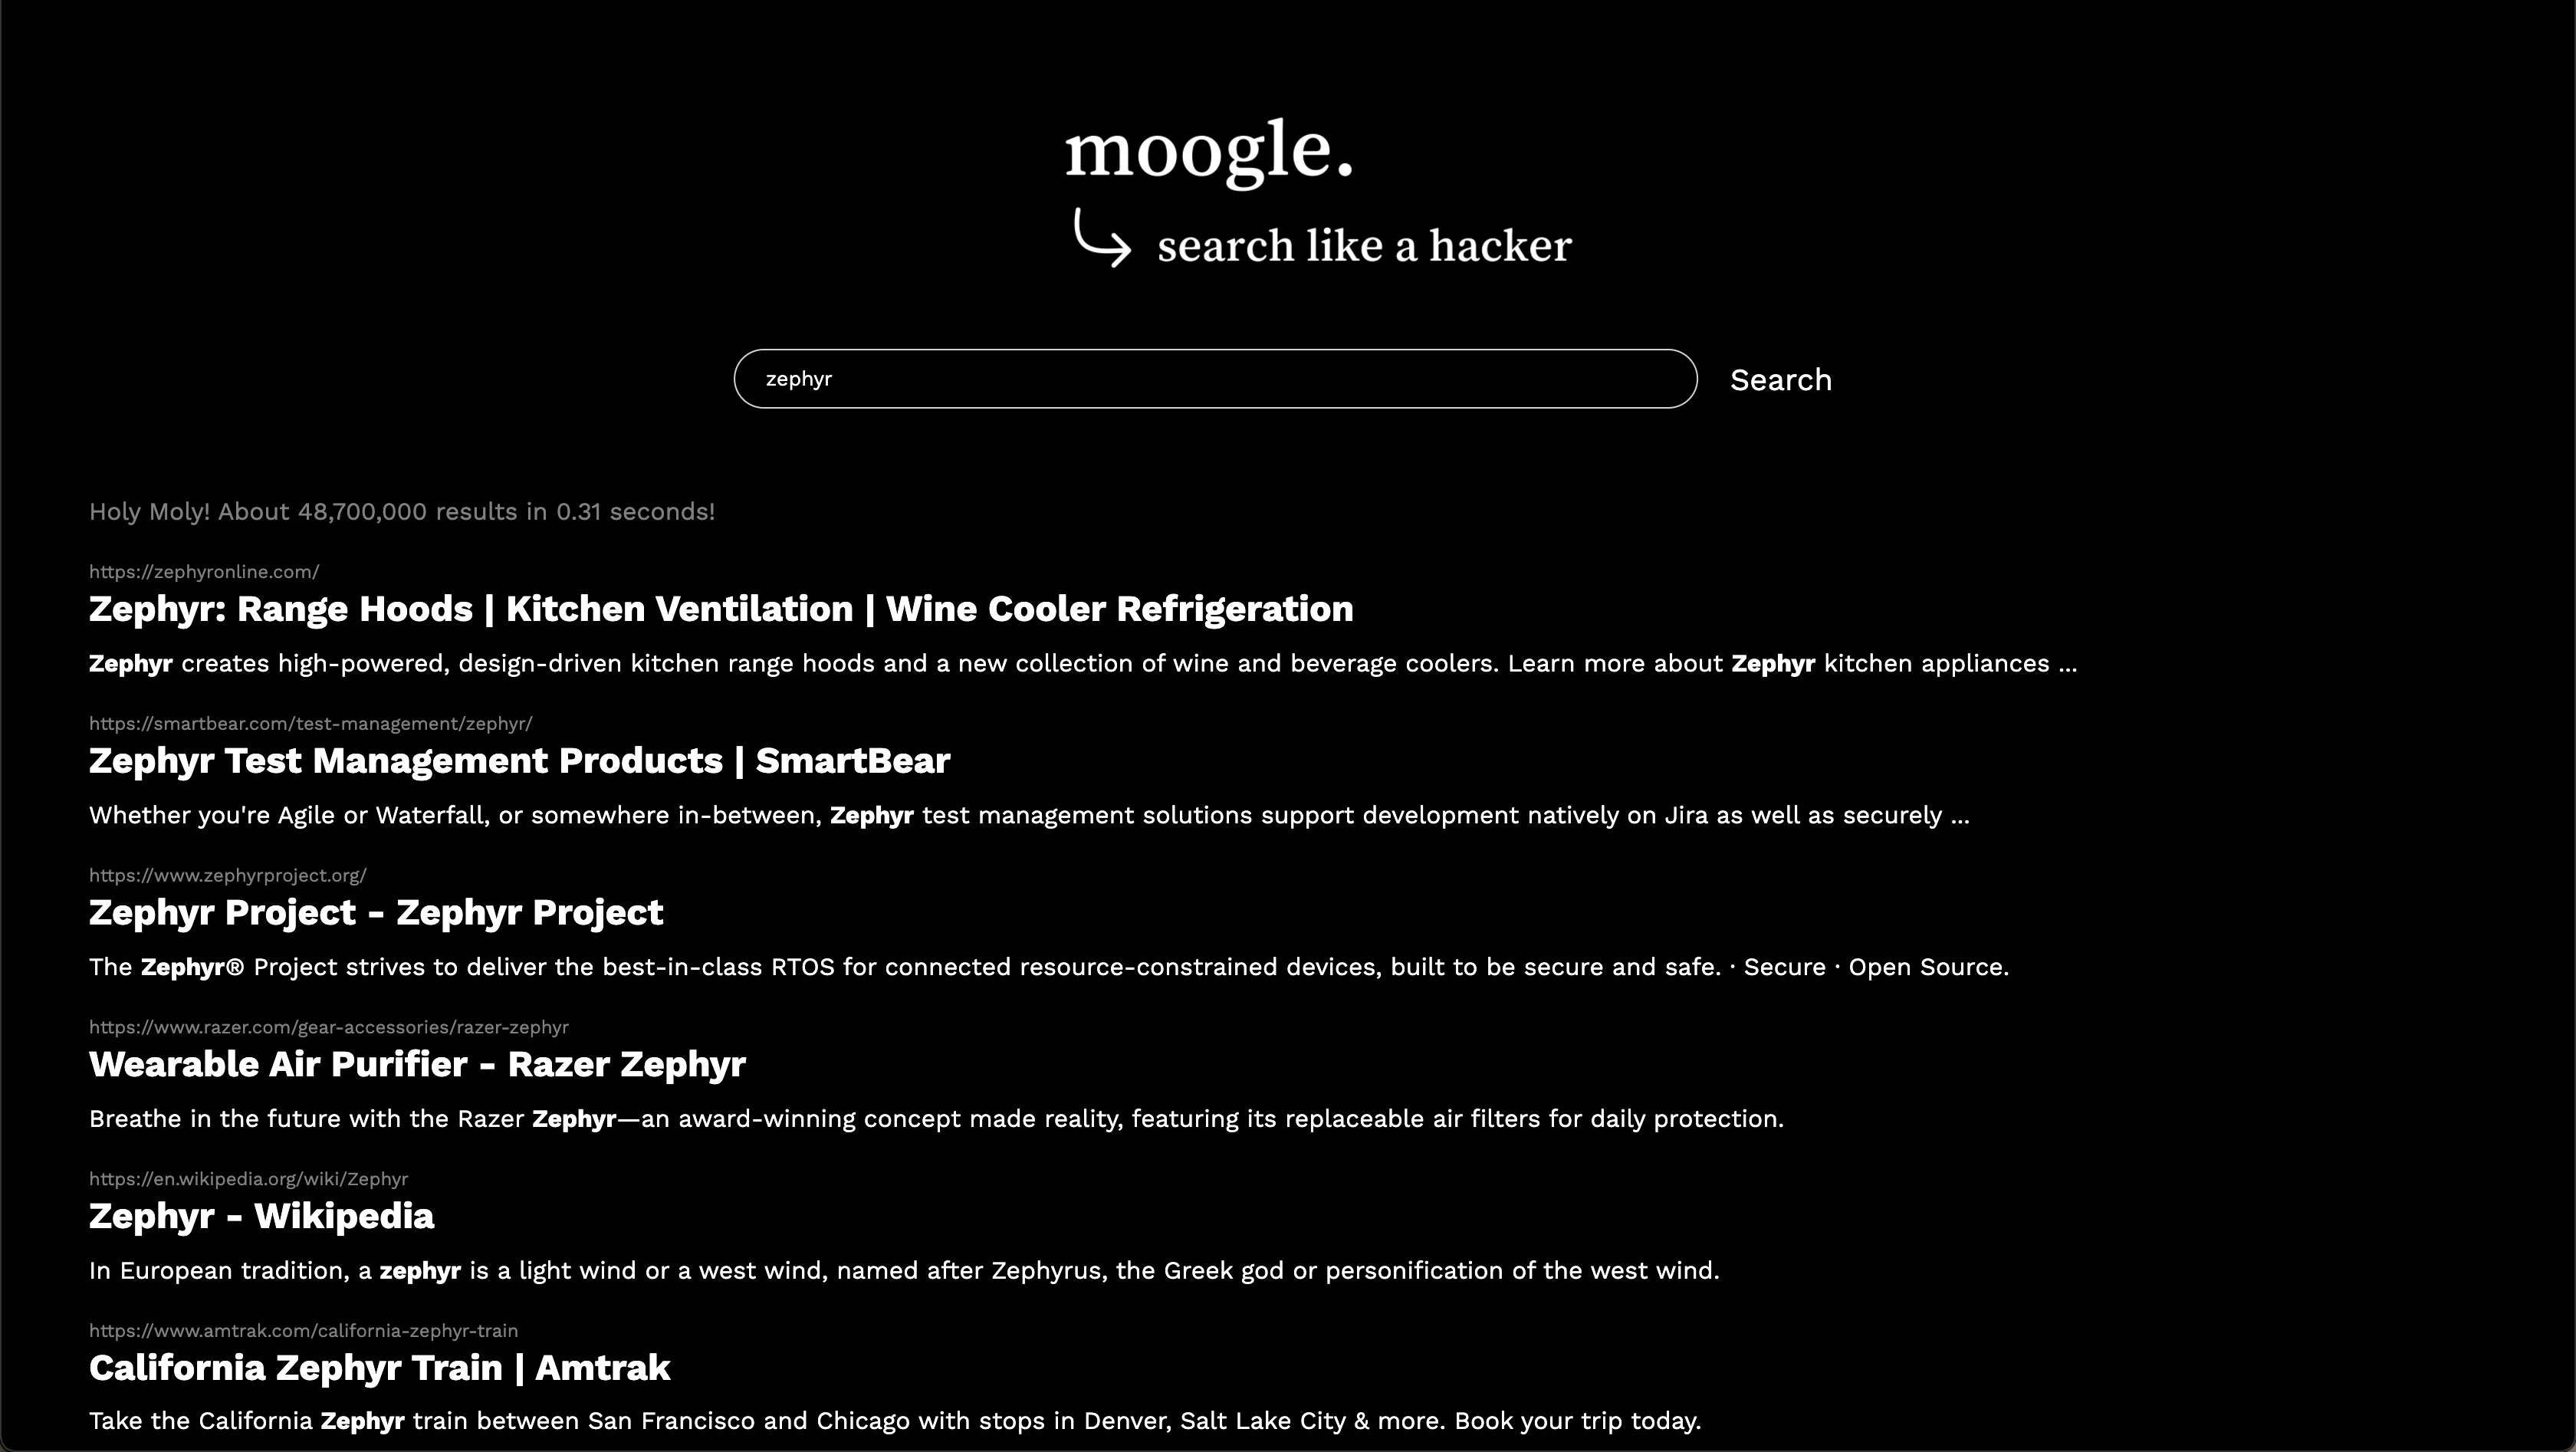
Let's use Google to build Google. In this workshop, we're going to use Google's Search API to fetch queries and output the most relevant topics! Here's what the final product will look like (I highly encourage you to customize it to make it your own!)
To build this product, we're going to need:
- HTML
- Javascript
- CSS
We'll also be delving into Google APIs, so make sure that you have an account set up! We're going to build this product on repl.it because it sets up automatic deployments right from your web browser.
Get Started
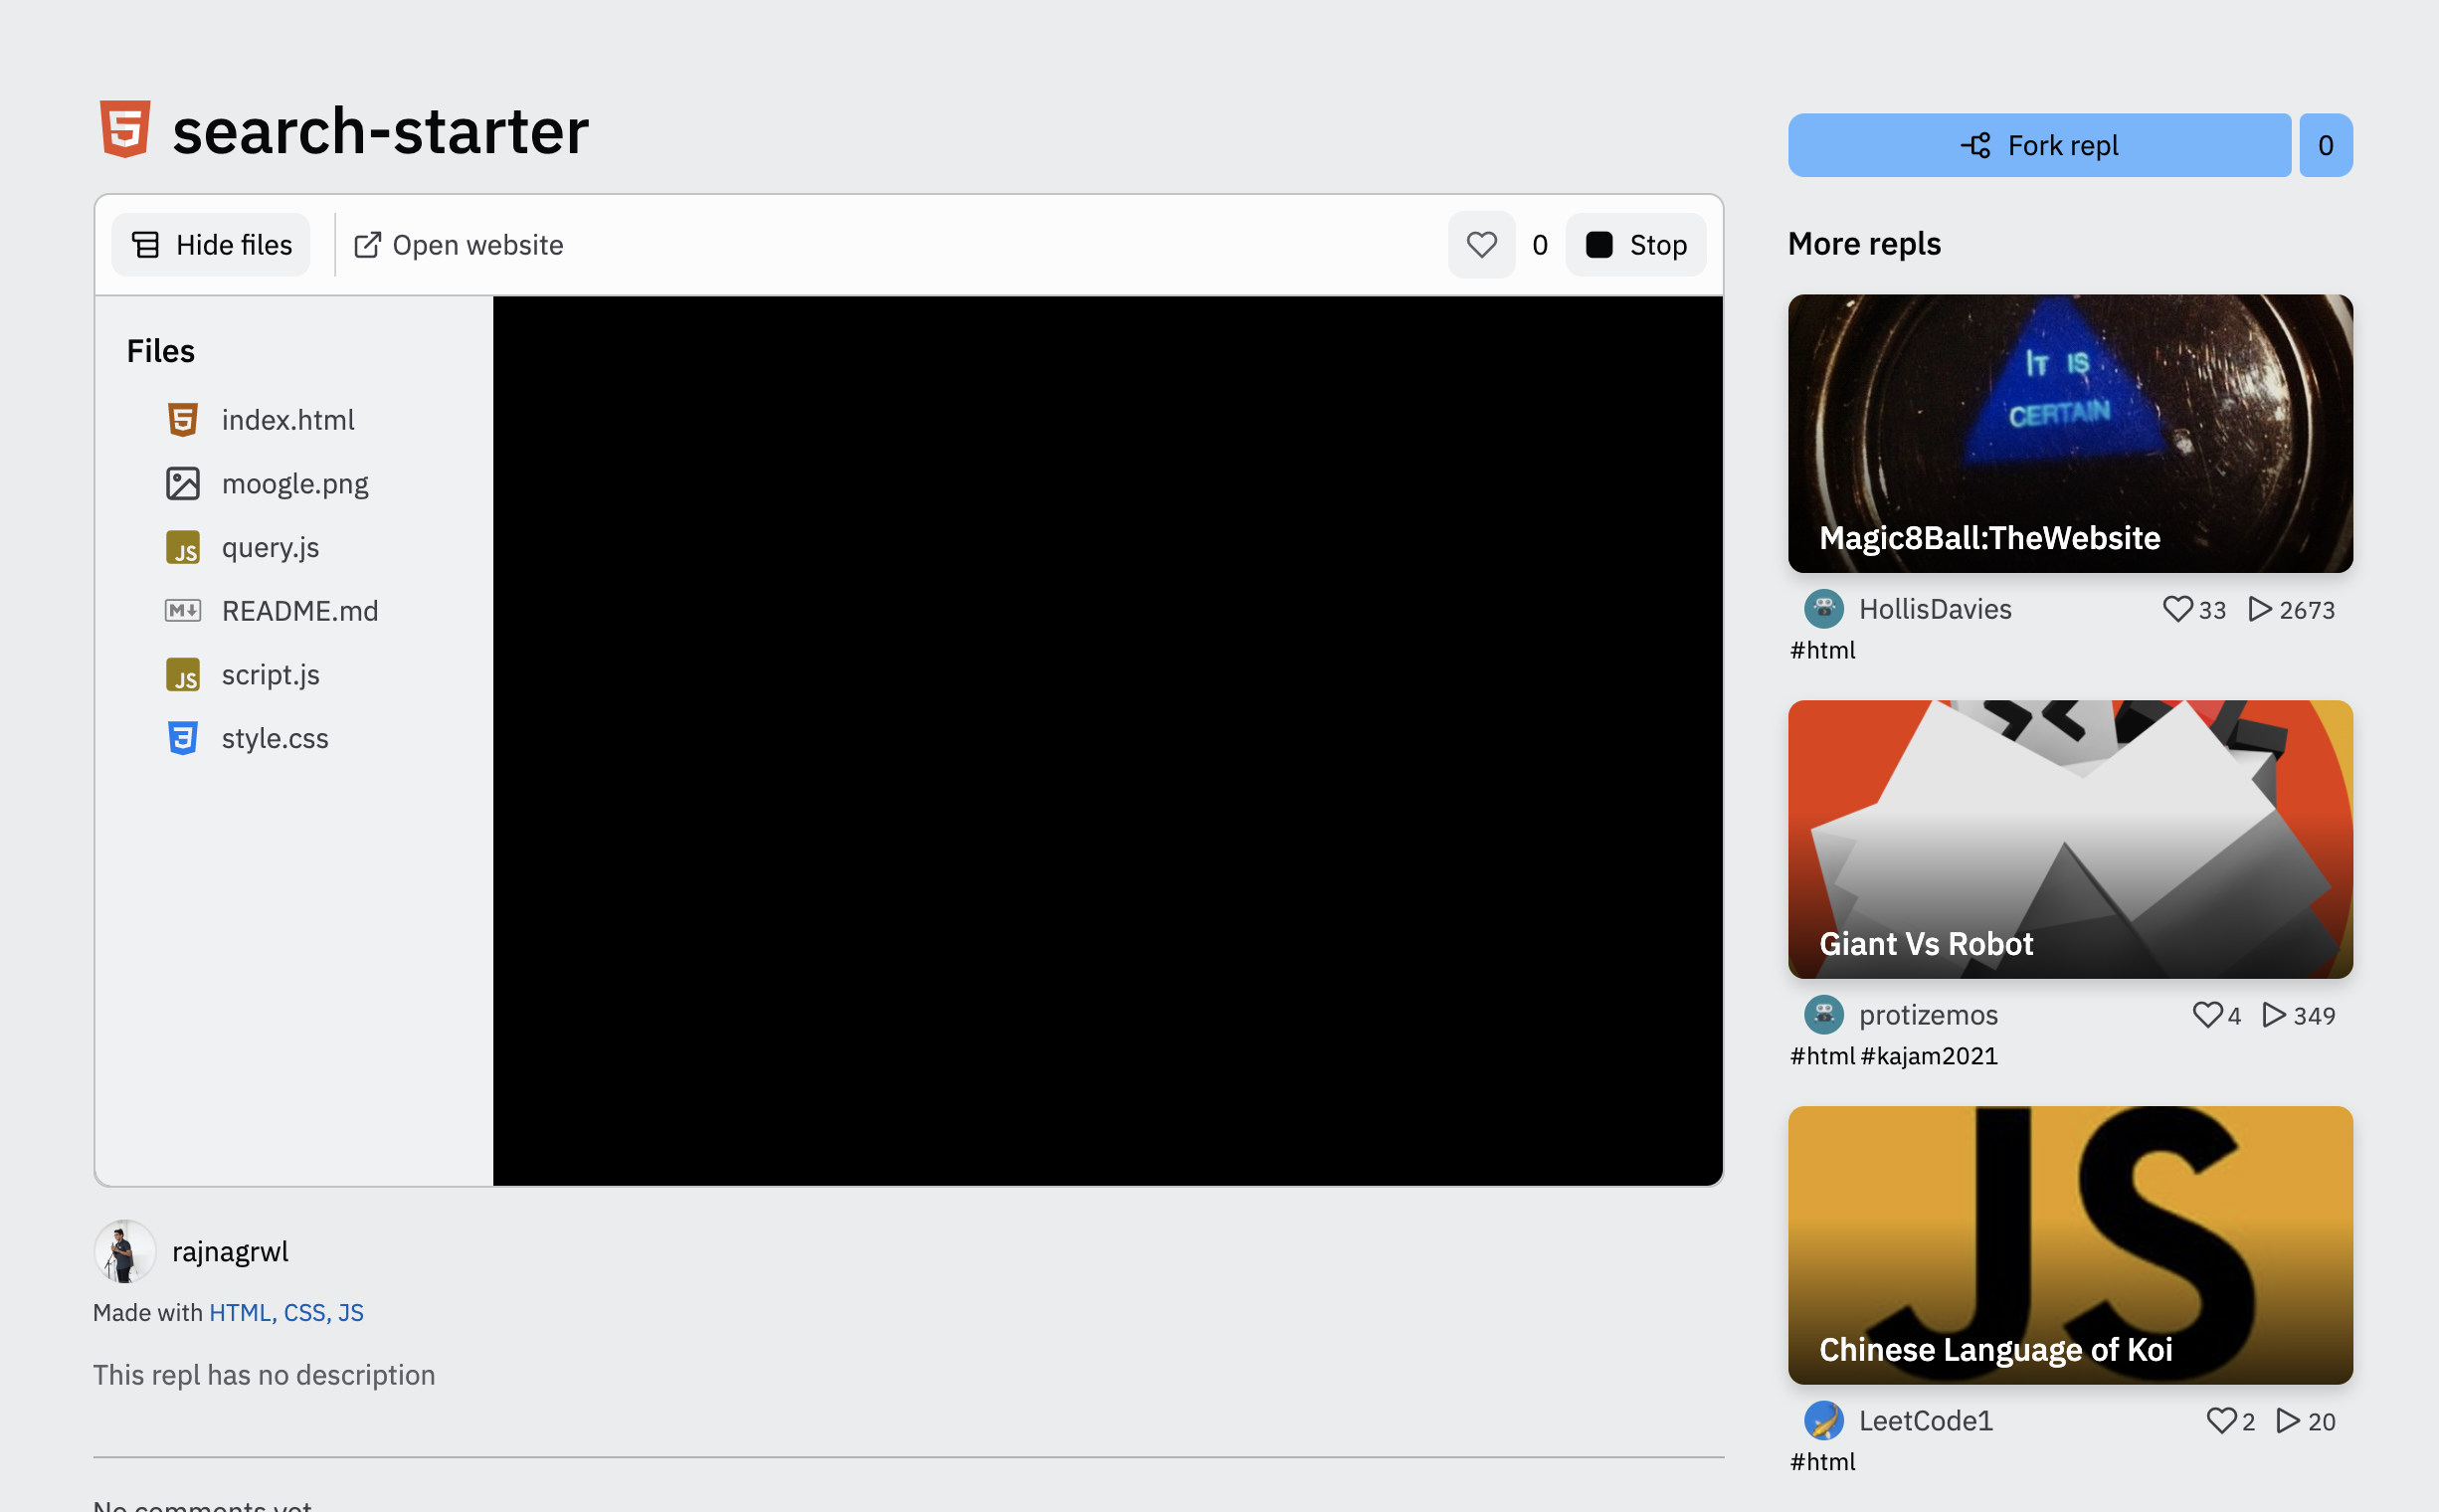
Head on over to the Replit Starter for this project and click fork in the top right corner. This will give you access to the styles and preliminary code to get you started!
Once this is ready, head on over to the index.html file and add the following between the <body></body> tags:
<img src="moogle.png" width="525" class="image">
This will reference the image with it's corresponding styling! Feel free to add your own to make it personalized. Then, we are going to add a search input and button that calls submit() when clicked.
<div class="search">
  <input type="text" id="search" class="input">
  <button id="submit" class="searchbtn" onclick="submit()">Search</button>
</div>
Now, we need to create a section for the content to appear! Add the following right below the </div>
<div id="buttons" class="buttons">
  <button id="allbutton" class="all" onclick="submit()"></button>
</div>
<div id="content"></div>
Finally, let's reference the javascript files to connect the queries to the web!
<script src="script.js"></script>
<script id="query" src="query.js"></script>
The Google API
Awesome—the interface is complete! Now let's fetch some queries. In your query.js file, you should see a function that calls submit(). Within that function, paste the following code:
document.getElementById('buttons').style.display = 'block';
document.getElementById('content').innerHTML = '';
var val = document.getElementById('search').value;
var newelement = document.createElement('script');
newelement.src = `https://www.googleapis.com/customsearch/v1?key=API_KEY&cx=003606982592251140240:5xbiwoxb3m0&q=${val}&callback=hndlr`;
newelement.id = 'mainscript';
document.body.appendChild(newelement);
Now, we need to set up the Google Search API! To get started, head on over to Google's Developer Portal and make sure that you are logged in. Once complete, scroll down to Get a Key and create a project called Search. Once you click next, copy your API key and click Done. In your query.js file, you will see a variable called newelement.src. Where it says API_KEY, paste in your API Key and you're good to go!
Disclaimer: The Google Search API provides 100 search queries per day for free. Additional requests cost $5 per 1000 queries. Learn more

So what is this URL and why is it so long?
https://www.googleapis.com/customsearch/v1?lets us know that we are using the Google Custom Search API, the first version of itkey=API_KEYindicates the user of the API, as well as any limitations. For example, this will associate the number of queries per day with your account&cx=associates any searches with a search engine Idq=${val}is the actual query that a user inputs, which we will fetch from thesubmit()function in our HTMLcallback=hndlris used as a parameter that is called after the function is executed
Formatting Query Results
Now that this is completed, let's format our content. Head over to the script.js file and you should see a function called hdnlr(response). Inside this function, add the following code:
try {

} catch(error) {

}
Essentially, the function will try some code, and if it does not work, will catch & output an error. Within the try function, add the following code:
document.getElementById('content').innerHTML += `
  <div style="color: grey;">
    Holy Moly! About ${response.searchInformation.formattedTotalResults} results in ${response.searchInformation.formattedSearchTime} seconds!
  </div>`
This fetches the amount of results and the time it took to retreive, just like how you see on Google! Then, to fetch the actual information, add the following to your try function:
for (var i = 0; i < response.items.length; i++) {
  document.getElementById('content').innerHTML += `
  <div style="align-items: center;">
    <br>
    <a style="color: grey; font-size: 12px; text-decoration: none;" href=${response.items[i].link} target="_blank">${response.items[i].link}</a>
    <a target="_blank" href=${response.items[i].link} style="text-decoration: none;">
      <h2 style="margin-top: 2px;">${response.items[i].title}</h2>
    </a>
    <div style="margin-top: -8px;">
      ${response.items[i].htmlSnippet}
    </div>
  </div>`;
}
Wahoo! Now, your code will fetch the link, title and htmlSnippet to display for each query. To output any errors, add the following to the catch function:
document.getElementById('content').innerHTML = 'error!';
And just like that, you've successfully fetched your meta data for each query! Now, click 'Run' at the top of your Repl and watch the magic happen!
If your code outputs an error, feel free to reference the final code!
Magic Time!
And that's it! If you click run and head to your replit link, you should see a full functional search engine at your service! Here's a link to the final code (excluding the API key) if you need any help!
Next Steps
A few key things to note:
- Please do not share your API Key with anyone!
- Do not exceed 100 queries per day (i'm still working on a web scraper for unlimited queries)
I highly encourage you all to customize this however you want! If CSS is your jam, be sure to send me a cool search engine that you came up with! Be sure to #ship your favourite creations, and share how you just built the next Google.
Happy Hacking!