

Join Hack Club Horizons! Ship your projects and fly to your first hackathon →
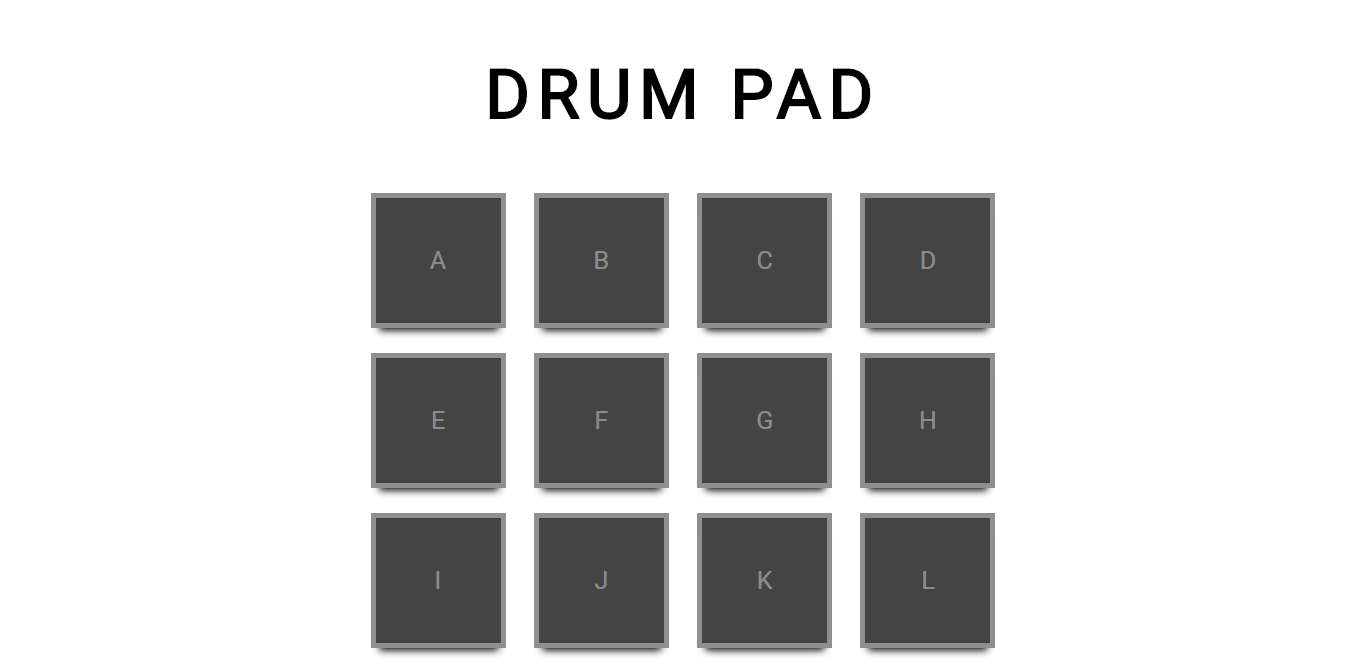
Ever wondered how you can play sounds with code? In this workshop, we will be creating a drum pad that plays actual sounds.
Overview
Preview of the Drum Pad we are going to be creating
Apart from building the drum pad, you will also be learning about different types of events, functions, styling, and more with Vanilla JavaScript, HTML, and CSS.
Getting started
For this workshop, we're going to be using repl.it, a free, online code editor. To begin, go to repl.it/languages/html. Your coding environment will spin up instantly!
You will see that there are already three files: index.html, style.css, and script.js. Navigate to your index.html file, and we will work on the structure of our drum pad there.
HTML
We will write most of our HTML code inside the body tag. Let's start by creating a header that displays the text DRUM PAD using the h1 tag:
<h1>DRUM PAD</h1>
Just under the h1 tag, we will have three rows and four columns of buttons. Each button will be created with a div tag. You can think of a div tag as a box or container, and we are using it because each of our buttons will have a boxy look.
<!-- Parent div -->
<div>
  <!-- nested child divs -->
  <div>A</div>
  <div>B</div>
  <div>C</div>
  <div>D</div>
  <div>E</div>
  <div>F</div>
  <div>G</div>
  <div>H</div>
  <div>I</div>
  <div>J</div>
  <div>K</div>
  <div>L</div>
</div>
Here, we have a parent div tag that nests our button divs, and then we label our buttons with letters to easily identify them.
Here's what your entire index.html file should look like so far:
<!DOCTYPE html>
<html lang="en">
<head>
    <meta charset="UTF-8">
    <meta name="viewport" content="width=device-width, initial-scale=1.0">
    <title>repl.it</title>
    <link href="style.css" rel="stylesheet" type="text/css" />
</head>
<body>
    <h1>DRUM PAD</h1>
    <div>
        <div>A</div>
        <div>B</div>
        <div>C</div>
        <div>D</div>
        <div>E</div>
        <div>F</div>
        <div>G</div>
        <div>H</div>
        <div>I</div>
        <div>J</div>
        <div>K</div>
        <div>L</div>
    </div>
  <script src="script.js"></script>
</body>
</html>
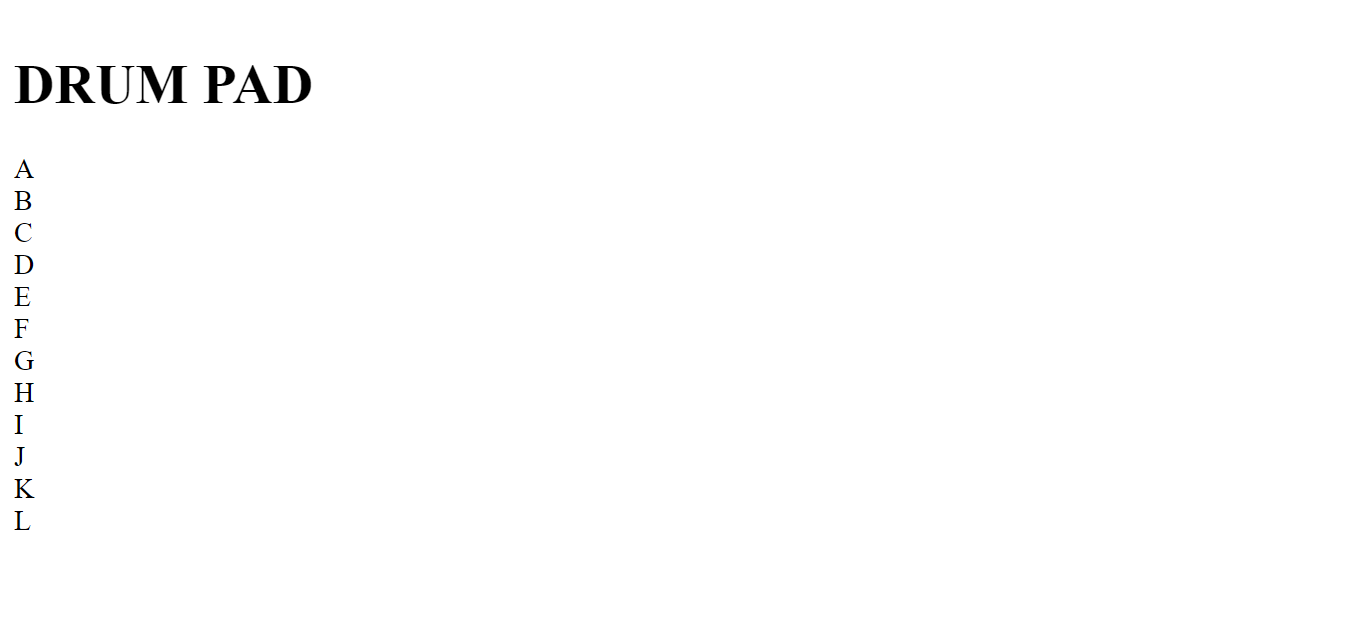
When we run our code, it will look like this at the moment:
CSS
Now let's write some CSS styles for our drum pad to make it look visually appealing!
Navigate to your style.css file and add the following code:
body {
  background-color: #fff;
  height: 100%;
  width: 100%;
  display: flex;
  flex-direction: column;
  justify-content: center;
  align-items: center;
  overflow: hidden;
  font-family: sans-serif;
}
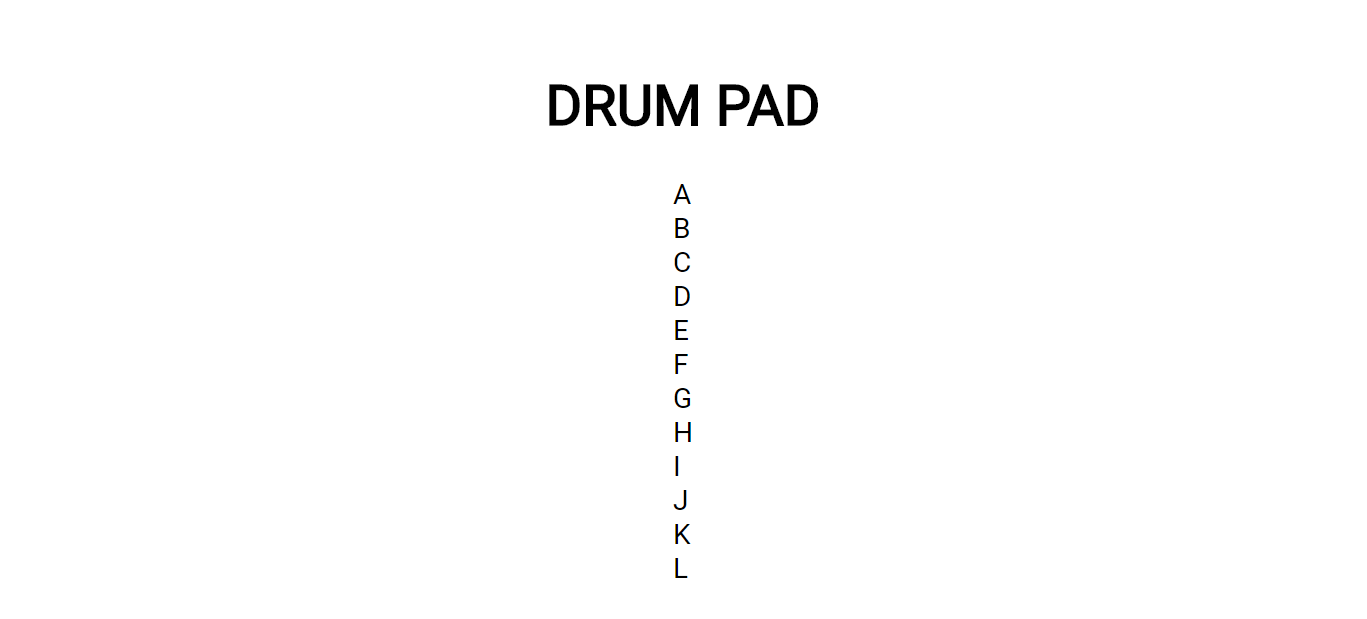
When we run our code, you will see that our content has been aligned to the center, and that's because we changed the properties of our body tag, and the tag basically renders the content on a web page.
Classes
We're going to be using classes to add styling to our div tags. A class name is an HTML attribute that points to a tag or a group of tags that have the same class name. Classes are used by CSS and JavaScript to select and access specific tags. The class attribute can be used on any HTML tag by adding the keyword class="" to it.
Let's navigate back to our index.html, We will give our parent div tag the class name pad, and all our nested div tags will get the class name box which will apply the styling that our classes have.
<div class="pad">
  <div class="box">A</div>
  <div class="box">B</div>
  <div class="box">C</div>
  <div class="box">D</div>
  <div class="box">E</div>
  <div class="box">F</div>
  <div class="box">G</div>
  <div class="box">H</div>
  <div class="box">I</div>
  <div class="box">J</div>
  <div class="box">K</div>
  <div class="box">L</div>
</div>
Now navigate to your style.css, and change your header's font size, color, and letter spacing using the following code:
h1 {
  color: #000;
  font-size: 5vw;
  letter-spacing: 6px;
}
Then we create three rows and four columns to correctly align our header and buttons.
.pad {
  width: 500px;
  display: flex;
  justify-content: space-between;
  flex-wrap: wrap;
}
We will write styling for our class name .box, to specify our buttons unique styling.
.box {
  width: 100px;
  height: 100px;
  margin: 10px 0;
  user-select: none;
  box-shadow: 0 8px 6px -6px black;
  background-color: #444;
  display: flex;
  justify-content: center;
  align-items: center;
  font-size: 20px;
  color: rgba(255, 255, 255, 0.4);
  border: 4px solid;
}
And when we run our code again, it should look like this:
We will then add styling that adds hovering effects, inactive or active states to our buttons:
.box:hover {
  background-color: rgb(80, 80, 80);
  cursor: pointer;
}

.box:active {
  background-color: #444;
  transform: scale(1.1);
  transition: all 0.2s;
}
Now that we have finished our styling, let's work on our drum pad functionality.
JavaScript
Right now, when you click on the buttons, no sound plays. We need to write some JavaScript code that will play sounds.
Navigate to your script.js file and add the following code:
function play(link) {
  let audio = new Audio(link);
  audio.load();
  audio.play();
}
- First, we created a function called
play(). It receives a parameterlink, which is the link to the sound. - Inside the function, we create a JavaScript Audio object and pass the link to the object.
- Then, we load the audio with the
load()function (part of the Audio object) - And finally, we play our sound using the Audio object's
play()function
All the building blocks are in place. Now, all we need to do is play the sound when a button is clicked.
It turns out running a function when you click on an HTML element is super easy! HTML has a built-in onclick event. So, all we need to do to play a sound when you click one of the boxes is run the play() function we just wrote when the user clicks a box.
Navigate back to the index.html file, and modify your divs to include these onclick events:
<div class="pad">
  <div class="box" onclick="play('https://s3-us-west-2.amazonaws.com/s.cdpn.io/242518/SD0025.mp3')">A</div>
  <div class="box" onclick="play('https://s3-us-west-2.amazonaws.com/s.cdpn.io/242518/SD0010.mp3')">B</div>
  <div class="box" onclick="play('https://s3-us-west-2.amazonaws.com/s.cdpn.io/242518/SD0000.mp3')">C</div>
  <div class="box" onclick="play('https://s3-us-west-2.amazonaws.com/s.cdpn.io/242518/RS.mp3')">D</div>
  <div class="box" onclick="play('https://s3-us-west-2.amazonaws.com/s.cdpn.io/242518/OH25.mp3')">E</div>
  <div class="box" onclick="play('https://s3-us-west-2.amazonaws.com/s.cdpn.io/242518/MA.mp3')">F</div>
  <div class="box" onclick="play('https://s3-us-west-2.amazonaws.com/s.cdpn.io/242518/CY0010.mp3')">G</div>
  <div class="box" onclick="play('https://s3-us-west-2.amazonaws.com/s.cdpn.io/242518/CH.mp3')">H</div>
  <div class="box" onclick="play('https://s3-us-west-2.amazonaws.com/s.cdpn.io/242518/CB.mp3')">I</div>
  <div class="box" onclick="play('https://s3-us-west-2.amazonaws.com/s.cdpn.io/242518/BD0010.mp3')">J</div>
  <div class="box" onclick="play('https://s3-us-west-2.amazonaws.com/s.cdpn.io/242518/BD0000.mp3')">K</div>
  <div class="box" onclick="play('https://s3-us-west-2.amazonaws.com/s.cdpn.io/242518/CP.mp3')">L</div>
</div>
If you run your code now, you should see a working drum pad!

Hacking
Now that you have finished building, you can share your beautiful creation with other people by copy/pasting the link to your repl. Also share it with me on Slack! I'm @emmanuel39hanks.
But you're not done yet. There are many ways this project can be expanded on. Here are a few examples:
- Play an automated beat track: demo and code
- Play the drum pad with your keyboard: demo and code
- A beautifully styled drum pad: demo and code
Resources:
- JavaScript Audio Object
- JavaScript onclick event
- CSS flex-direction
- CSS flex-wrap
- CSS justify-content
- CSS Flex box
- CSS overflow
- CSS font-size
- CSS letter-spacing
- CSS transition
- CSS transform
- CSS :hover pseudo class
- CSS :hover pseudo class
- CSS cursor
- CSS lighten & darken function
- CSS border
- CSS rgba function
- CSS box-shadow
- CSS align-items
- CSS font-family
Now it's up to you! Do anything with this project, go on and implement something crazy.