

Join Hack Club Horizons! Ship your projects and fly to your first hackathon →
In this workshop, we will be creating your first npm package and then we will be publishing it. This workshop will be a quick read and will be fun to do 🤠 So let’s get started!

Prerequisites
The workshop is for anyone familiar with:
- Javascript
- Node.js
You don't need to be a Guru in these topics, a basic understanding of them is more than enough!
Source Code
The source code of this workshop is available at https://github.com/bajpai244/npmpackageworkshop. You can use it as a help in this workshop!
What will we make?
We will be making a calculator package, which will provide us with
functions to do some basic arithmetic calculations!
Setup
You need to have Node.js and npm installed in your system.
Node.js
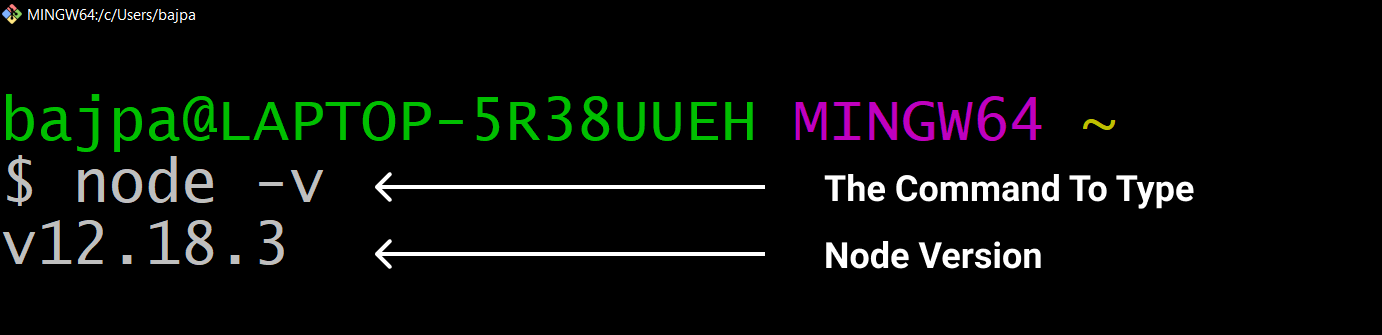
Node.js is an open-source cross-platform server environment. At the time of writing this workshop, we are using Node version:- v12.18.3.
You can download Node.js from here.

To check Node.js is working fine type node -v in your terminal, if a version pops up on the terminal then it means you have a proper installation of Node.js.
Creating your npm account
An npm account is required for publishing an npm package. So make sure you have an npm account before proceeding further.
Creating an npm account is very simple, just follow instructions from this link to create your npm account.
After that login to your npm via terminal using the following command:
npm login
You can also take help from this link to login into your npm account.

Creating the package
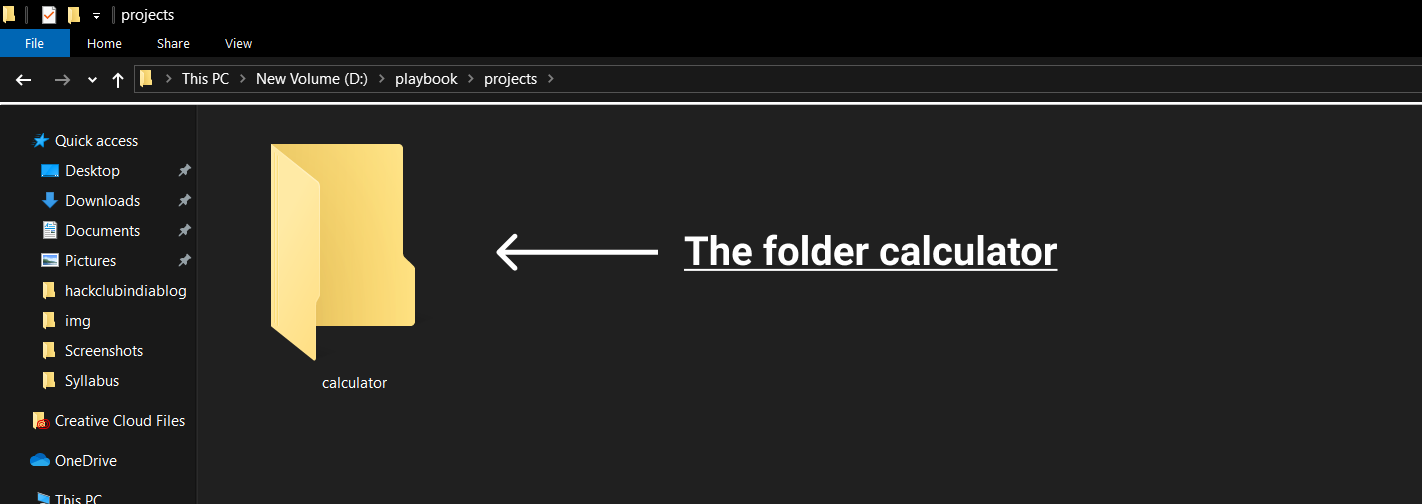
Now, find a folder on your computer where you would like to keep your project. Then create a new folder and name it calculator.
Now, open this project inside a terminal and type the following command:
npm init -y
Then press the Enter key to run it.
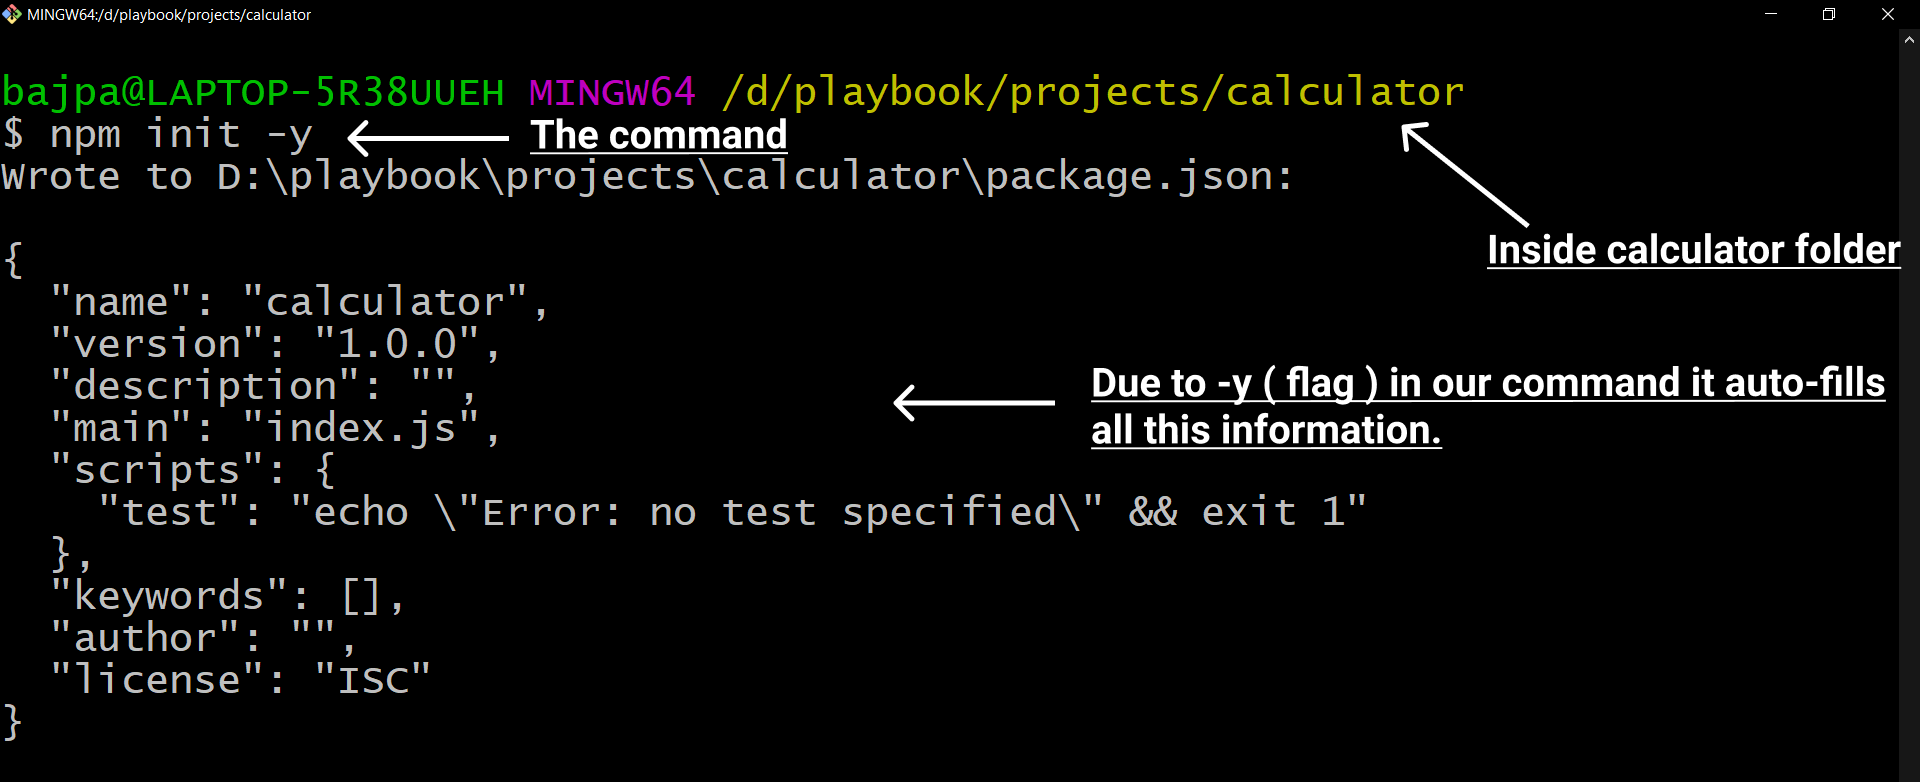
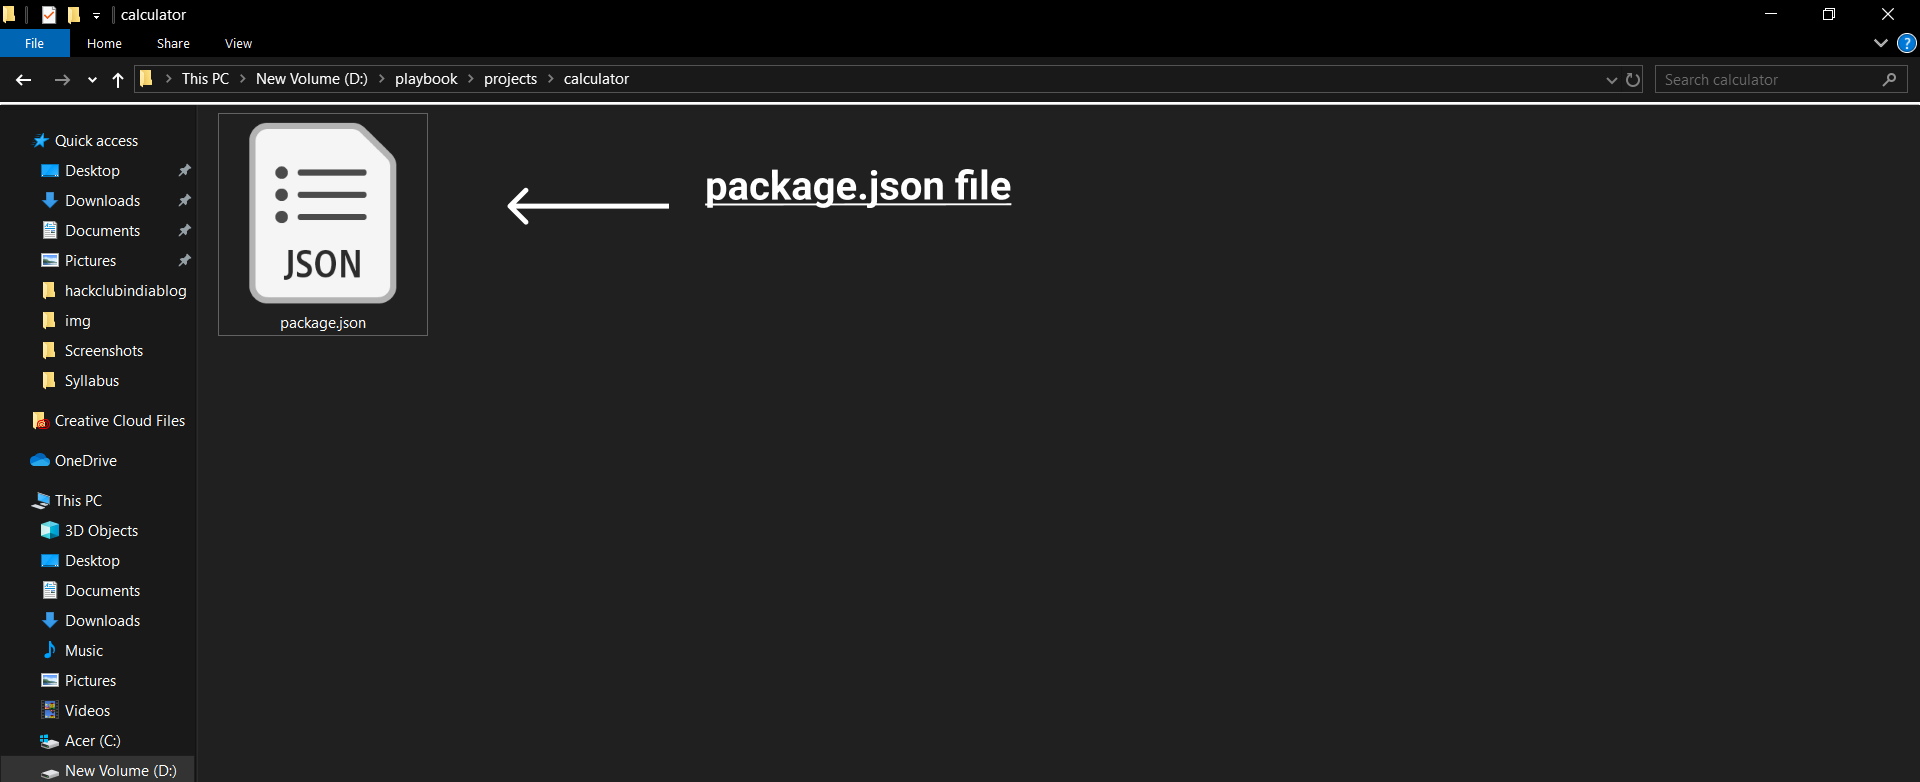
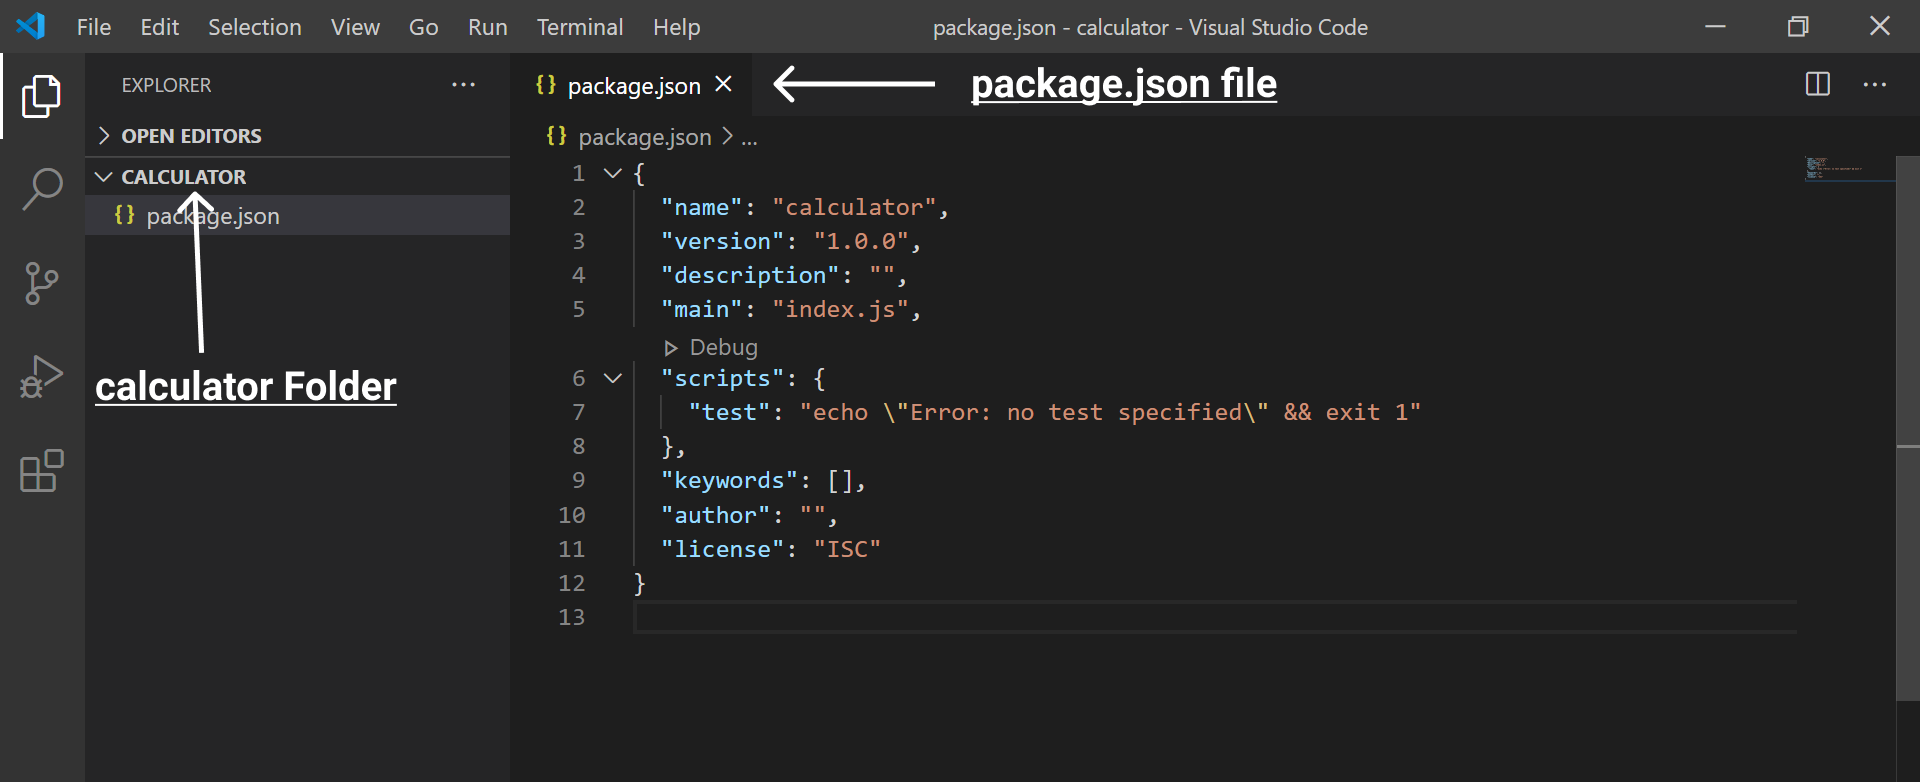
After running the command a package.json file will be created in your calculator project folder.
Okay, so now we will discuss some questions that may arise from the above steps that we just performed!
What is this command and what will it do?
The above command will create a package.json file for your project. You need to fill some meta information when you run this command like name, version and description etc.
The -y ( it is a command line flag ) will autofill these fields with the defualt values for them and write them to your package.json file!
What is this package.json file?
package.json is a file that is used to store meta-information about your npm package like its name, version, description, etc.
This file is used to give information to npm that allows it to identify the project as well as handle the project's dependencies.

Editing the package.json file
Now, we are going to edit the package.json file that we have created.
Open your project in an Editor.
Open your project folder inside an editor. I will be using VSCode.
Change the name in package.json
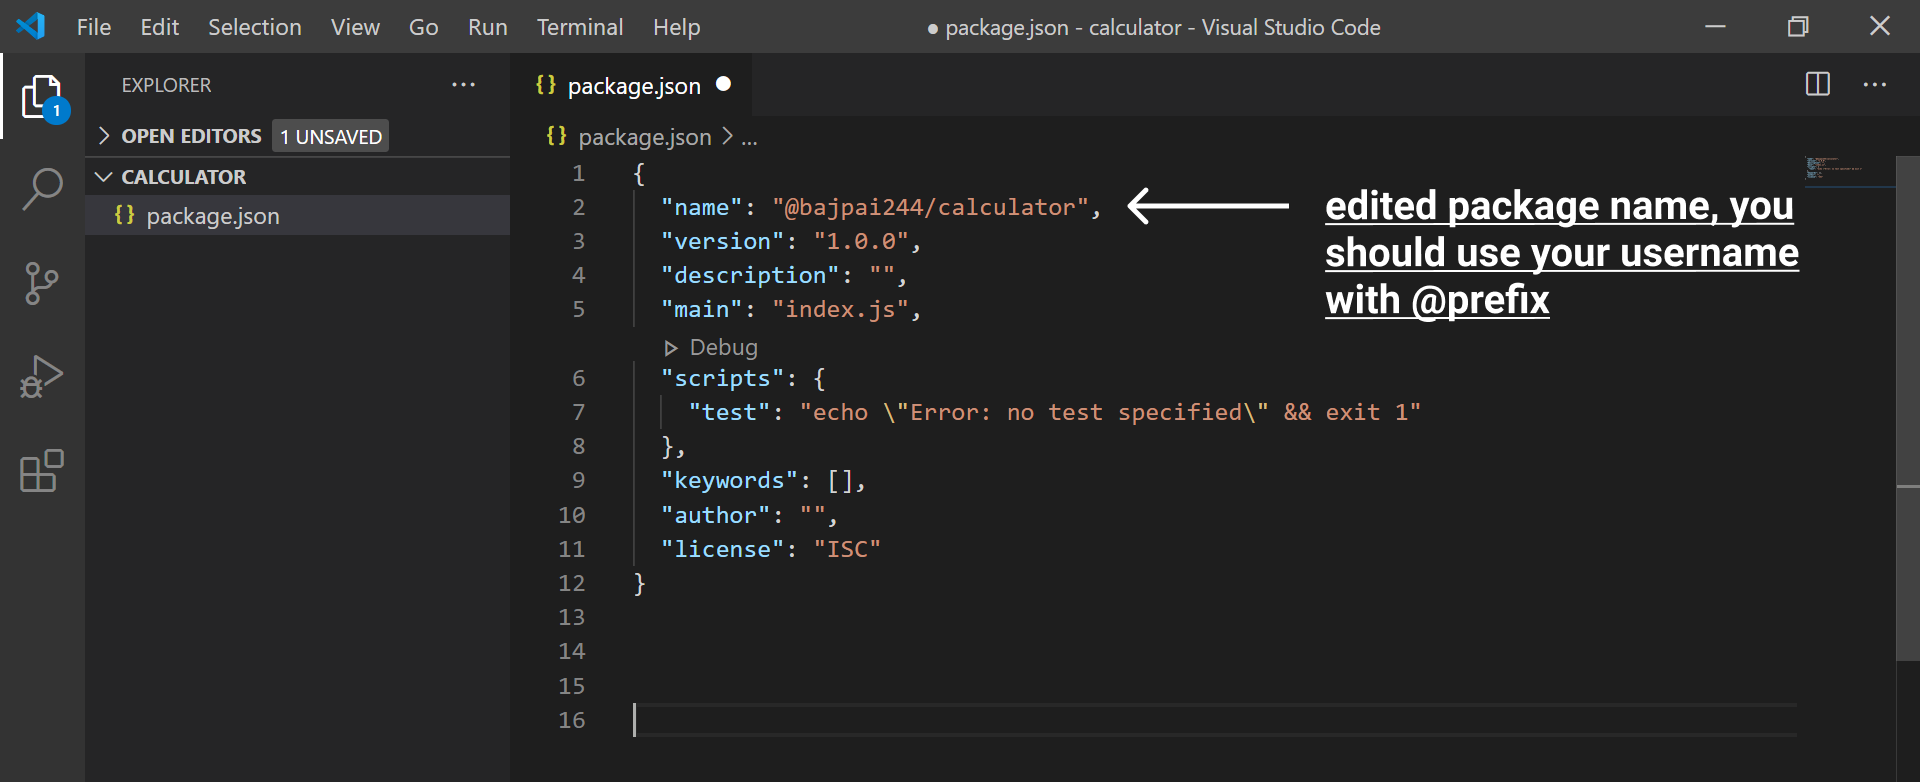
Now, in the name field( this is going to be your package name ) of your package.json change it from whatever is the default value( here it is calculator ) to @username/calculator.
Now, here @username is your npm username with @ as a prefix. My npm username is bajpai244 so I will name it as @bajpai244/calculator. Packages with names in this format are called scoped packages.
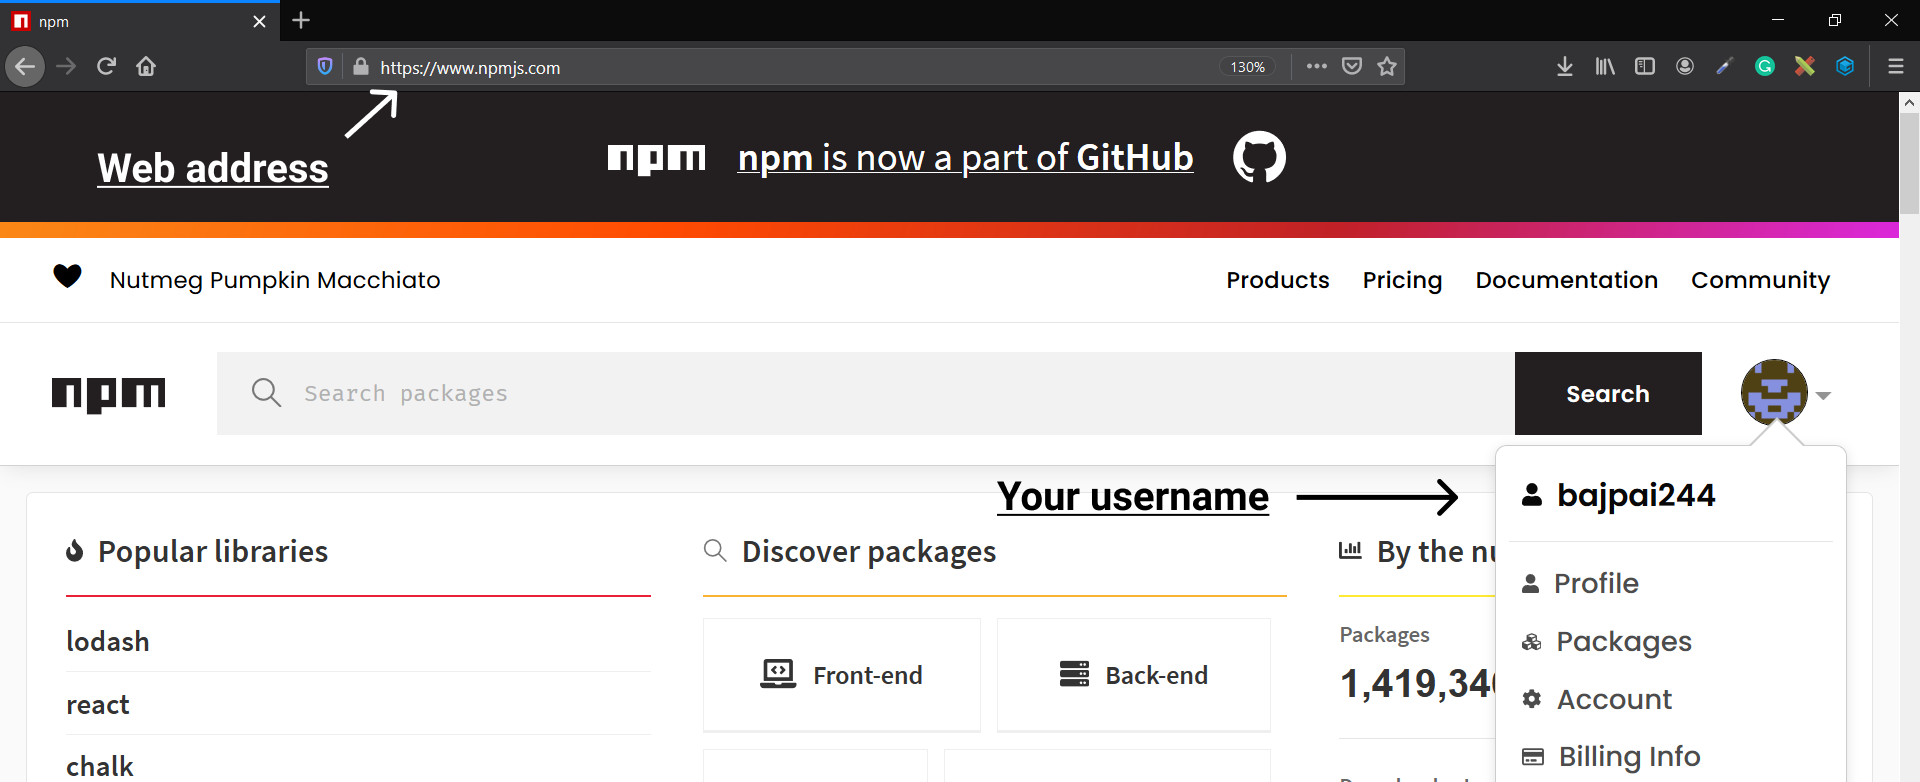
How to find npm username?
Go to https://npmjs.com and then login with your npm registered email id and password and once you are logged in click on your profile picture on the top right. There you will see your username.
What are scoped npm packages?
Okay, so now you are wondering why we are using @username/packagename format for naming our package. For someone to install a package, npm needs to uniquely verify it. It uses the package name to verify what package the user wants to install.
It is very common that the package name you want to use might already be taken away. Hence every npm user has an option to create a scoped package.
Each npm user/organization has its own scope, and only you can add packages to your scope. This means you don’t have to worry about someone taking your package name ahead of you.
So, here in our case @username is acting as a scope and all the packages with this scope will be grouped together in a common directory. As the scope is unique for every user, hence we all will have our packages with the same name but with a differen scope! npm is so smart😎

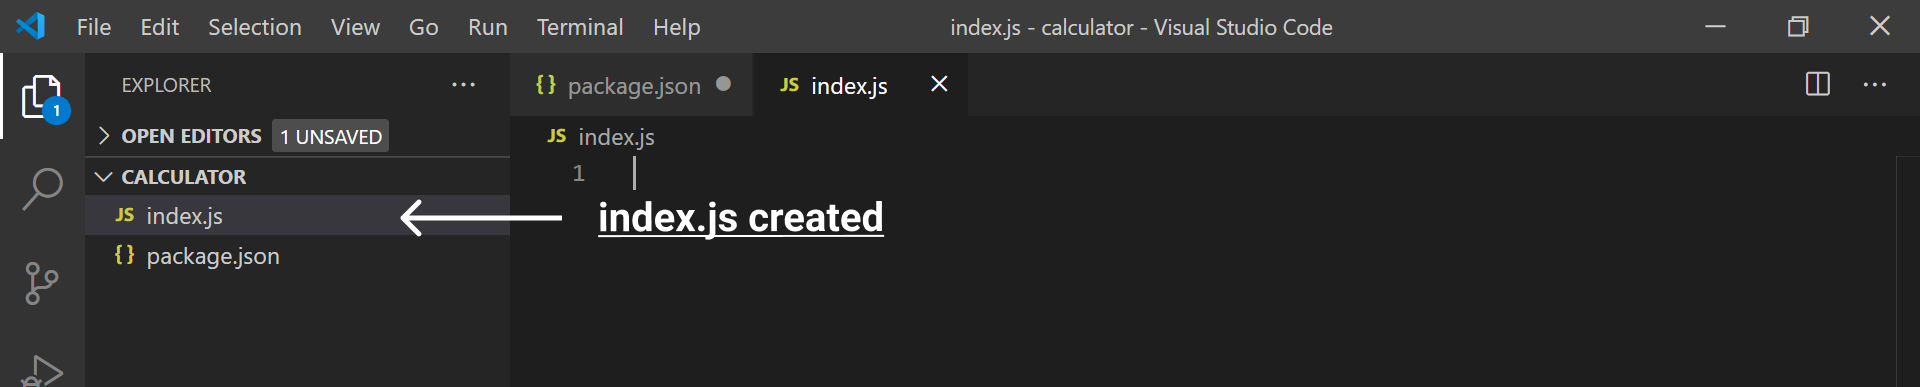
Create index.js
Now create a file index.js in your project folder.
Now, add the following code to it:
function add(x, y) {
    return x+y
}

function subtract(x, y) {
    return x-y
}

function multiply(x, y) {
    return x*y
}

function divide(x, y) {
    return x/y
}

module.exports = {
    add: add,
    subtract: subtract,
    multiply: multiply,
    divide: divide
}
This is what the file will look like:
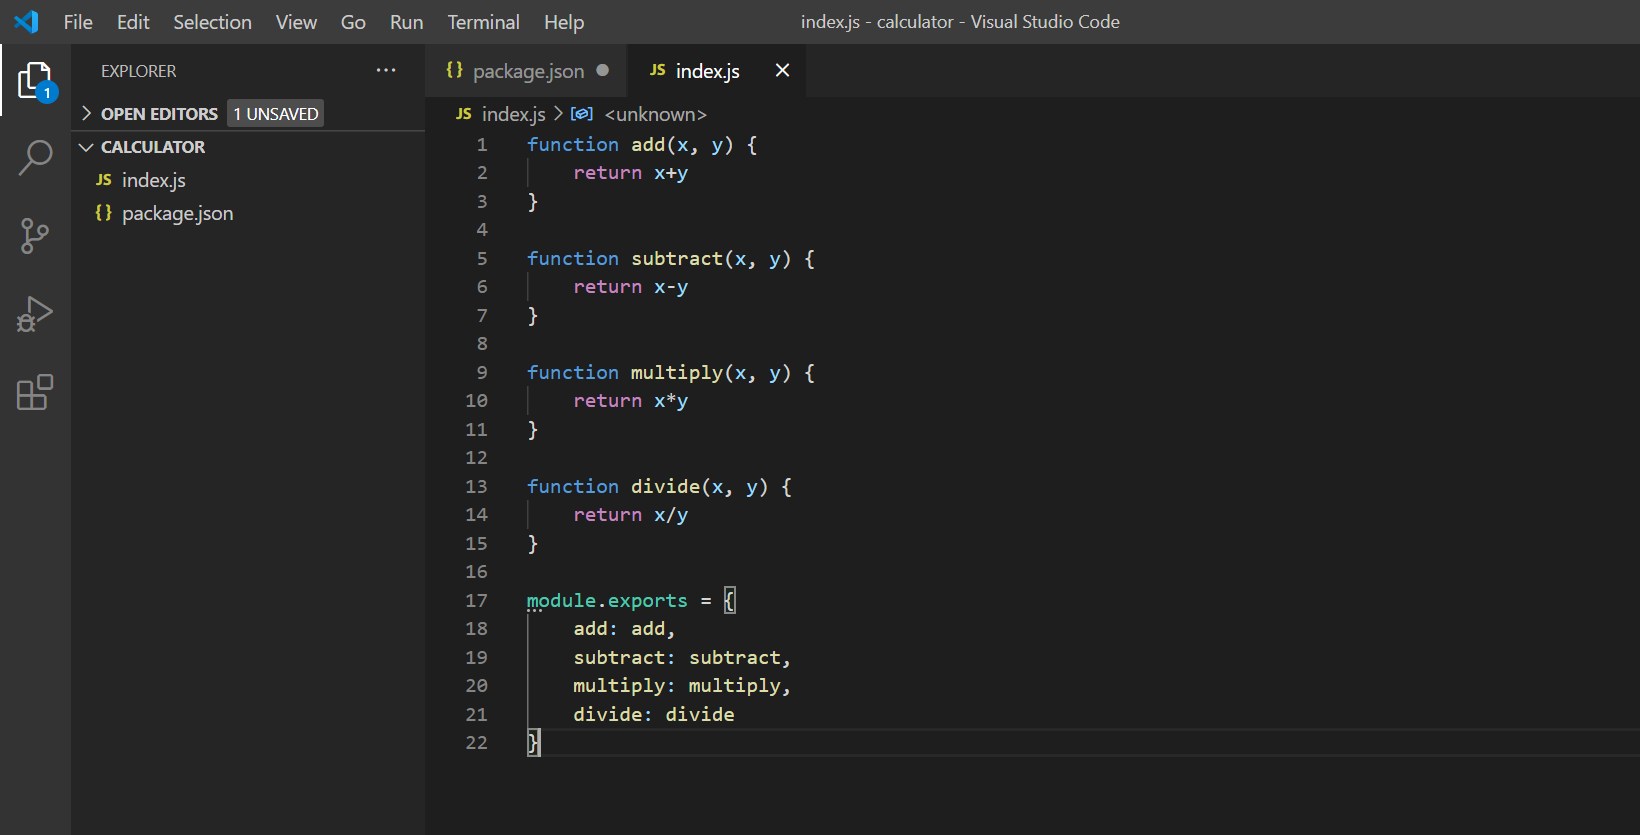
We declared four arithmetic functions that perform the addition, subtraction, multiplication, and division operation respectively.
What is this module.exports?
In the Node.js module system, each file is treated as a separate module. Each module can export its properties and methods which can then be imported by some other modules ( This is how we import properties and methods from npm packages! ).
module.exports exports a default value from a Node.js module and here we are exporting an object with keys add, subtract, multiply and divide which are then mapped to their respective arithmetic functions.
This will make sure that we can import our arithmetic functions in another node js file ( i.e module ).

Publishing your package!
Now, we will be publishing this npm package. Open your project folder inside the terminal and type:
npm publish --access public
After typing that press the Enter key to run this command.
This is what it will look like:
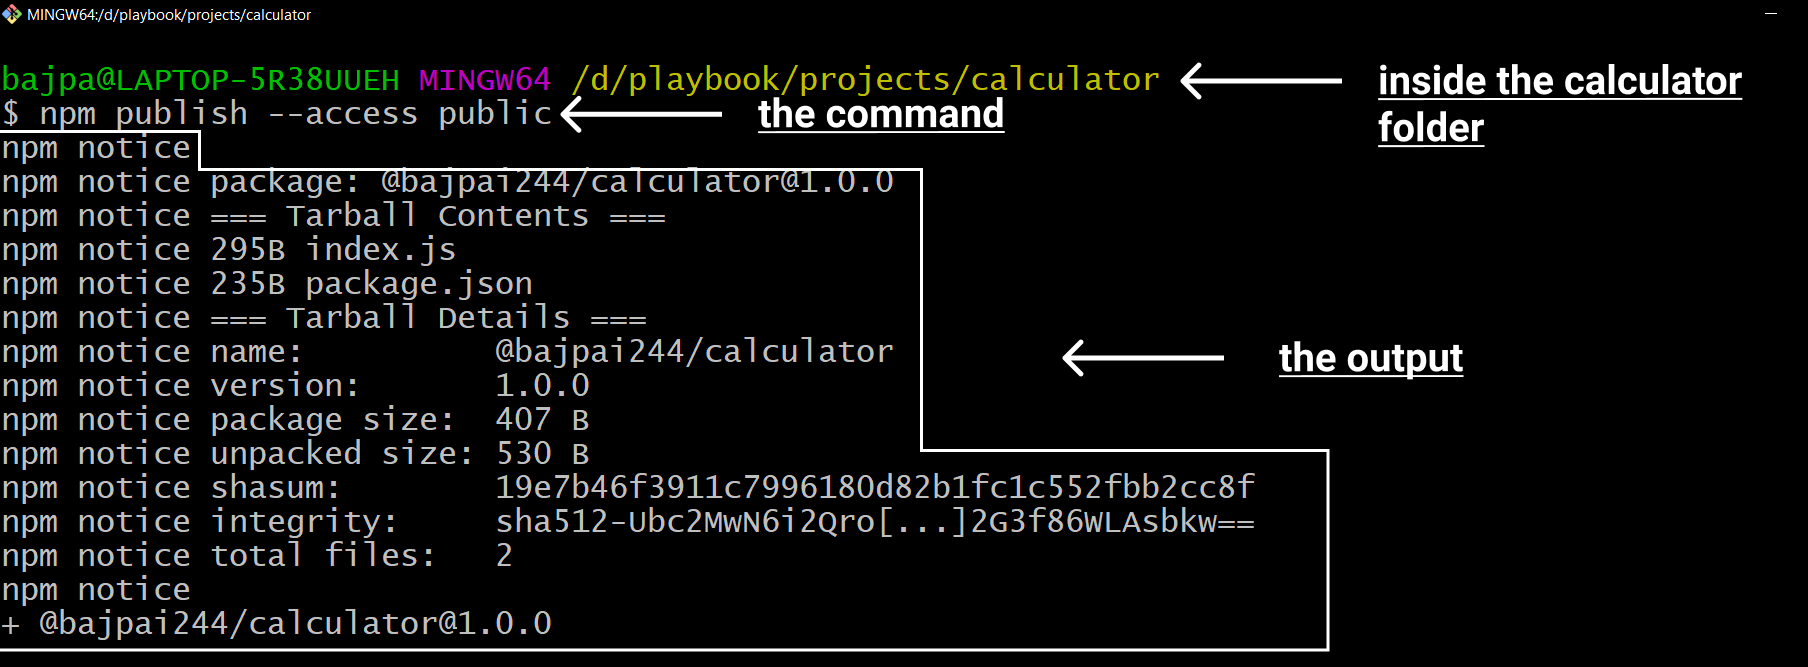
Congratulations! You have published your first npm package!

Awesome! but why we used --access public in the command?
Scoped packages are by default published as private npm packages and hence to make them public we added --access public in our command.
Adding another function to the package
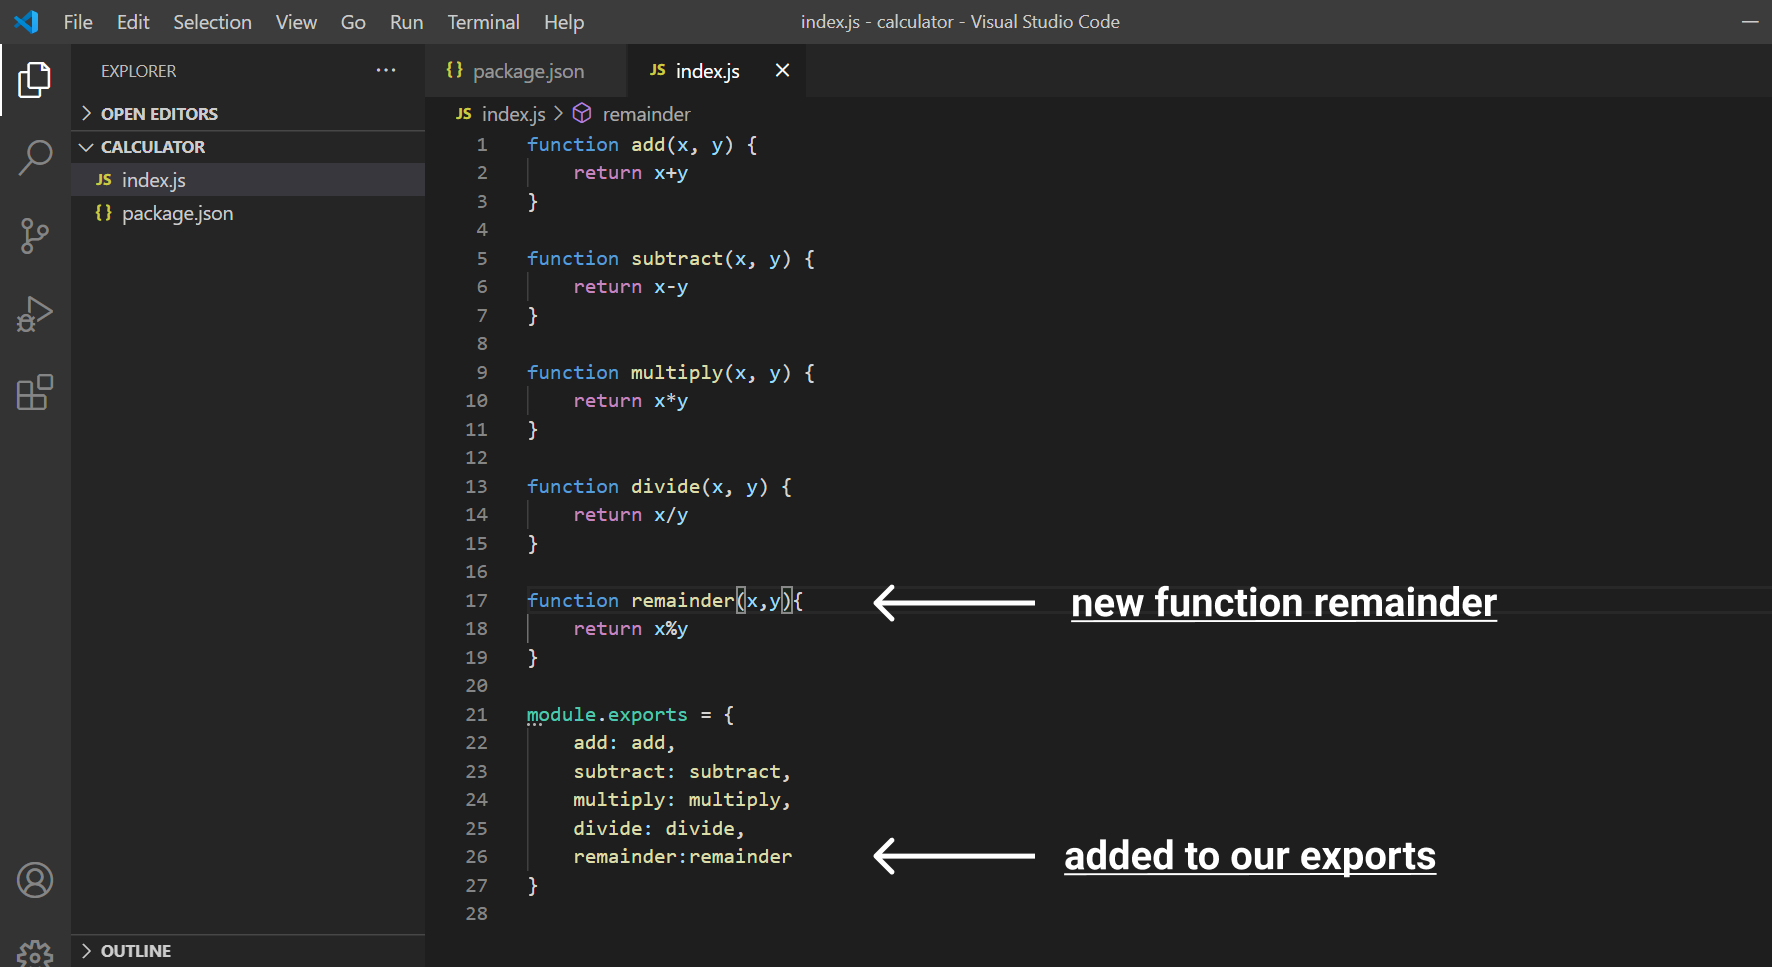
Now, before we go ahead and test it out I want to show you something. Add the following code to your existing index.js code:
function remainder(x,y){
    return x % y
}
Now in your module.exports add the remainder function.
module.exports = {
    add: add,
    subtract: subtract,
    multiply: multiply,
    divide: divide,
    remainder:remainder
}
After making all these changes your file will look like this:
Now publish this change
Now, open your project inside a terminal and type the following command to publish it:
npm publish
We are not adding --access public because during the first publish we made it clear that it is going to be a public package.
Now, press the Enter key and see what you get.
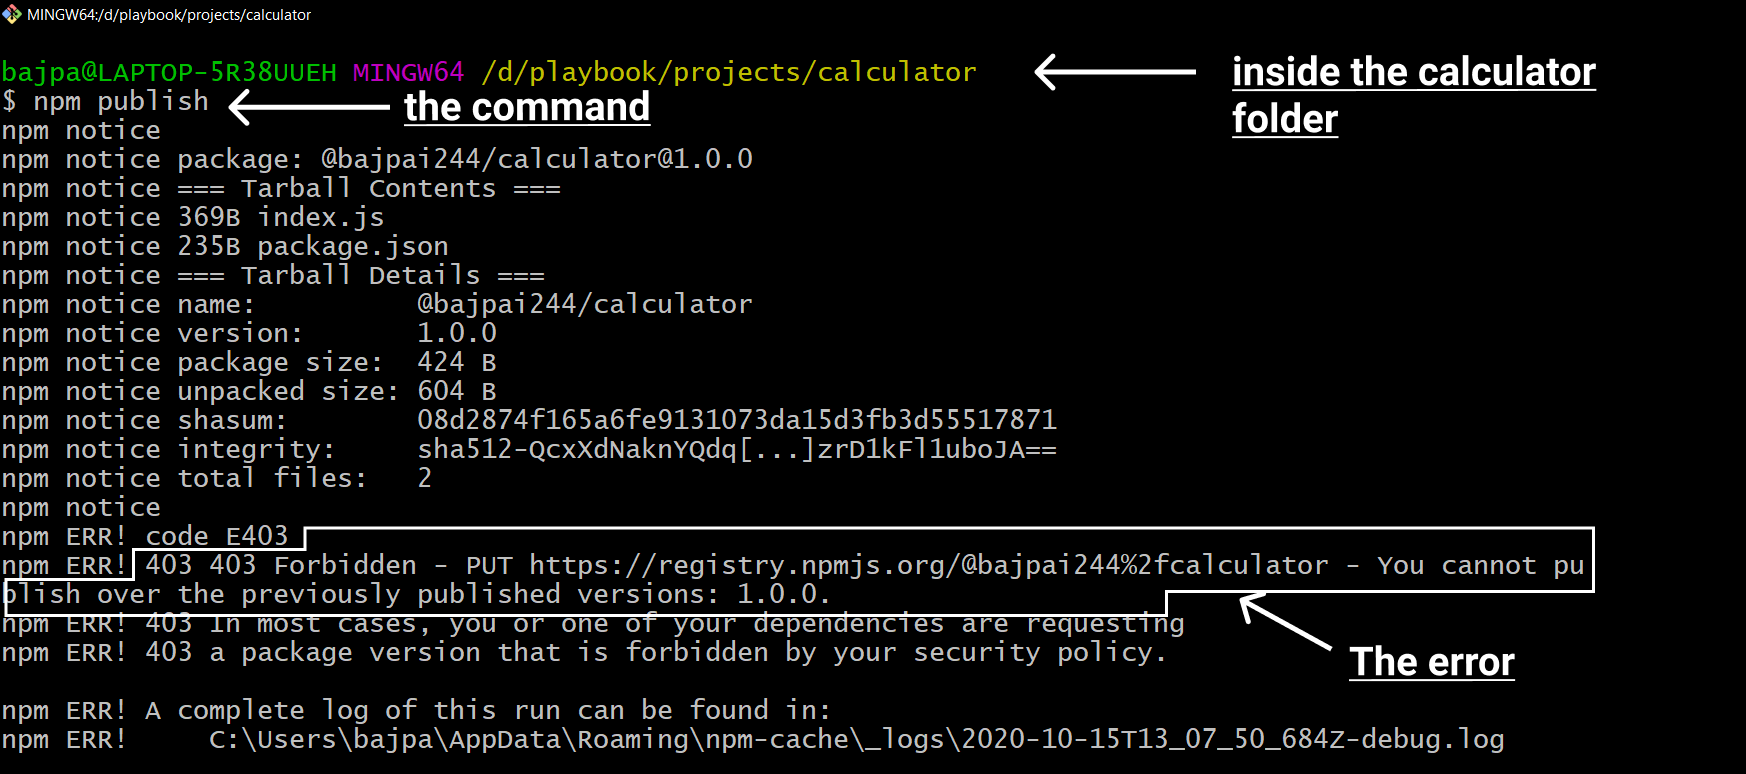
Yes, you are right! what you have in front of you is an error. In npm we can't publish a package again with the same version. So we have to change the version number of our package before we publish the package.
How should I decide the version number?
For npm packages, we use semantic versioning. Here a version number is in MAJOR.MINOR.PATCH form.
Meaning in our default version number 1.0.0:
- Major Version = 1
- Minor Version = 0
- Patch Version = 0
How to decide whether to increment MAJOR, MINOR, or PATCH
Given a version number MAJOR.MINOR.PATCH, increment the:
- MAJOR version when you make incompatible API changes,
- MINOR version when you add functionality in a backward-compatible manner, and
- PATCH version when you make backward-compatible bug fixes.

Changing the version
Now, open your package.json and there you will see a version number, change it from "1.0.0" to "1.1.0".
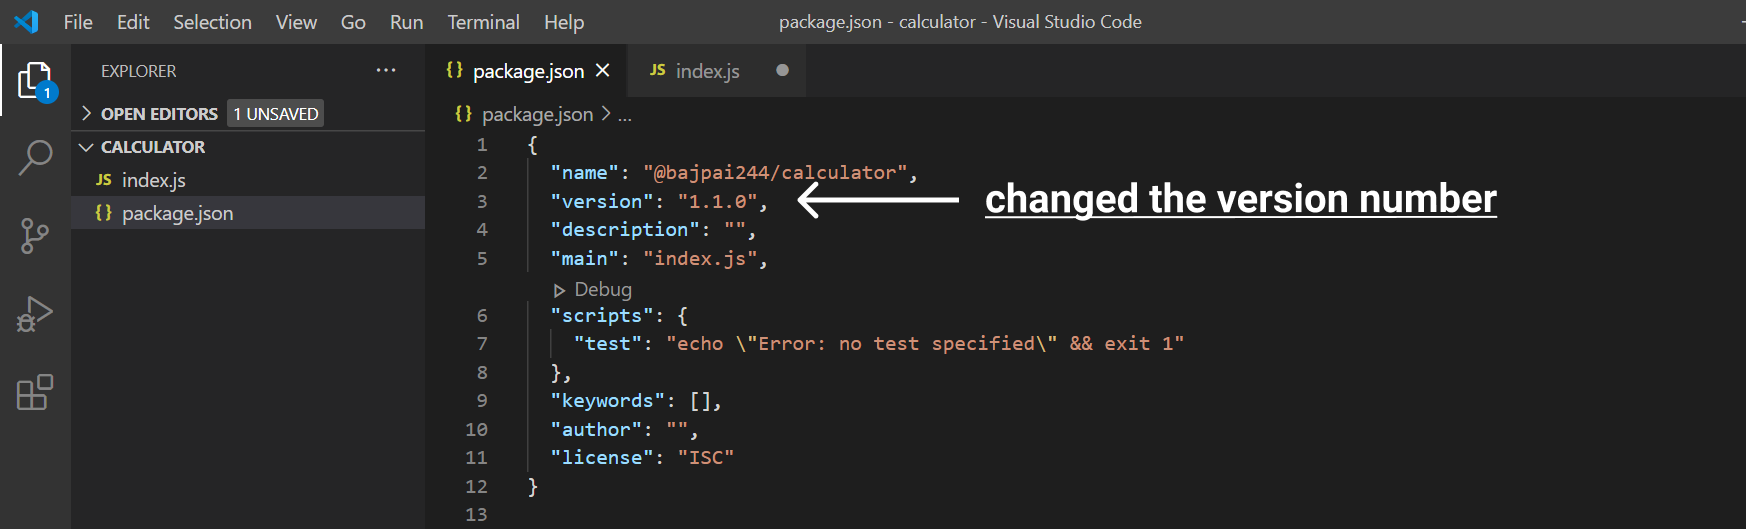
We have added new functionality and the code is still backward-compatible and hence we are increasing the MINOR version to 1 from 0.
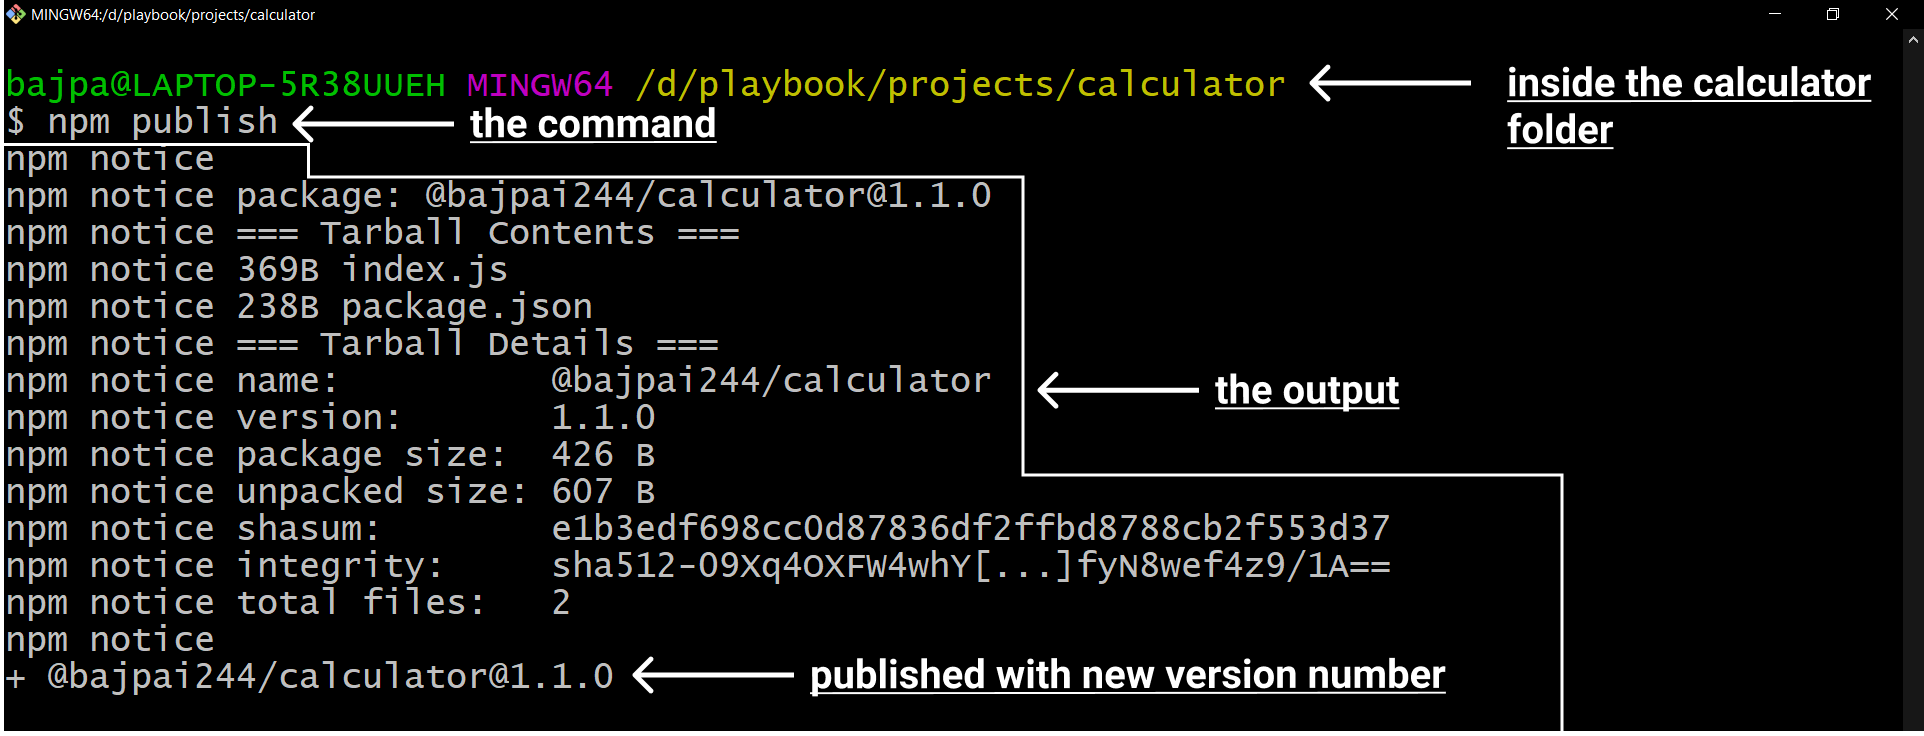
Now try publishing it!
Open your project inside a terminal and type the following command:
npm publish
Press the Enter key to run the above command.
This is what it will look like:
Testing our npm package
Now, we are going to test our npm package!
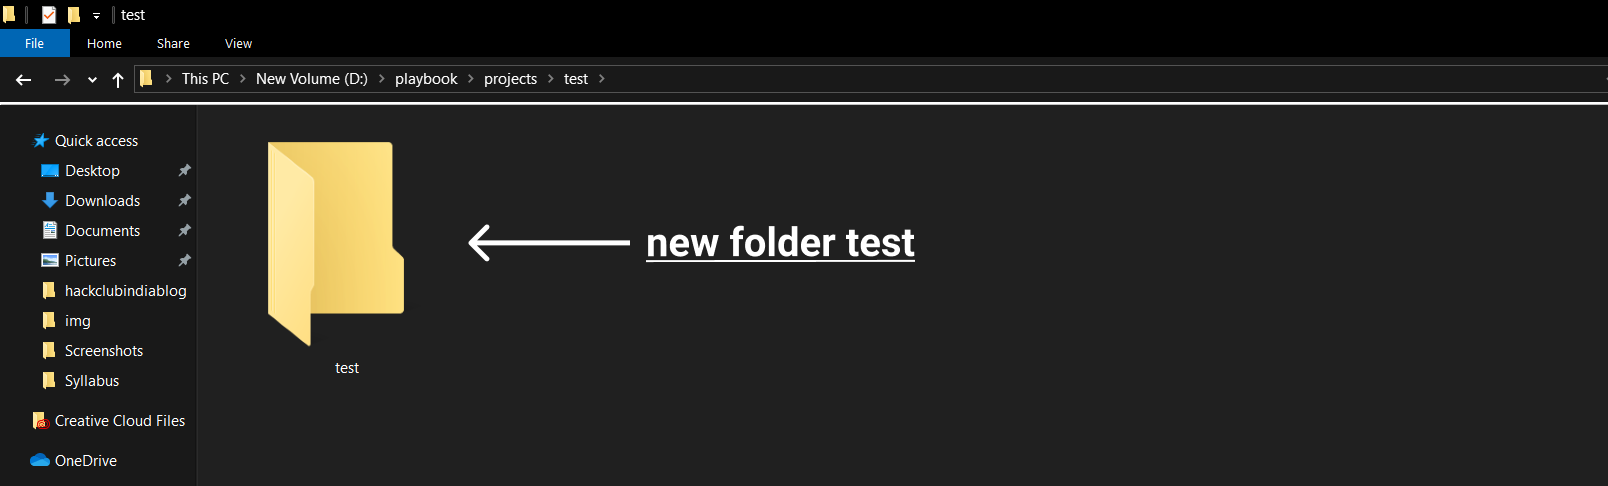
Create a new folder
Now, create another folder test.
Initialize it
Now, open this folder inside a terminal and type the following command.
npm init -y
Press Enter key to run it.
Now, in the next command, I am going to use my scope which is @bajpai244 and you should change it to your scope i.e your @username.
After that type the following command in the terminal:
npm -i @bajpai244/calculator
You should use @username/calculator where @username is your username with @ as prefix.
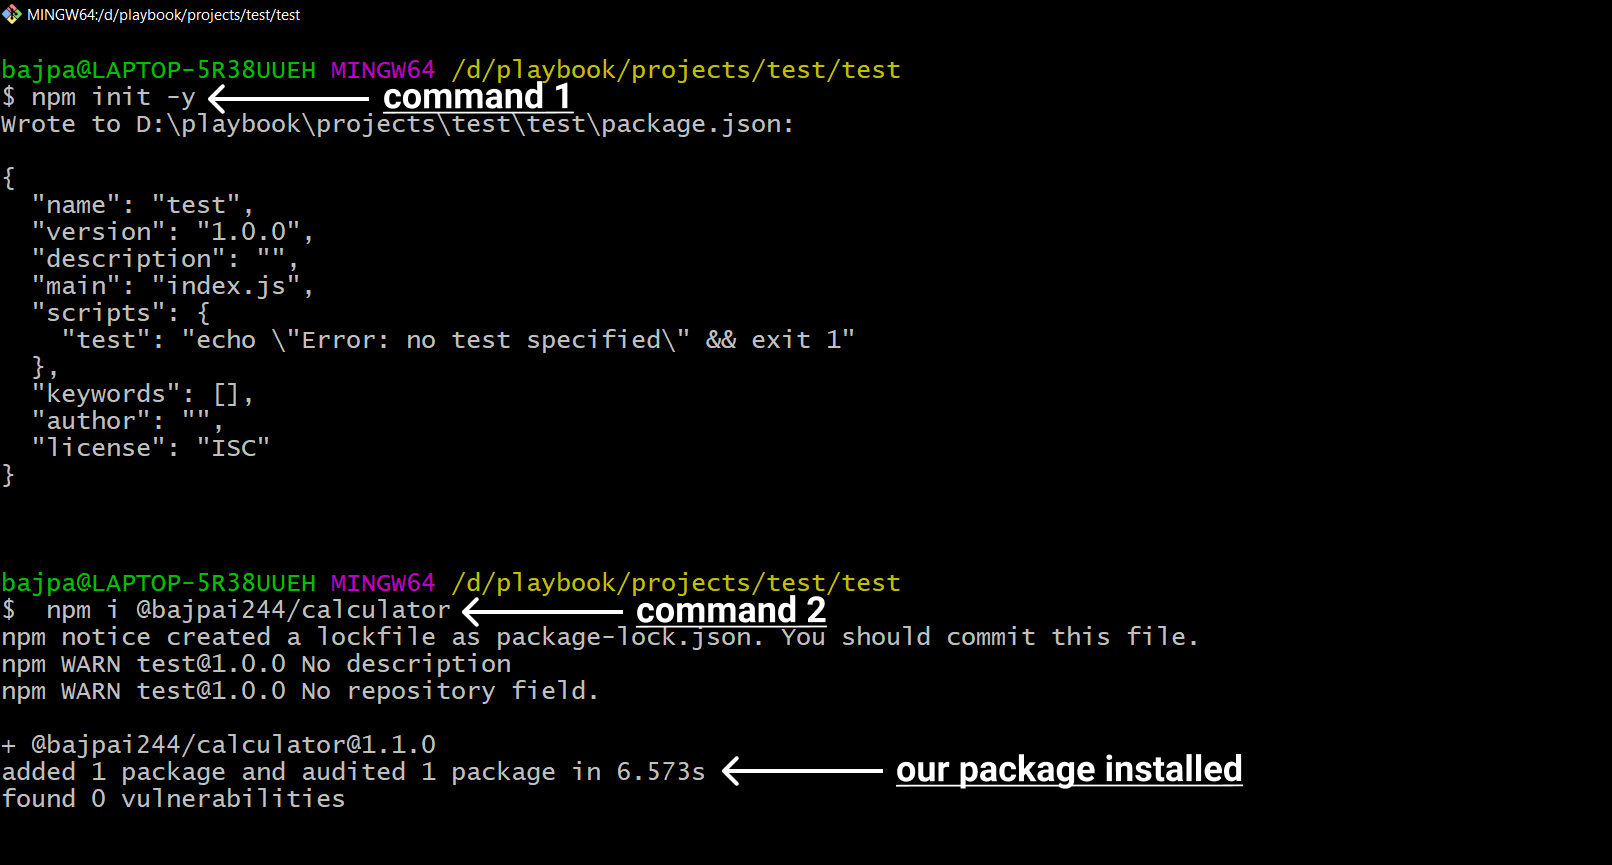
What happend in the above two commands?
The first command made our package.json file and second command installed our npm package to our test project.
Create index.js
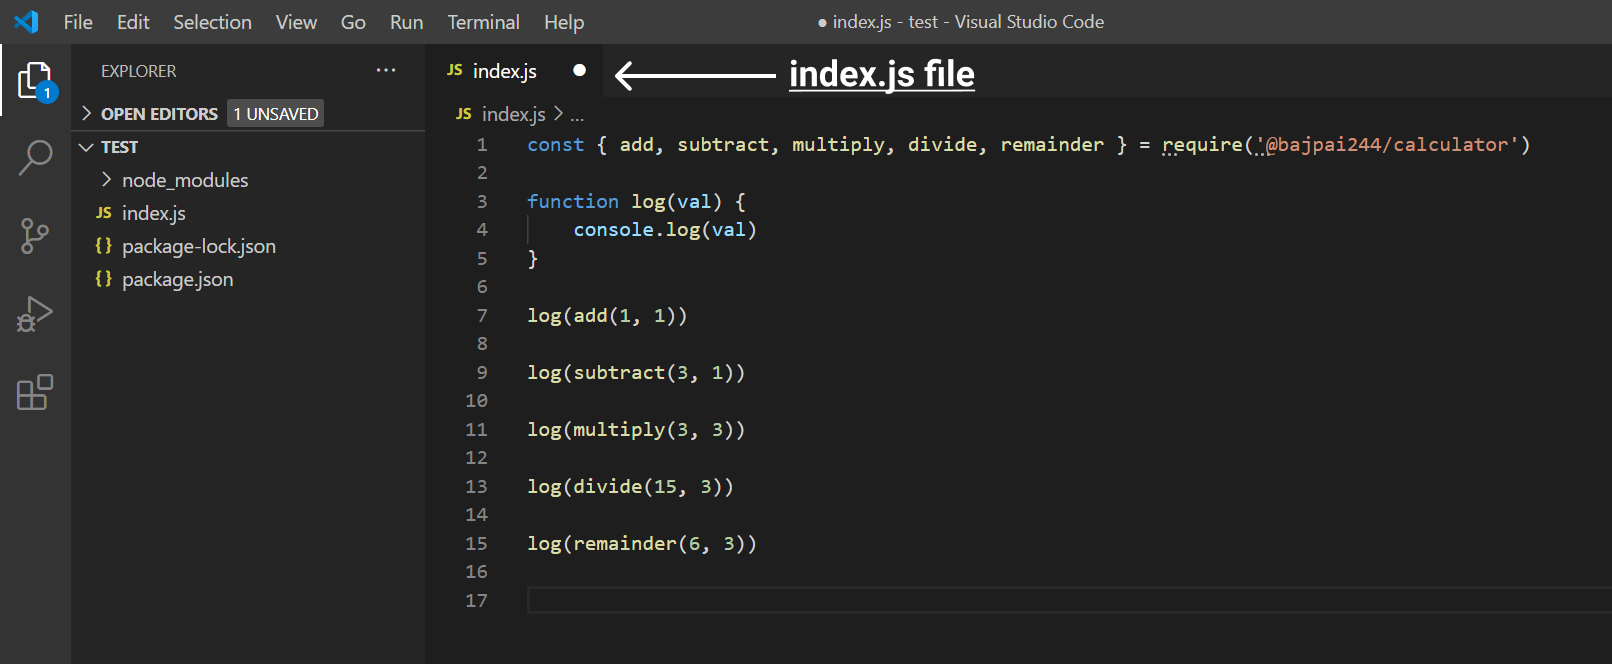
Now open this folder inside a code editor and make a new file index.js and type the following code inside it:
const {
  add,
  subtract,
  multiply,
  divide,
  remainder
} = require('@bajpai244/calculator')

function log(val) {
  console.log(val)
}

log(add(1, 1))

log(subtract(3, 1))

log(multiply(3, 3))

log(divide(15, 3))

log(remainder(6, 3))
Now, here we have imported our package's functions and are testing them with the help of our function log which will log their result on a console.
This is what it will look like:
Running the test
Now, we will run this file via Node.js. Open this folder inside your terminal and type the following command:
node index.js
Press the Enter key to run this command.
This is what it will look like:
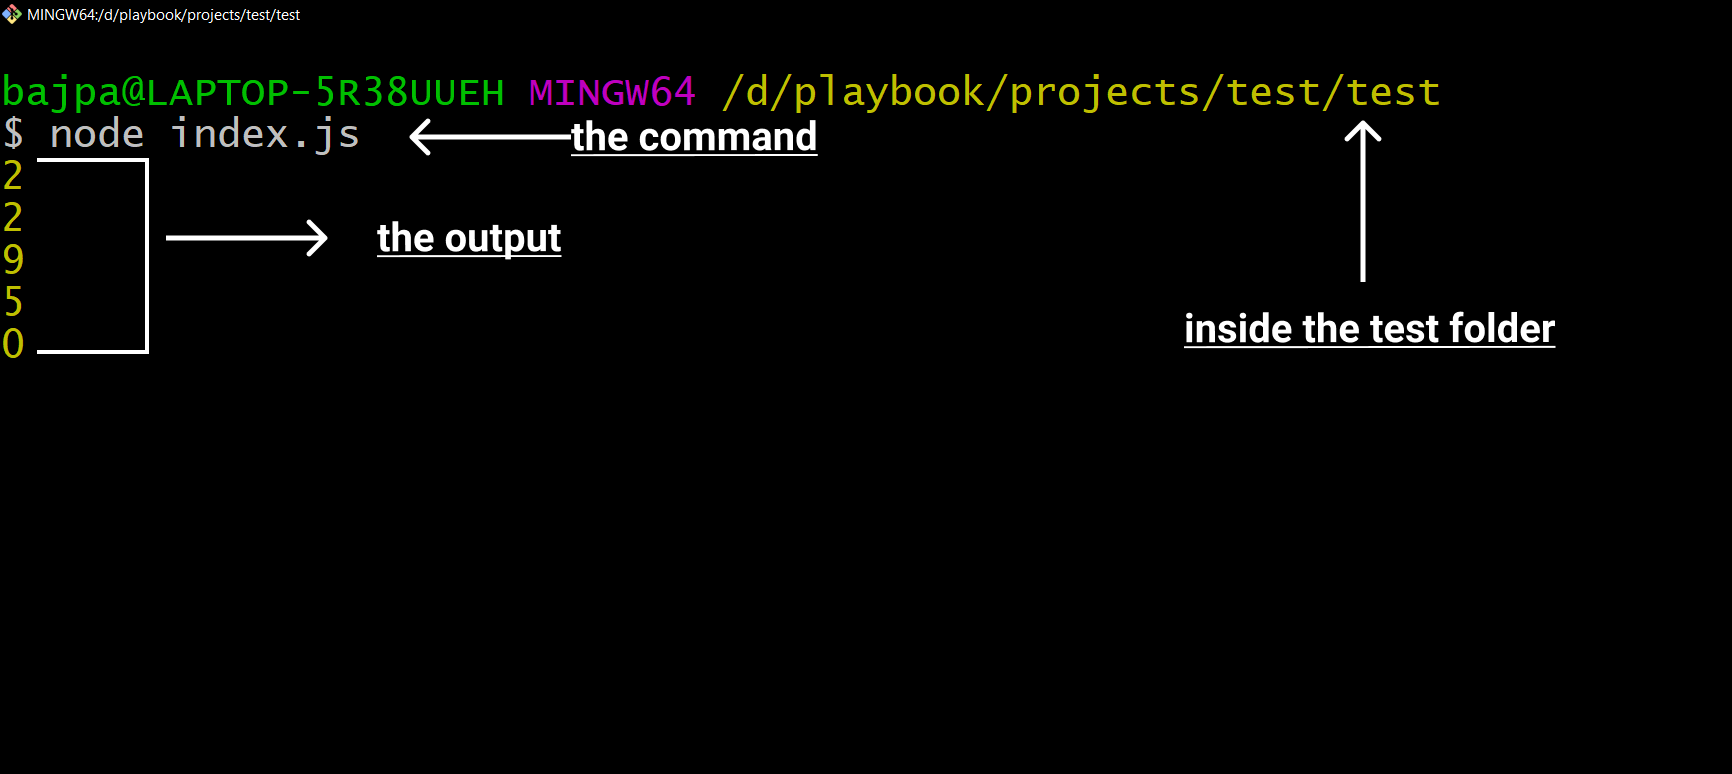
We will get the output of our file logged on the terminal.
Done!
Congratulations! Now you are an npm ninja. You have created and published your first npm package!

You will still encounter more challenges in your journey as a package-manager and would be required to learn the best practices while publishing packages, but because you have crossed the first hurdle, I am sure you will easily get through the others.

Next Steps!
I know it feels awesome to make it but don't stop here, Create whatever you can from this crazy trick and share it with us in the #ship channel of Hack Club's Slack.
I am available on Hack Club's Slack by the username Harsh Bajpai, If you have any doubt or query regarding this workshop then feel free to reach out to me!