

Open a website, say GitHub. Okay, now sign in. What just happened? What did the code do? How does "Logging In" work? To find out, let's build a login system ourselves!
We'll have to:
- Create a Flask webserver
- Make app routes that write to and read from a JSON file
- Test our webserver with Insomnia. (Note: you will have to install a Chrome extension in order to use Insomnia)
Here's a quick look at what we'll be making:
This is a simple backend demo, but you can hook this up to ANY frontend you want - and I've provided a demo on how to do that at the bottom.
This workshop does assume a very basic knowledge of Python and HTTP Requests but I hope I've broken things down so that beginners can understand too. I've also linked sources at the bottom so you can read up on these topics.
What does Flask do?
The Flask library in Python is what we'll use to create a server for us to write (POST) and read (GET) data from. We'll test our Flask webserver with Insomnia, a desktop program or Chrome extension that allows us to test APIs by sending GET or POST requests. (If you don't know what GET or POST requests are, I've linked some helpful sources at the bottom). Flask works with routes, which allow us to define what the code does when a certain request is recieved. We'll be defining routes to write to and read from the JSON file we'll be creating.
Downloading Insomnia
In order to test our Flask server, we'll need to send requests to the server. We can use Insomnia to do this. Insomnia is great because it is available for so many platforms. All you need is a Chrome browser. You can get Insomnia at the Chrome Web Store. You should see a screen like this:
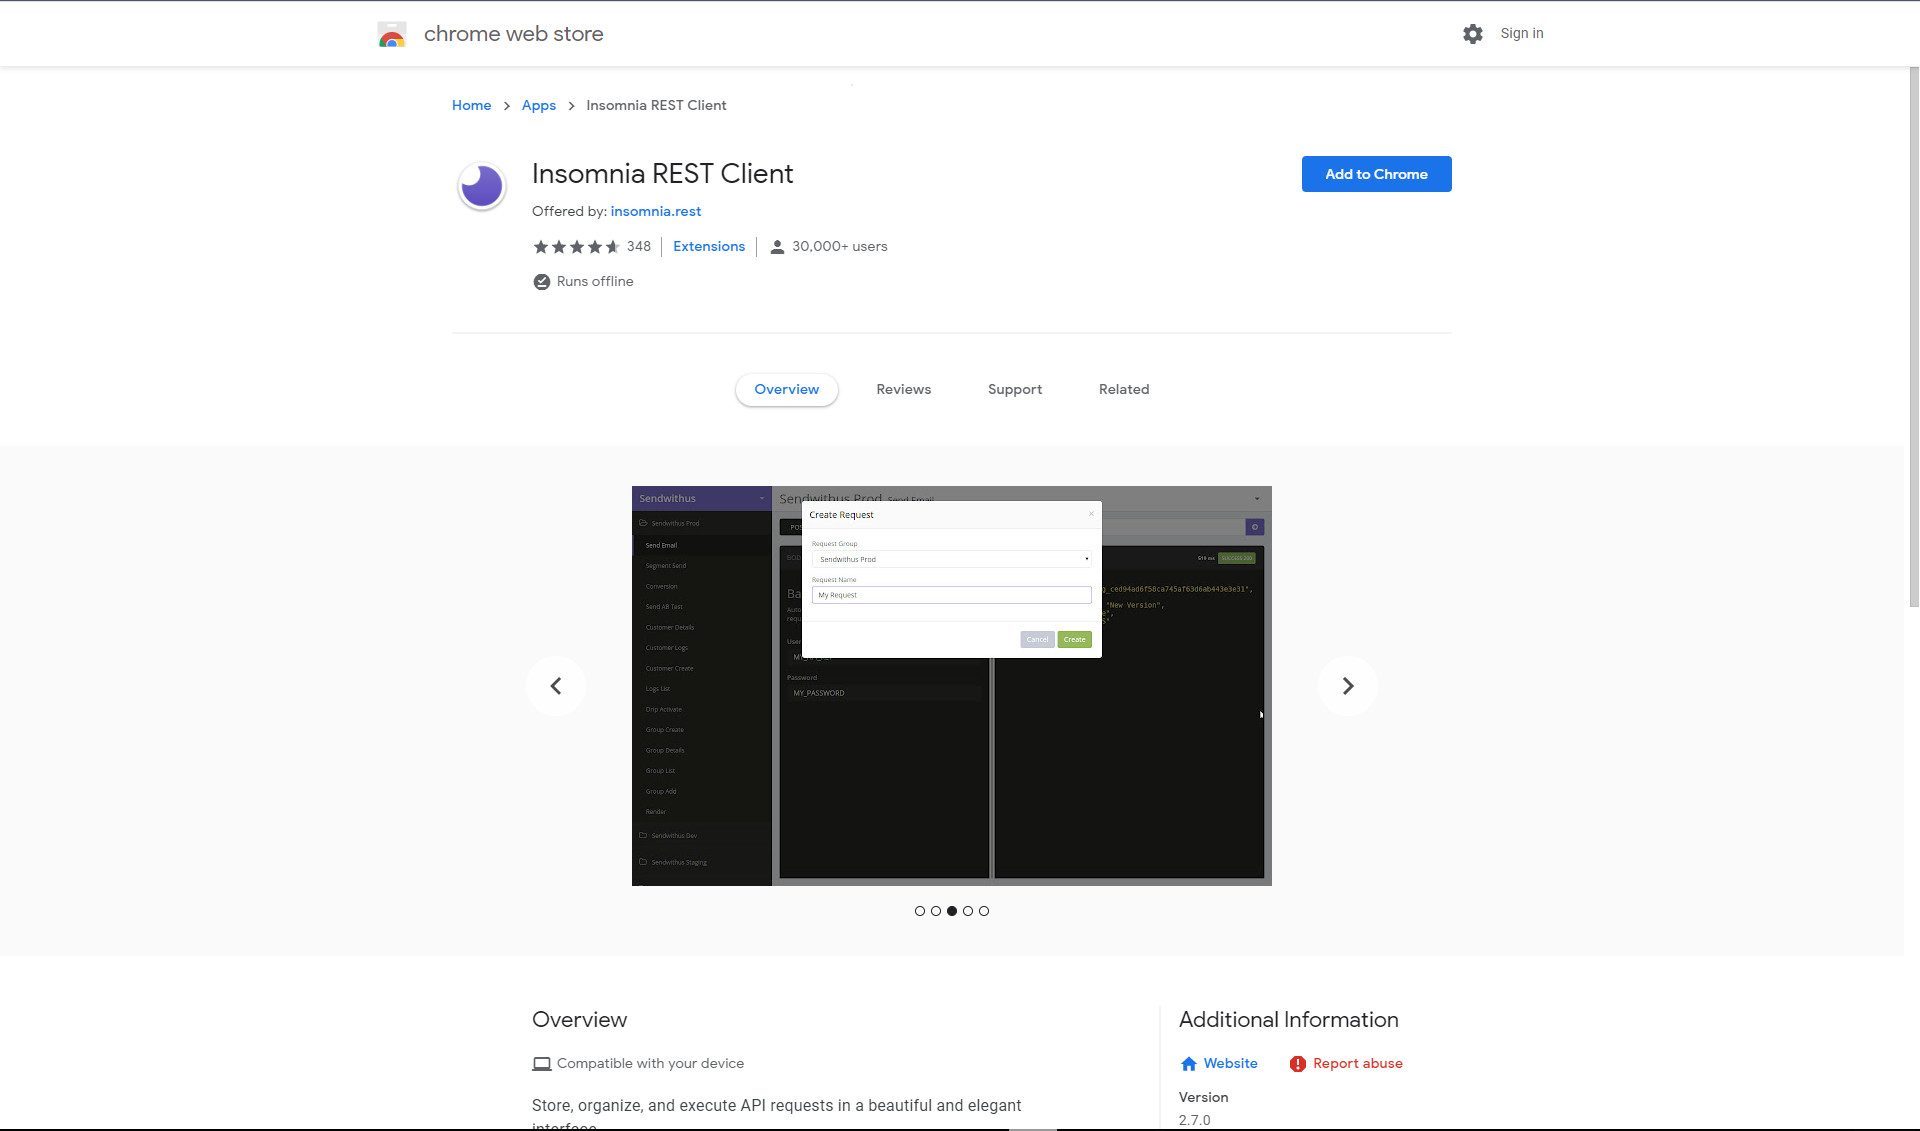
Press the "Add to Chrome" button, and then press "Add App."
We'll work more with Insomnia after writing our code.
Getting Started
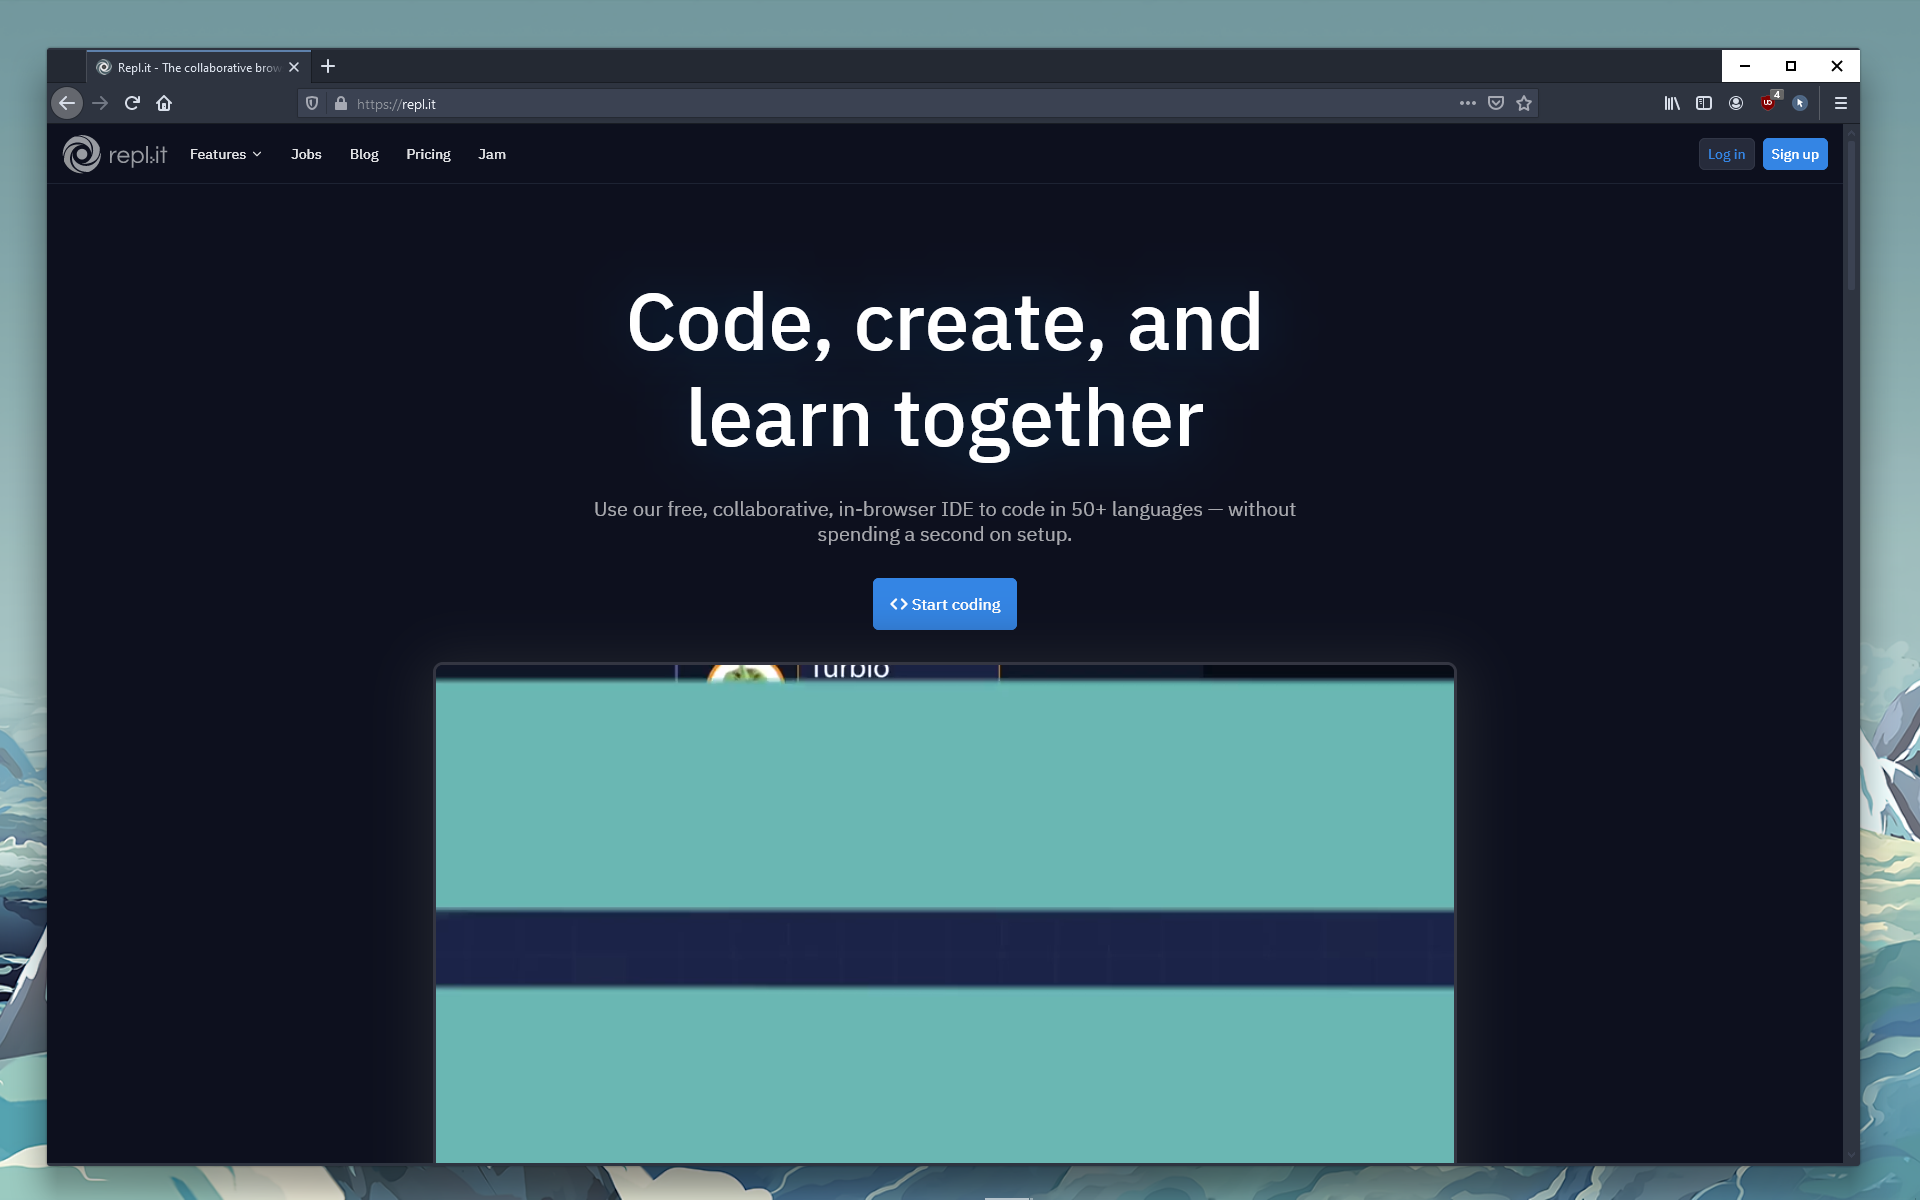
We'll be using Repl.it to work on this, because it makes it very easy for us to run our webserver and code in Python. Let's set up our accounts.
Go to repl.it. You should see something like this:
Either press "Log In" or "Sign Up," depending on whether or not you already have an account. Once you're done, you should see the "Home" page. Press either the plus icon in the top right or the "New Repl" button in the top left. You should see this screen:
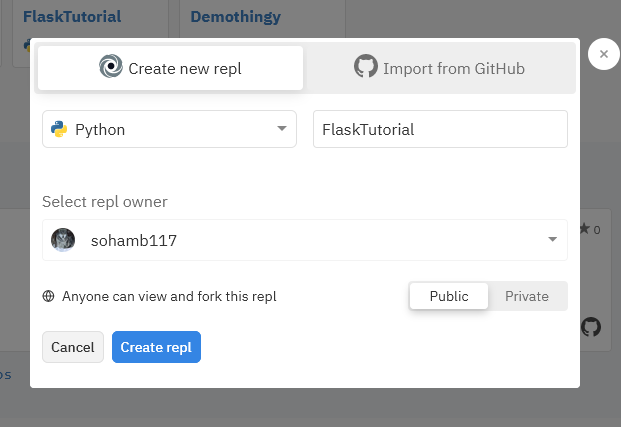
Set the language to Python and the name to anything you want.
Starting the Code
Let's start with importing the libraries we'll be using.
from flask import Flask, request
import json
from replit import db
This just imports the Flask and request modules from the flask library, because they're the only ones we need from that library. We also need json because that's what we'll be using for storing our data. We'll be using a replit's built-in database to store our data.
In order to create a webserver with Flask we'll need to define a Flask app. We do this with the following line:
app = Flask("MyApp")
The parameter passed into Flask() can be any string, and it's the name of your app. You can set it to any valid string you want as it doesn't really make a difference in the project.
We've now defined our app, but it won't do anything unless we run it. Let's add a line at the bottom of our code to run this.
app.run(host='0.0.0.0')
This runs our newly created app on the default port, 5000. It doesn't really matter which port you use because repl.it makes it possible to use any port you want here (as long as it's not port 80).
Adding Routes
Right now, our app is kind of useless. If you run it, it should start a new webserver, but it won't do anything. Let's start by creating our first route.
@app.route("/", methods=['GET'])
def helloworld():
  return("Hello World!")
The first line adds a decorator that tells Flask to treat the function as a route. A route is essentially an path that we can send a request to.
You can see routes being used in almost any website - they use the / character to specify a route. For example, you can see https://www.iana.org/domains/reserved uses / to indicate that from the main site, you want to go to domains, and from there you want to go to reserved.
In Flask, / without any text after it indicates that this is the route you'll see when first going to the URL.
Flask handles routes by creating functions, the return values of which Flask displays to the user. In this function we see:
return("Hello World!")
This function has a return value of "Hello World!" so that's what Flask will display to the user.
See it for yourself by clicking the green "Run" button at the top of the repl. Repl.it should automatically open a panel to allow you to view your Flask app. It should also have a URL to the app.

If you open the URL in a new tab and you should see "Hello World!" displayed. Congratulations, you've successfully finished creating your first route!
Now let's start on the routes we want to define for our webserver to handle logging in.
Registration Route
We want our new route to be /register. This means that in order to register, we'll send a request to yourURL/register (of course, yourURL will be the URL given to you by repl.it).
The way you specify the route is as simple as specifying the route in the decorator. It should look something like this:
@app.route("/register", methods=['POST'])
The POST method tells Flask that we want to send a POST request here to write data instead of a GET request to receive data.
Now let's write the code that will run when we send this request.
Let's define our function now. Here's the code:
@app.route("/register", methods=['POST'])
def register():
  username = request.args.get("username")
  password = request.args.get("password")
  data = request.args.get('data')
  if not(username in db):
    db[username] = "{" + f"\"password\": \"{md5(password.encode('utf-8')).hexdigest()}\", \"data\": \"{data}\""  + "}"
    return("Success")
  else:
    return("User already registered.")
What does this code do? Let's break it down part by part.
username = request.args.get("username")
password = request.args.get("password")
data = request.args.get('data')
request.args.get(ARGUMENT) is a method from the request module in Flask that allows you to get arguments from a webrequest. We're saving the value for the argument "username" in the variable username. This also applies for "password" and "data". Arguments for this route will look something like this:
yourURL/register?username=USERNAME&password=PASSWORD&data=DATA
As you can see, the ? character specifies that arguments will follow. We separate the arguments using &.
Now let's take a look at the rest of the route.
if not(username in db):
  db[username] = "{" + f"\"password\": \"{md5(password.encode('utf-8')).hexdigest()}\", \"data\": \"{data}\""  + "}"
  return("Success")
else:
  return("User already registered.")
In this block, we first check if our username is in the database, to check if the user is registered. If it is, the next line is run.
db[username] = "{" + f"\"password\": \"{md5(password.encode('utf-8')).hexdigest()}\", \"data\": \"{data}\"" + "}"
This line sets the value db[username], or the value corresponding to this username in the database, to a string formatted like JSON. You'll notice that we're using md5 hashing to save our password, with md5(password.encode('utf-8')).hexdigest(). This creates an md5 hash of our string.
Why are we hashing the password?
A rule of thumb for storing passwords is that you should never store passwords in plaintext. If you do, and then a hacker happens to get access to the database containing your passwords (which happens more often than you may think, even to major companies!), all of your users' passwords will be compromised. Hashing your passwords provides an extra layer of security against these kinds of attacks.
A hash is a cryptographic algorithm that protects data by ensuring it's computationally infeasible to reverse the hash. So, hashing something is as easy as md5(your data), but reversing the hash is quite literally impossible. In computer science, this is known as a trapdoor function.
The reason hashes are great for storing passwords is because the hash of the same data results in the same result. For example, the md5 hash of password will always be 5f4dcc3b5aa765d61d8327deb882cf99. So, even though you can't reverse the hash, you can check if a hash matches some string by hashing the string in question and checking if the resulting hash is equal to the stored hash. This is how every website verifies whether or not you've entered the correct password. This is also why companies make such a big deal about setting secure passwords—one method of password cracking is called a dictionary attack, where attackers who got access to a database of hashed passwords try guessing some of the passwords using a list of common passwords.
Pretty interesting stuff! You can really dive into a rabbit hole with this stuff, so I'm going to stop now in the interest of not doing that.
A quick note about the code in this workshop before we go, though: you also shouldn't use an md5 hash, like what we're doing here. We're using md5 for simplicity, but md5 is an old hashing algorithm that people have since figured out how to reverse. In your real projects, find a cryptography library for whatever language you're using and use a more secure hashing algorithm, such as SHA-256.
Ok that concludes this side quest!
The code then returns "Success".
If the user is found in the database, then we're trying to reregister a user. We don't want that, so we return "User already registered." and don't update our database.
Login Route
We've finished registration, but there's little point to that if the users cannot login. Let's create a GET request for logging in. Let's start by creating the route.
@app.route("/login", methods=['GET'])
This route will be /login and we want to use a GET request, which tells the server that we just want to read data, not add it.
The code in this route is more simple than the code for the other route.
def login():
  username = request.args.get("username")
  password = request.args.get("password")
  value = db[username]
  jsonthingy = json.loads(value)
  if jsonthingy["password"] == md5(password.encode()).hexdigest():
    return(jsonthingy["data"])
  return("User not found")
Once again, we are taking in arguments with request.args.get and saving them in variables. However, since we are trying to log in and GET the value of data we aren't passing that in.
Remember how we formatted our value as JSON earlier? Let's convert that JSON string to a Python dictionary with json.loads. We first set value to db[username to get the value assigned to that username. We then set jsonthingy, a Python dictionary, to json.loads(value).
We then compare the value assigned to password in that dictionary to the hash of the argument we got. If the hashes match, we know that the passwords are the same. If they are the same, we reply with jsonthingy[data], or the data associated with that user. Otherwise, we return "User not found."
Testing the Code
Finally, we'll be using Insomnia to test if our code works.
Note: if you don't want to install Insomnia, you can find an online-only tester by googling "api tester online". The following steps will assume you have Insomnia installed, but the steps are pretty similar for most API testers.
Let's launch the app (you can do this by going to chrome://apps in the URL bar of Chrome).
You should see something like this:

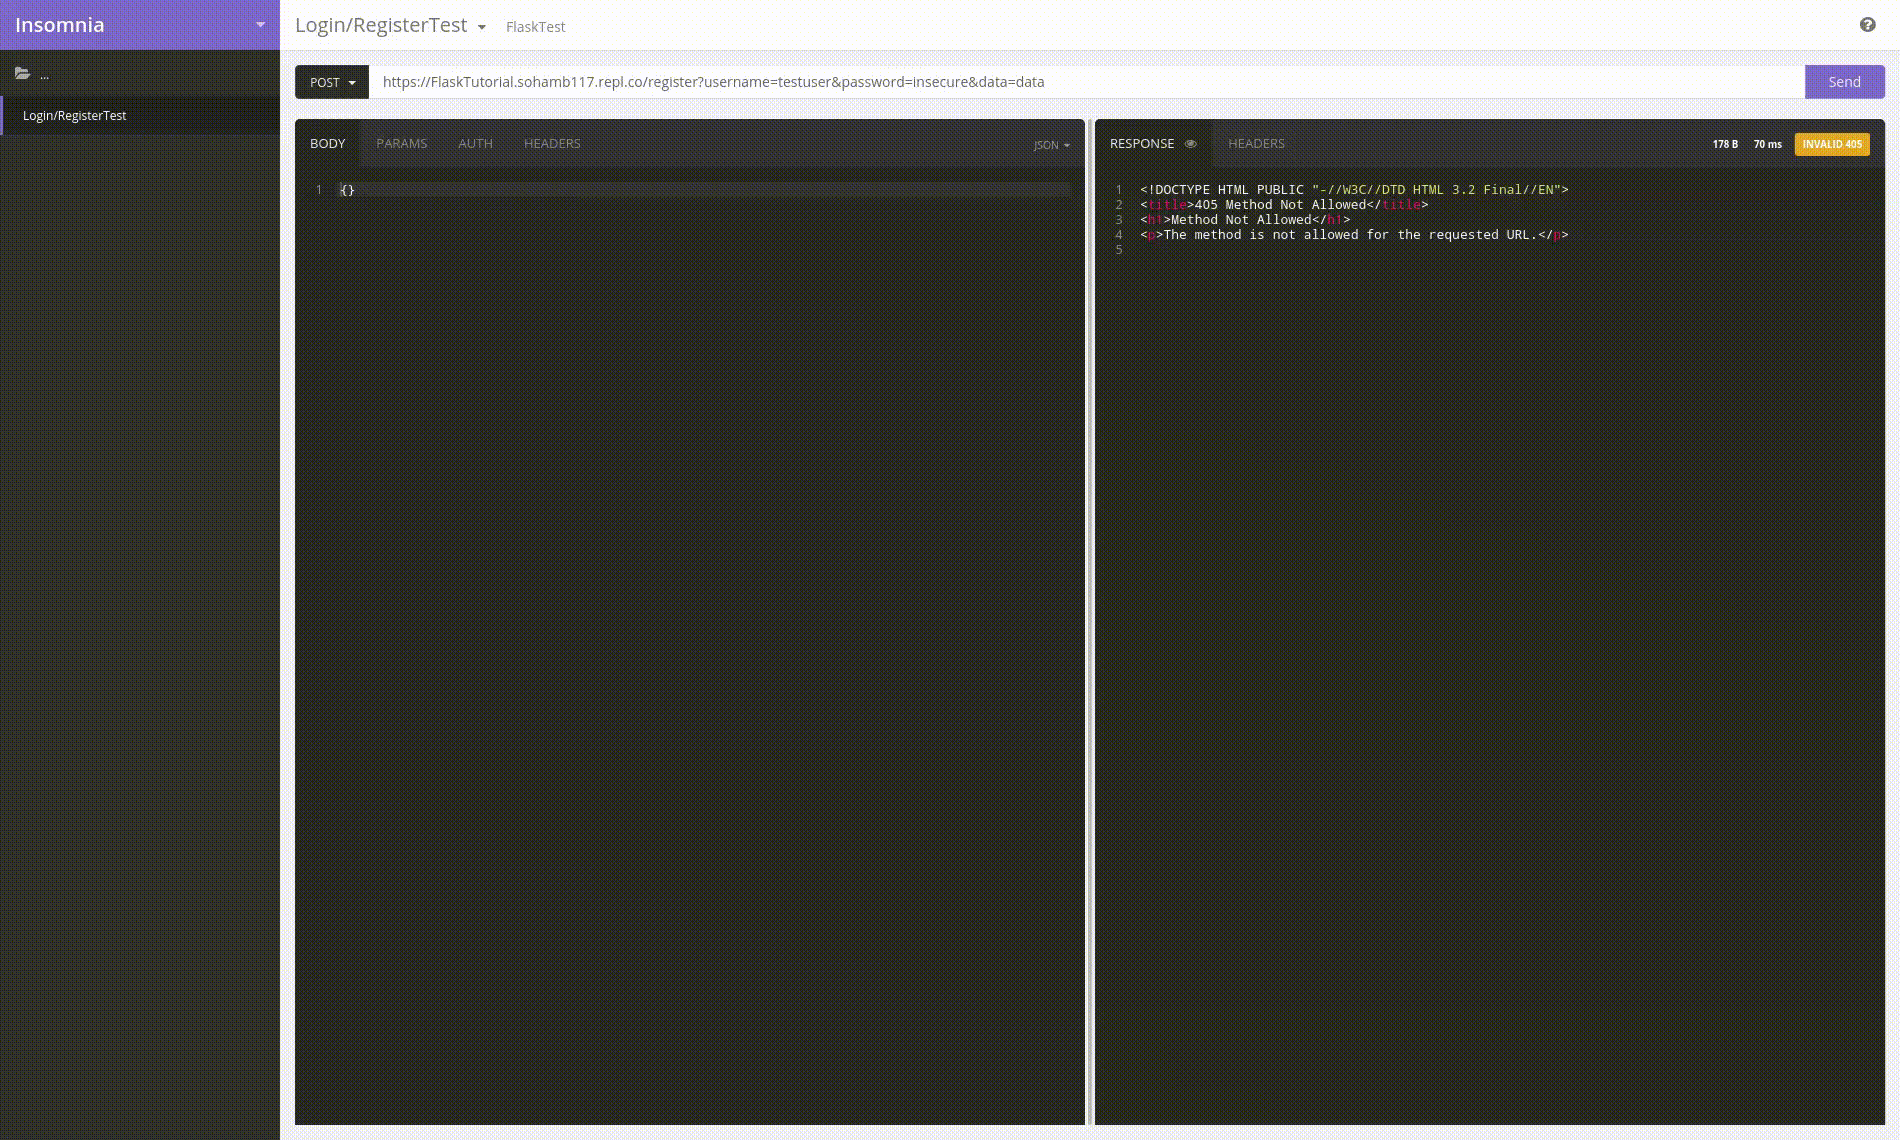
Click "Create a Request" and enter any request name, it doesn't really matter.
You should see this:
In the dropdown menu labeled "GET" by default, click it and set to POST. Insomnia will send a post request now.
Next to that, there's a text field. Since we're testing our POST route, or our /register route, we want to set that to yourURL/register?username=USERNAME&password=PASSWORD&data=DATA. Replace yourURL with the URL you got from repl.it, and replace USERNAME, PASSWORD, and DATA to be any values you want.
For example, I might put https://FlaskTutorial.sohamb117.repl.co/register?username=soham&password=insecure&data=testing.
Press the purple "Send" button, and then check your registered.json file. If everything worked, you should see a new entry in the file.
Now that we've tested the POST request, we should test the GET request. Set the dropdown back to GET and replace the url with this:
yourURL/login?username=USERNAME&password=PASSWORD
Again, replace the necessary fields and hit "Send". If all goes well, you should see the value for data returned back to you. For me, that's testing.
If everything works, your webserver is complete!
Final Look at the Code
We've finished the code! It should look like this:
from flask import Flask, request
from replit import db
import json
from hashlib import md5

app = Flask("MyApp")

@app.route("/", methods=['GET'])
def helloworld():
  return("Hello World!")

@app.route("/register", methods=['POST'])
def register():
  username = request.args.get("username")
  password = request.args.get("password")
  data = request.args.get('data')
  if not(username in db):
    db[username] = "{" + f"\"password\": \"{md5(password.encode('utf-8')).hexdigest()}\", \"data\": \"{data}\""  + "}"
    return(db[username])
  else:
    return("User already registered.")

@app.route("/login", methods=['GET'])
def login():
  username = request.args.get("username")
  password = request.args.get("password")
  value = db[username]
  jsonthingy = json.loads(value)
  if jsonthingy["password"] == md5(password.encode()).hexdigest():
    return(jsonthingy["data"])
  return("User not found")

app.run(host='0.0.0.0')
To recap, this code
- Creates a Flask app
- Creates routes for the app
- Reads values from arguments
- Hashes passwords
- Stores values as JSON in a replit database
- Returns values as a response to a GET or POST request
What this does NOT have:
- Password requirements
- CAPTCHA or any anti-bot measures
Hacks and Further Reading
Here are some things to check out or read.
- Get and Post Requests
- Flask Documentation
- How JSON Works
- Password Hashing and Security
- Article on How Login Works
Here are some hacks that show what you can do with this: