

Join Hack Club Horizons! Ship your projects and fly to your first hackathon →
In this workshop, we make a Christmas greeting using a Python library called turtle!
Getting Started
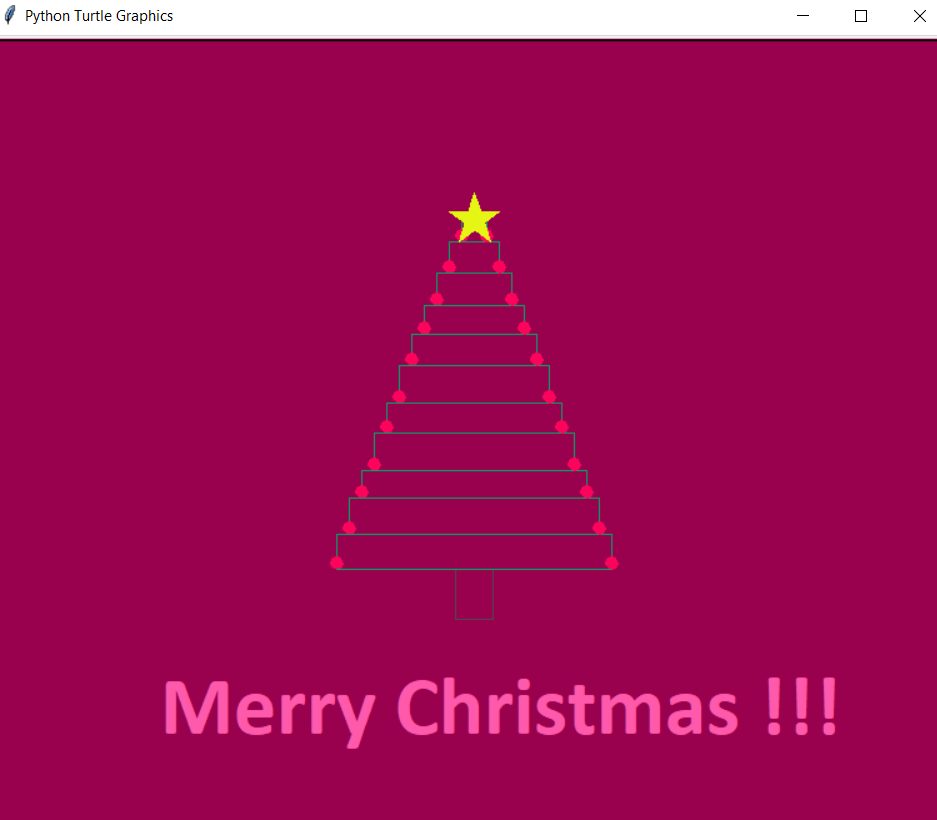
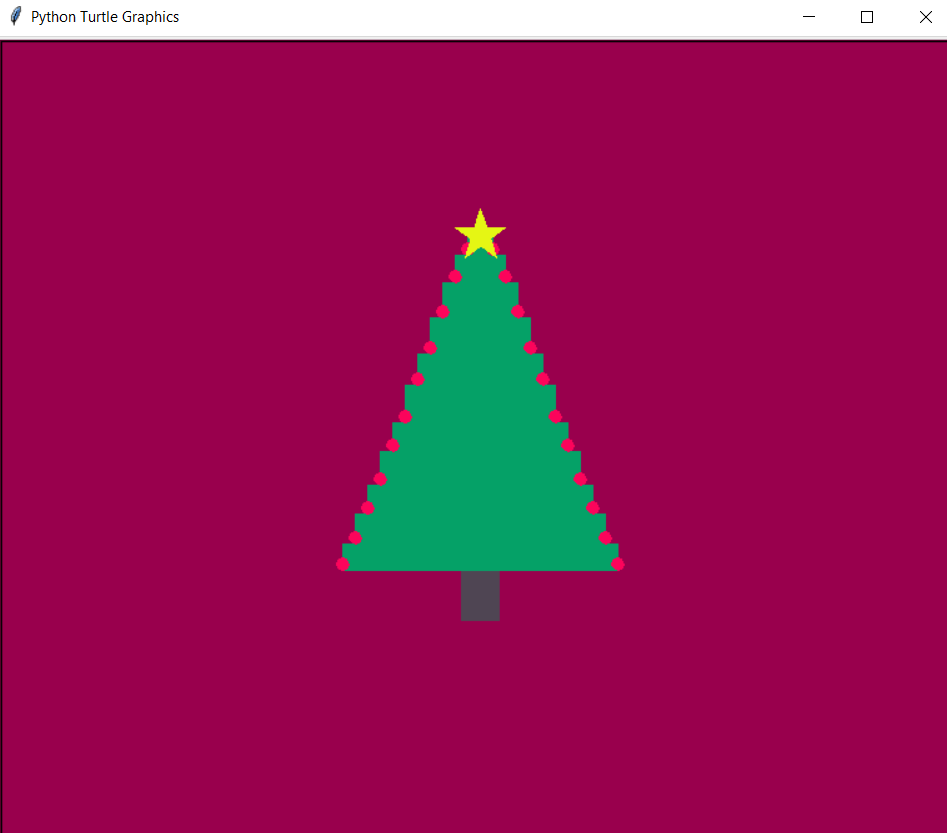
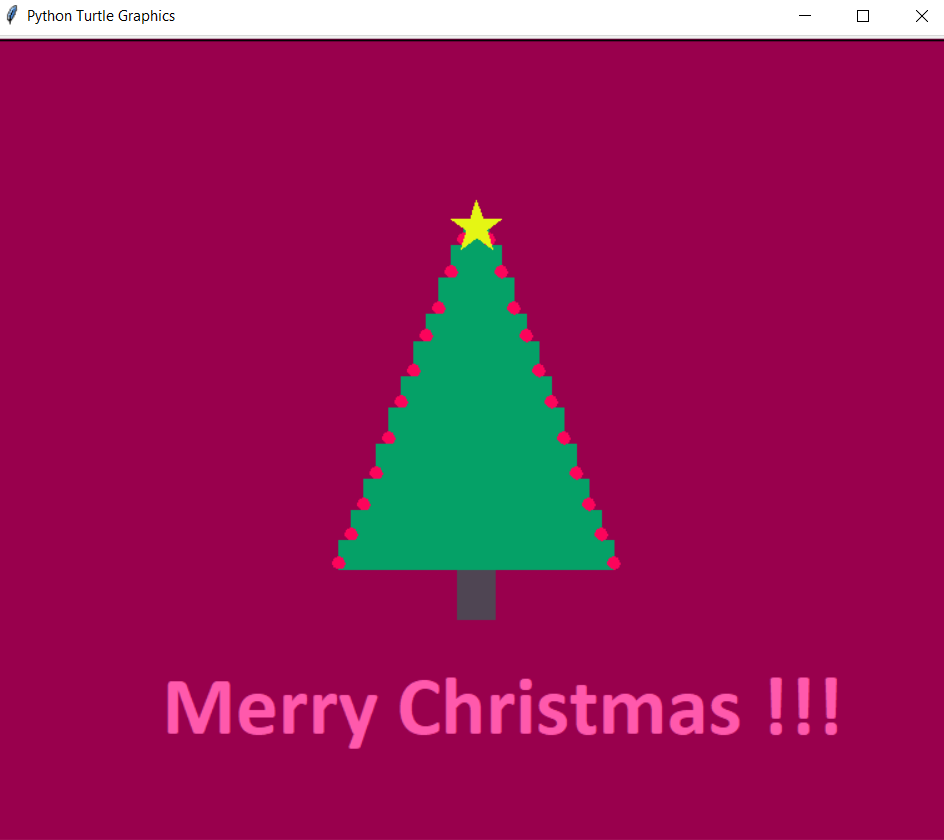
Let me give a brief idea of what we are going to do. We are going to make a greeting card with a maroon-ish background with text written on it saying "Merry Christmas". We are going to add a Christmas tree above the greeting. That is, we need a green tree with a brown stem, a yellow/golden star on top, and tiny red balls on either side of the tree.

To break it down a bit more, the leaves and stem will be made out of multiple boxes or rectangles, with tiny circles on either end of the rectangle. Finally, a star on top of the center.
Shall we start coding?
Create a new Python project on repl.it by visiting https://repl.it/languages/python3 .
We are gonna make 2 python files.
- Figures.py - A python file in which we code the functions that we will use to create the boxes/rectangles, the tiny circles, and the star.
- main.py - A python file in which we call the functions of boxes, circles and star to make a Christmas tree. And finally, we will add a greeting on the bottom of the screen as you saw above
Let's code Figures.py first.
Using the sidebar on the left, create a file and name it 'Figures.py'. (You should see a file called 'main.py', don't worry about that yet)
Now in the coding window:
First, let's import the turtle library:
import turtle
Next, let's make a function to draw a rectangle
def box1 (turtle, color, x, y, width, height):
    turtle.penup()
    turtle.color(color)
    turtle.fillcolor(color)
    turtle.goto(x,y)
    turtle.pendown()
    turtle.begin_fill()
    for i in range(2):
        turtle.forward(width)
        turtle.left(90)
        turtle.forward(height)
        turtle.left(90)

    turtle.end_fill()
    turtle.setheading(0)
Let's break down this code.
def box1 (turtle, color, x, y, width, height):
First we create the function definition with parameters:
- Color of the rectangle (color).
- Postion of the turtle/where to start drawing the rectangle from (x and y and coordinates).
- Width and height of the box/rectangle.
    turtle.penup()
    turtle.color(color)
    turtle.fillcolor(color)
    turtle.goto(x,y)
    turtle.pendown()
We use penup() and pendown() function to move the turtle without drawing anything (just like lifting the pen from the paper and keeping back on paper).
goto(x,y) decides the position of the turtle.
for i in range(2):
        turtle.forward(width)
        turtle.left(90)
        turtle.forward(height)
        turtle.left(90)
The code above is the one that draws the rectangle. This code moves the turtle to one side by the same distance as the width mentioned. Then, turns it to left (left of the turtle) and moves it to a distance same as the height. This process is repeated twice as it is put in a loop twice. Now we have a complete rectangle. Are you still with me?
Let's make the star now shall we? Check the code below and see if you understand.
def star(turtle, color, x, y, size):
    turtle.penup()
    turtle.color(color)
    turtle.fillcolor(color)
    turtle.goto(x, y)
    turtle.pendown()
    turtle.begin_fill()
    for i in range (5):
        turtle.forward(size)
        turtle.right(144)
        turtle.forward(size)

    turtle.end_fill()
    turtle.setheading(0)
The size parameter decides the length of the edges of the star. Here, we move the turtle forward by a distance same as that of the size mentioned. Now, we turn the turtle to right by 144 degrees and move it by the same distance. Repeat the above steps 5 times and you will have a star. Got it?
Last function in this file to make the tiny balls on either sides of the boxes (green part) of the Christmas tree. Go through the code.
def balls(turtle, color, x, y, radius):
    turtle.penup()
    turtle.color(color)
    turtle.fillcolor(color)
    turtle.goto(x, y)
    turtle.pendown()
    turtle.begin_fill()
    turtle.circle(radius)

    turtle.end_fill()
    turtle.setheading(0)
Yes, turtle library has a circle function. Made our job pretty easy, didn't it?
Our functions to make the figures is ready. Let's take a look at the whole code.
import turtle
def box1 (turtle, color, x, y, width, height):
    turtle.penup()
    turtle.color(color)
    turtle.fillcolor(color)
    turtle.goto(x,y)
    turtle.pendown()
    turtle.begin_fill()
    for i in range(2):
        turtle.forward(width)
        turtle.left(90)
        turtle.forward(height)
        turtle.left(90)

    turtle.end_fill()
    turtle.setheading(0)


def star(turtle, color, x, y, size):
    turtle.penup()
    turtle.color(color)
    turtle.fillcolor(color)
    turtle.goto(x, y)
    turtle.pendown()
    turtle.begin_fill()
    for i in range (5):
        turtle.forward(size)
        turtle.right(144)
        turtle.forward(size)

    turtle.end_fill()
    turtle.setheading(0)


def balls(turtle, color, x, y, radius):
    turtle.penup()
    turtle.color(color)
    turtle.fillcolor(color)
    turtle.goto(x, y)
    turtle.pendown()
    turtle.begin_fill()
    turtle.circle(radius)

    turtle.end_fill()
    turtle.setheading(0)
All good? Now, lets move on to the next file.
The main.py file
Now open the main.py file by clicking it on your sidebar.
In this page, we are going to make a brown rectangle which will serve as the tree stem. Then, we are going to make multiple green rectangles stacked above each other. If each rectangle is smaller than the one below it, the whole image will have a Christmas tree like appearance. Shall we begin?
from turtle import *
from Figures import *
from random import randint
Here, we import all fuctions from 'turtle' library, all functions from 'Figures' file (which we just created) and finally 'randint' function from 'random' library so that we can use it to generate a random integer. Why do we need a random integer? We'll see.
speed(0)

bg = turtle.Screen()
bg.bgcolor("#99004D") #Setting back ground color

y = -100
width = 240
speed() function determines the speed of the turtle, ie, the speed in which the figures get drawn on the screen. When we set that to zero it moves as fast as it can.
Next, we set the background color to maroon using hexcode (#99004D). Find the right value for y, through trial and error. Set some random value first and then, iterate to find the right value which brings your turtle to the center. For width, provide any value you desire.
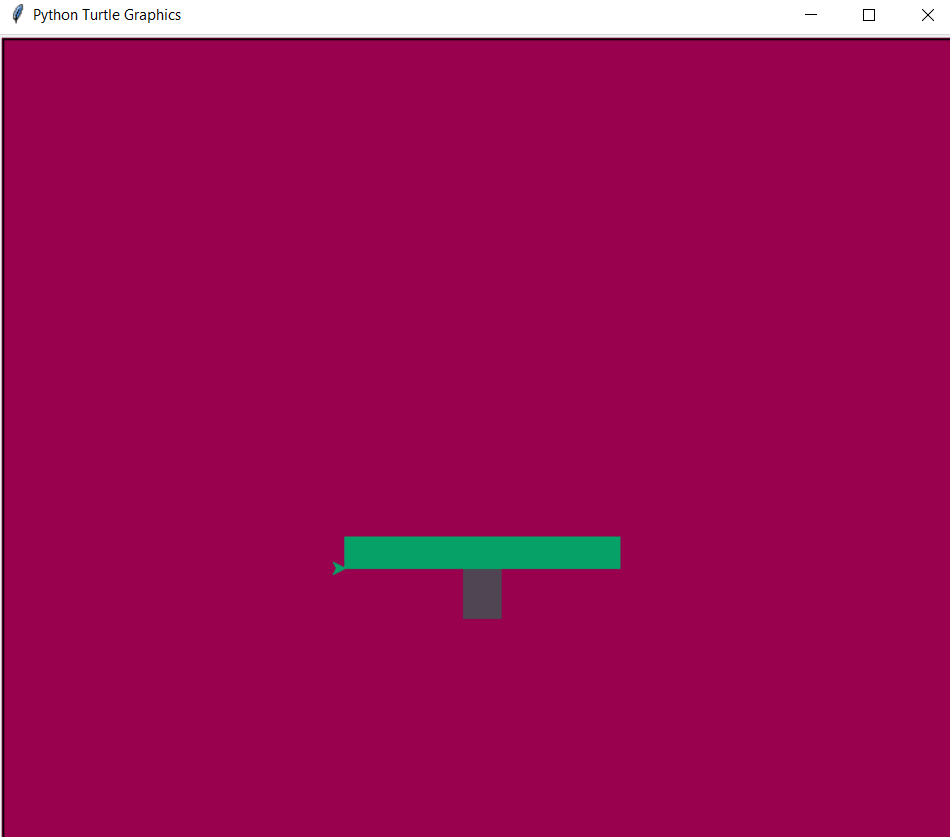
# Constructing the tree
box1(turtle, "#4F4553", -15, y - 40, 30, 40) #Stem of the tree
Now we make a make a stem for the tree by passing desired values for each parameter. Color will be a shade of brown (#4F4553) and the rest as you see above.
Next thing we are gonna make is the tree leaves with tiny balls on either sides. It is as easy as it sounds. See if the code is understandable.
while width > 20 :
    width = width - 20
    height = randint(20,30)
    x = 0 - width/2
    box1(turtle, "#05A167", x, y, width, height) # Box for the leaves of tree
    balls(turtle, "#fc045b", x, y, 5) # Decorative balls
    balls(turtle, "#fc045b", -x, y, 5) # Decorative balls
    y = y + height
Let's break this down.
width = width - 20
height = randint(20,30)
In each iteration, the width of the next rectangle gets reduced to a smaller size so that in the end we get a triangle kind of look for the entire leaf part (green portion). We assign a random value for the height as that helps to give the tree an irregular shape rather than a giving same height for all the rectangles. If you would like, you could reduce the width by a random integer too.
x = 0 - width/2
This is just to set the starting 'x' coordinate.
box1(turtle, "#05A167", x, y, width, height) # Box for the leaves of tree
Now we draw one complete green color filled box for first layer of leaves.
balls(turtle, "#fc045b", x, y, 5) # Decorative balls
This statement draws a small ball of radius 5 with a shade of red (#fc045b) filled in it.
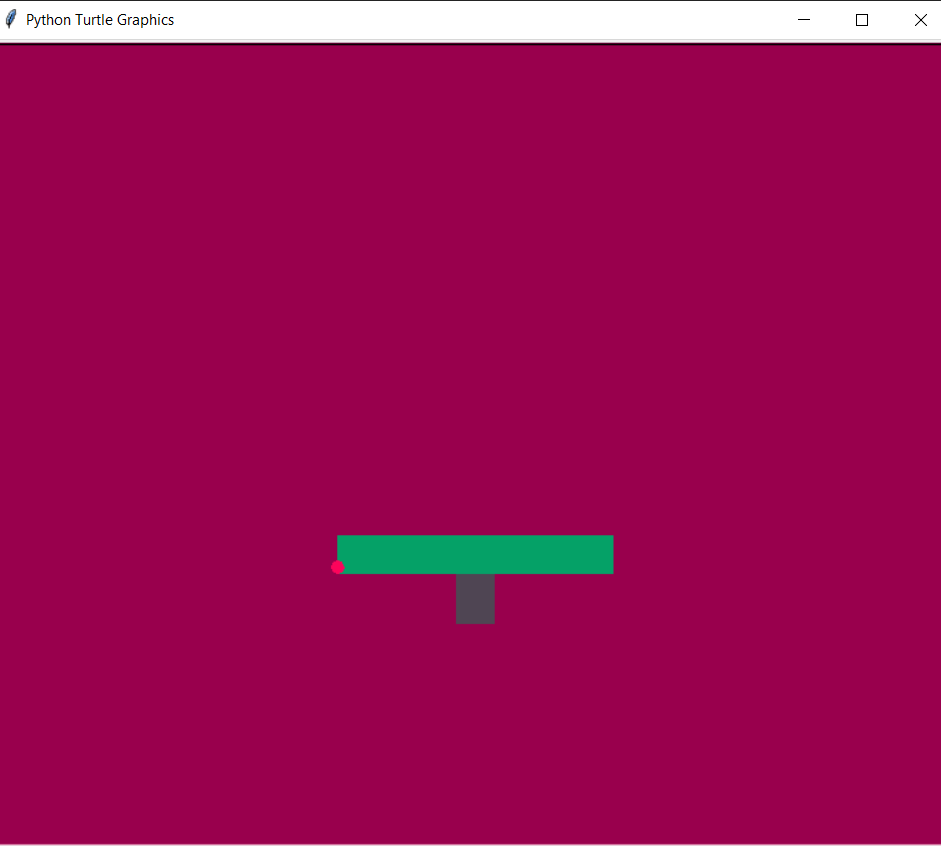
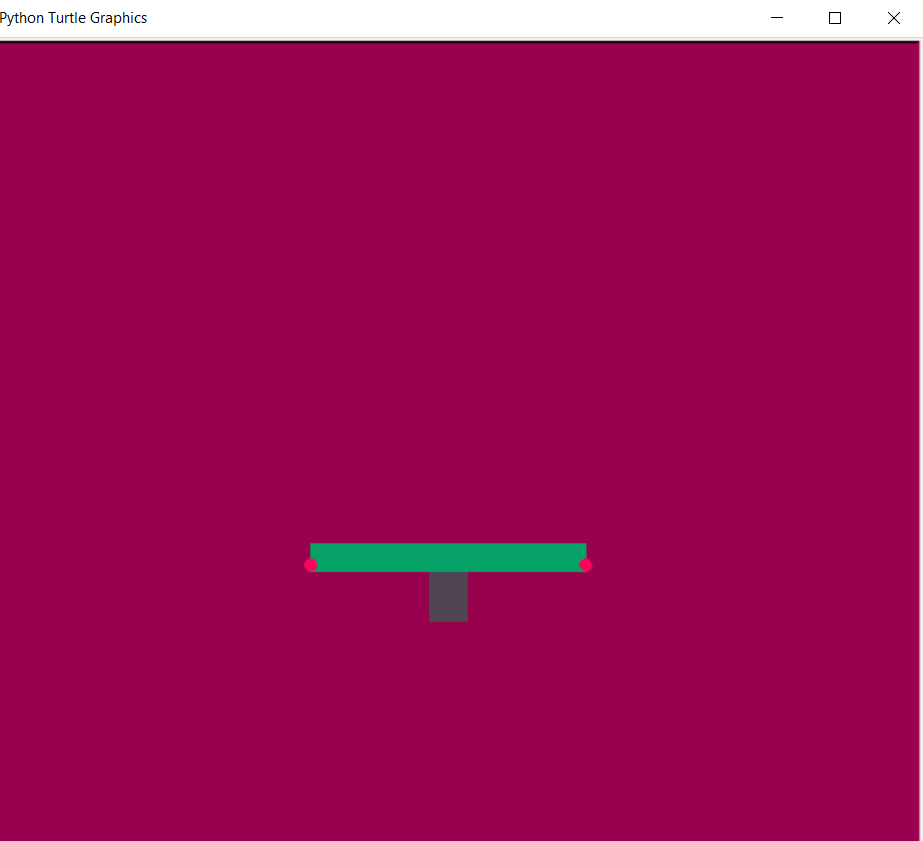
Now we need one more tiny ball on the right end of the christmas tree, right ?
balls(turtle, "#fc045b", -x, y, 5)
So we draw another ball with the same dimentions but we pass a different value for x coordinate. We pass -x instead of x. This helps to position the ball on the right end instead of the left.
y = y + height
Finally, the above line helps to move the turtle up to the top of each rectangle so that the next rectangle it draws will be stacked on top of the one before it.
Repeating the above step over and over again will give us rectangles stacked on top of each other such that the ones on top are slightly smaller then the one directly under it. We also have tiny red balls on either side.
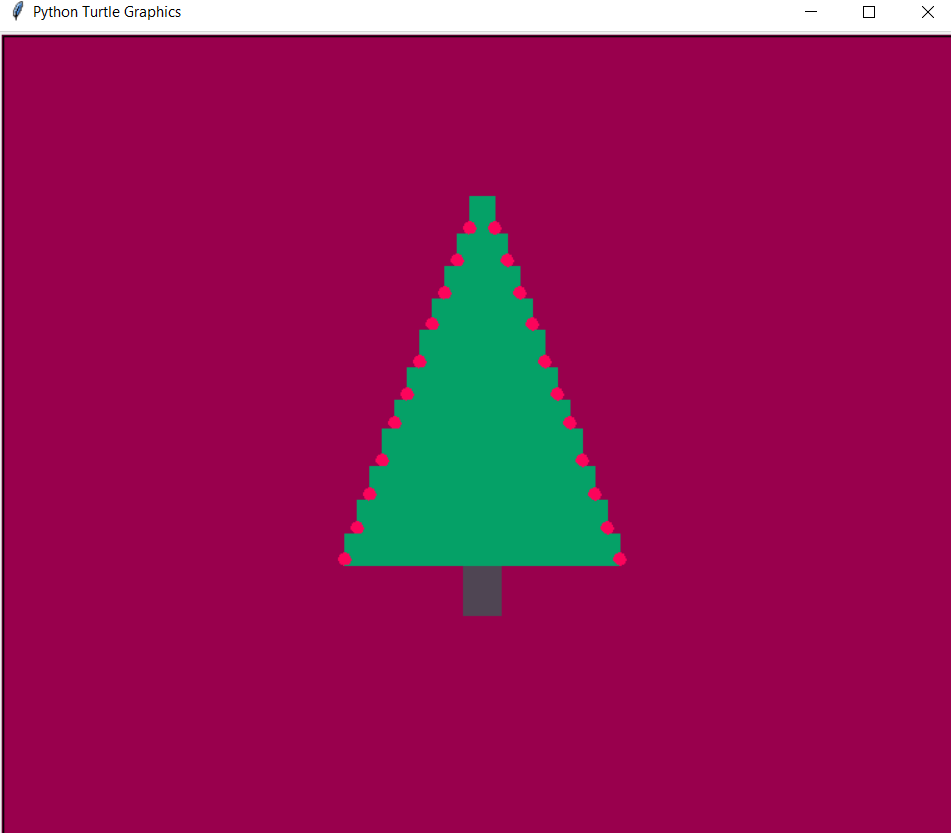
Next, Lets create a star on top of the tree. Note that once the rectangle drawing is done, the turtle is already on top of the tree.
#Star on the top
star(turtle, "#e5f614", 0.4, y, 20)
The above code will draw a yellow star on top of the tree. You can tweak the parameters to see how the positioning and size varies.
Wow! The tree is done. Now for the final touch, the greetings.
#Christmas wishes
penup()
color("#ff59ac")
goto(-250, -250)
write("Merry Christmas !!!", font=("Calibri", 50, "bold"))
Here, we used the write() method to have a text be written on the screen.
Try changing the parameters of the goto() , color() and write() function to see the differences.
hideturtle()

turtle.done()
The hideturtle() function hides the turtle from the screen. And the turtle.done() function tells that the turtles task is done.
 Well, guess what? We are done.
One look at the whole code?
# Now we use the figures we have defined to create the CHRISTMAS TREE
from turtle import *
from Figures import *
from random import randint

speed(0)

bg = turtle.Screen()
bg.bgcolor("#99004D") #Setting back ground color

y = -100
width = 240

# Constructing the tree
box1(turtle, "#4F4553", -15, y - 40, 30, 40) #Stem of the tree


# Tree
while width > 20 :
    width = width - 20
    height = randint(20,30)
    x = 0 - width/2
    box1(turtle, "#05A167", x, y, width, height) # Box for the leaves of tree
    balls(turtle, "#fc045b", x, y, 5) # Decorative balls
    balls(turtle, "#fc045b", -x, y, 5) # Decorative balls
    y = y + height

#Star on the top
star(turtle, "#e5f614", 0.4, y, 20)

#Christmas wishes
penup()
color("#ff59ac")
goto(-250, -250)
write("Merry Christmas !!!", font=("Calibri", 50, "bold"))

hideturtle()

turtle.done()
Now, let's run the code.
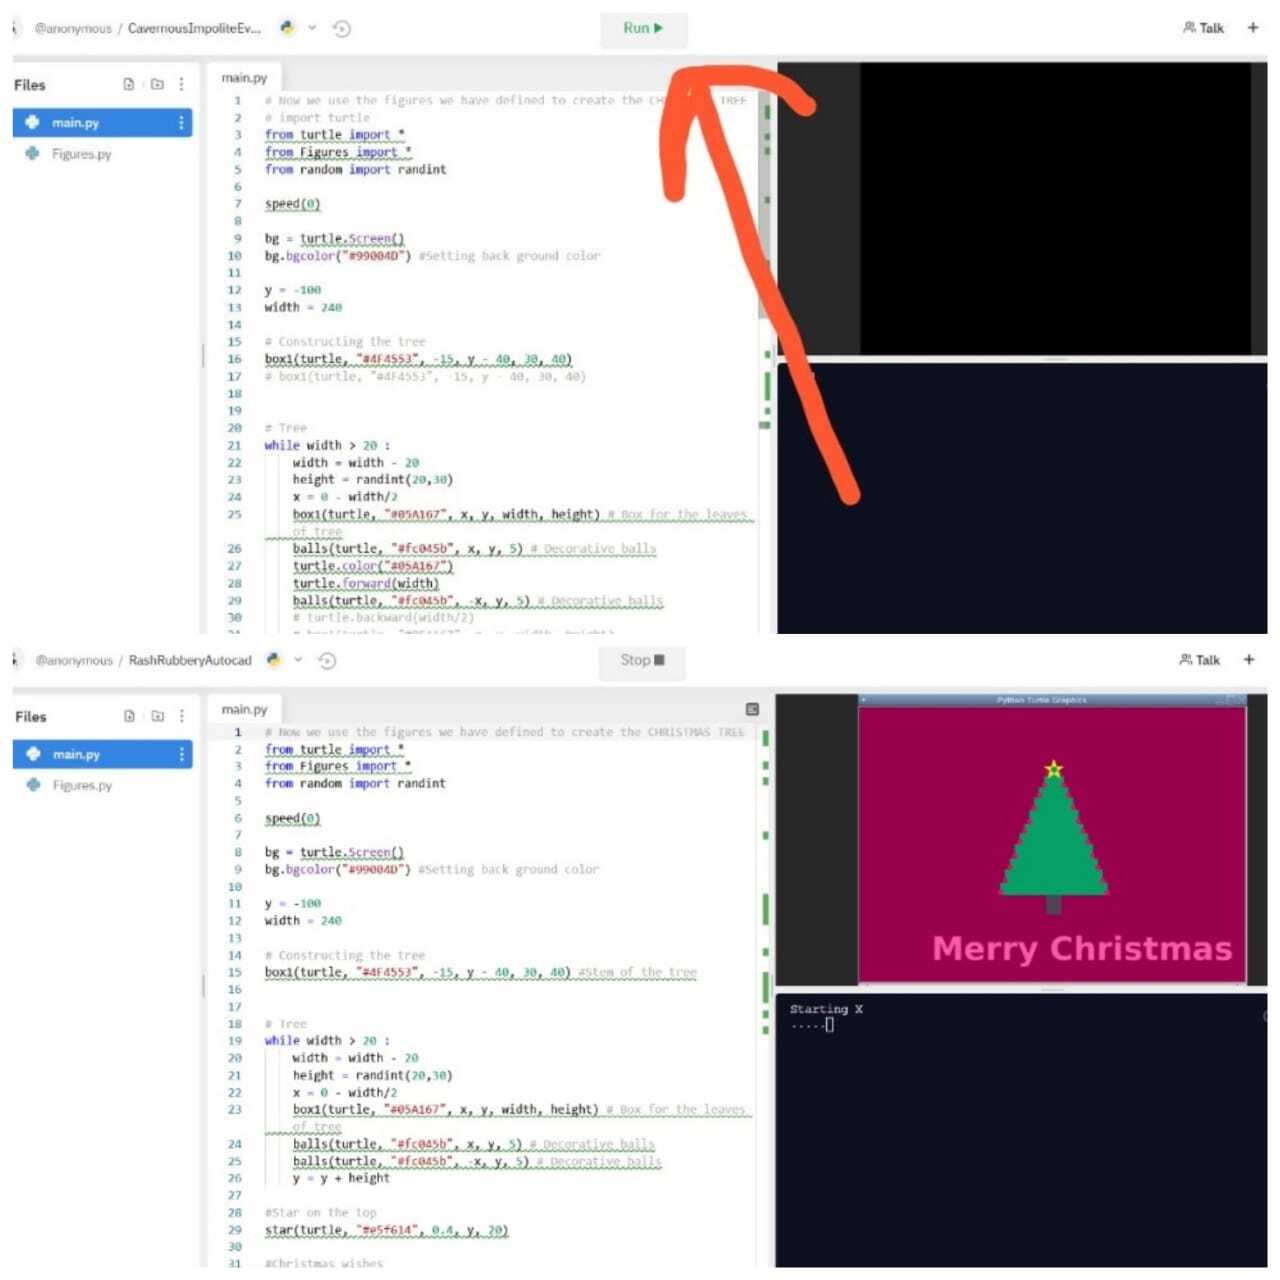
Running the code
Click the green "Run" button on the top of the repl.it windows. A screen will be shown on the right side displaying the turtle graphics that you coded.
If you face any errors, try commenting out each portion of the code and making only a certain section work. This generally helps to figure out the error.
Hacking
Now that you've completed the Christmas tree, try making your own designs! You can draw almost anything with this.
A few suggestions:
- Try changing the
speed()function to '1' (or other values) to see the difference in speed. Try changing color of the parameters in the code. You can use this link to find the right hexcode you want. - Try adding some more additions into this code, like, maybe a few giftboxes on the bottom of the tree. For this you could use the same rectangle function. You could also try adding a few more decorative stuff into the tree or the back ground
- Try making an entirely different design. Maybe a pet animal or a house or literally anything you wish. The picture given below is a 'Flower Carpet'. A friend of mine coded this flower carpet design using turtle. It is a bit complicated, but super fun.
 Code for the flower carpet made using turtle
 - Now, I would suggest to try out some other turtle functions that you may find interesting.
This link provides details of most functions available in turtle.
Once you've made your own design, share it in the #scrapbook channel on the Hack Club Slack, or send it to me directly via DM (@Razz). I would love to see your work! Happy hacking!