
Join Hack Club Horizons! Ship your projects and fly to your first hackathon →
In this workshop, you'll learn how to make a speech recognition app in just 20 minutes! Follow along with me and see how easy it is 🚀
Note: This workshop only works for Google Chrome at the moment. You'll also need a computer that has a microphone.
Setup
This workshop requires a very basic knowledge of HTML and JavaScript. Don’t worry if you get stuck at some point in the workshop, everything is explained the best way for you to understand!
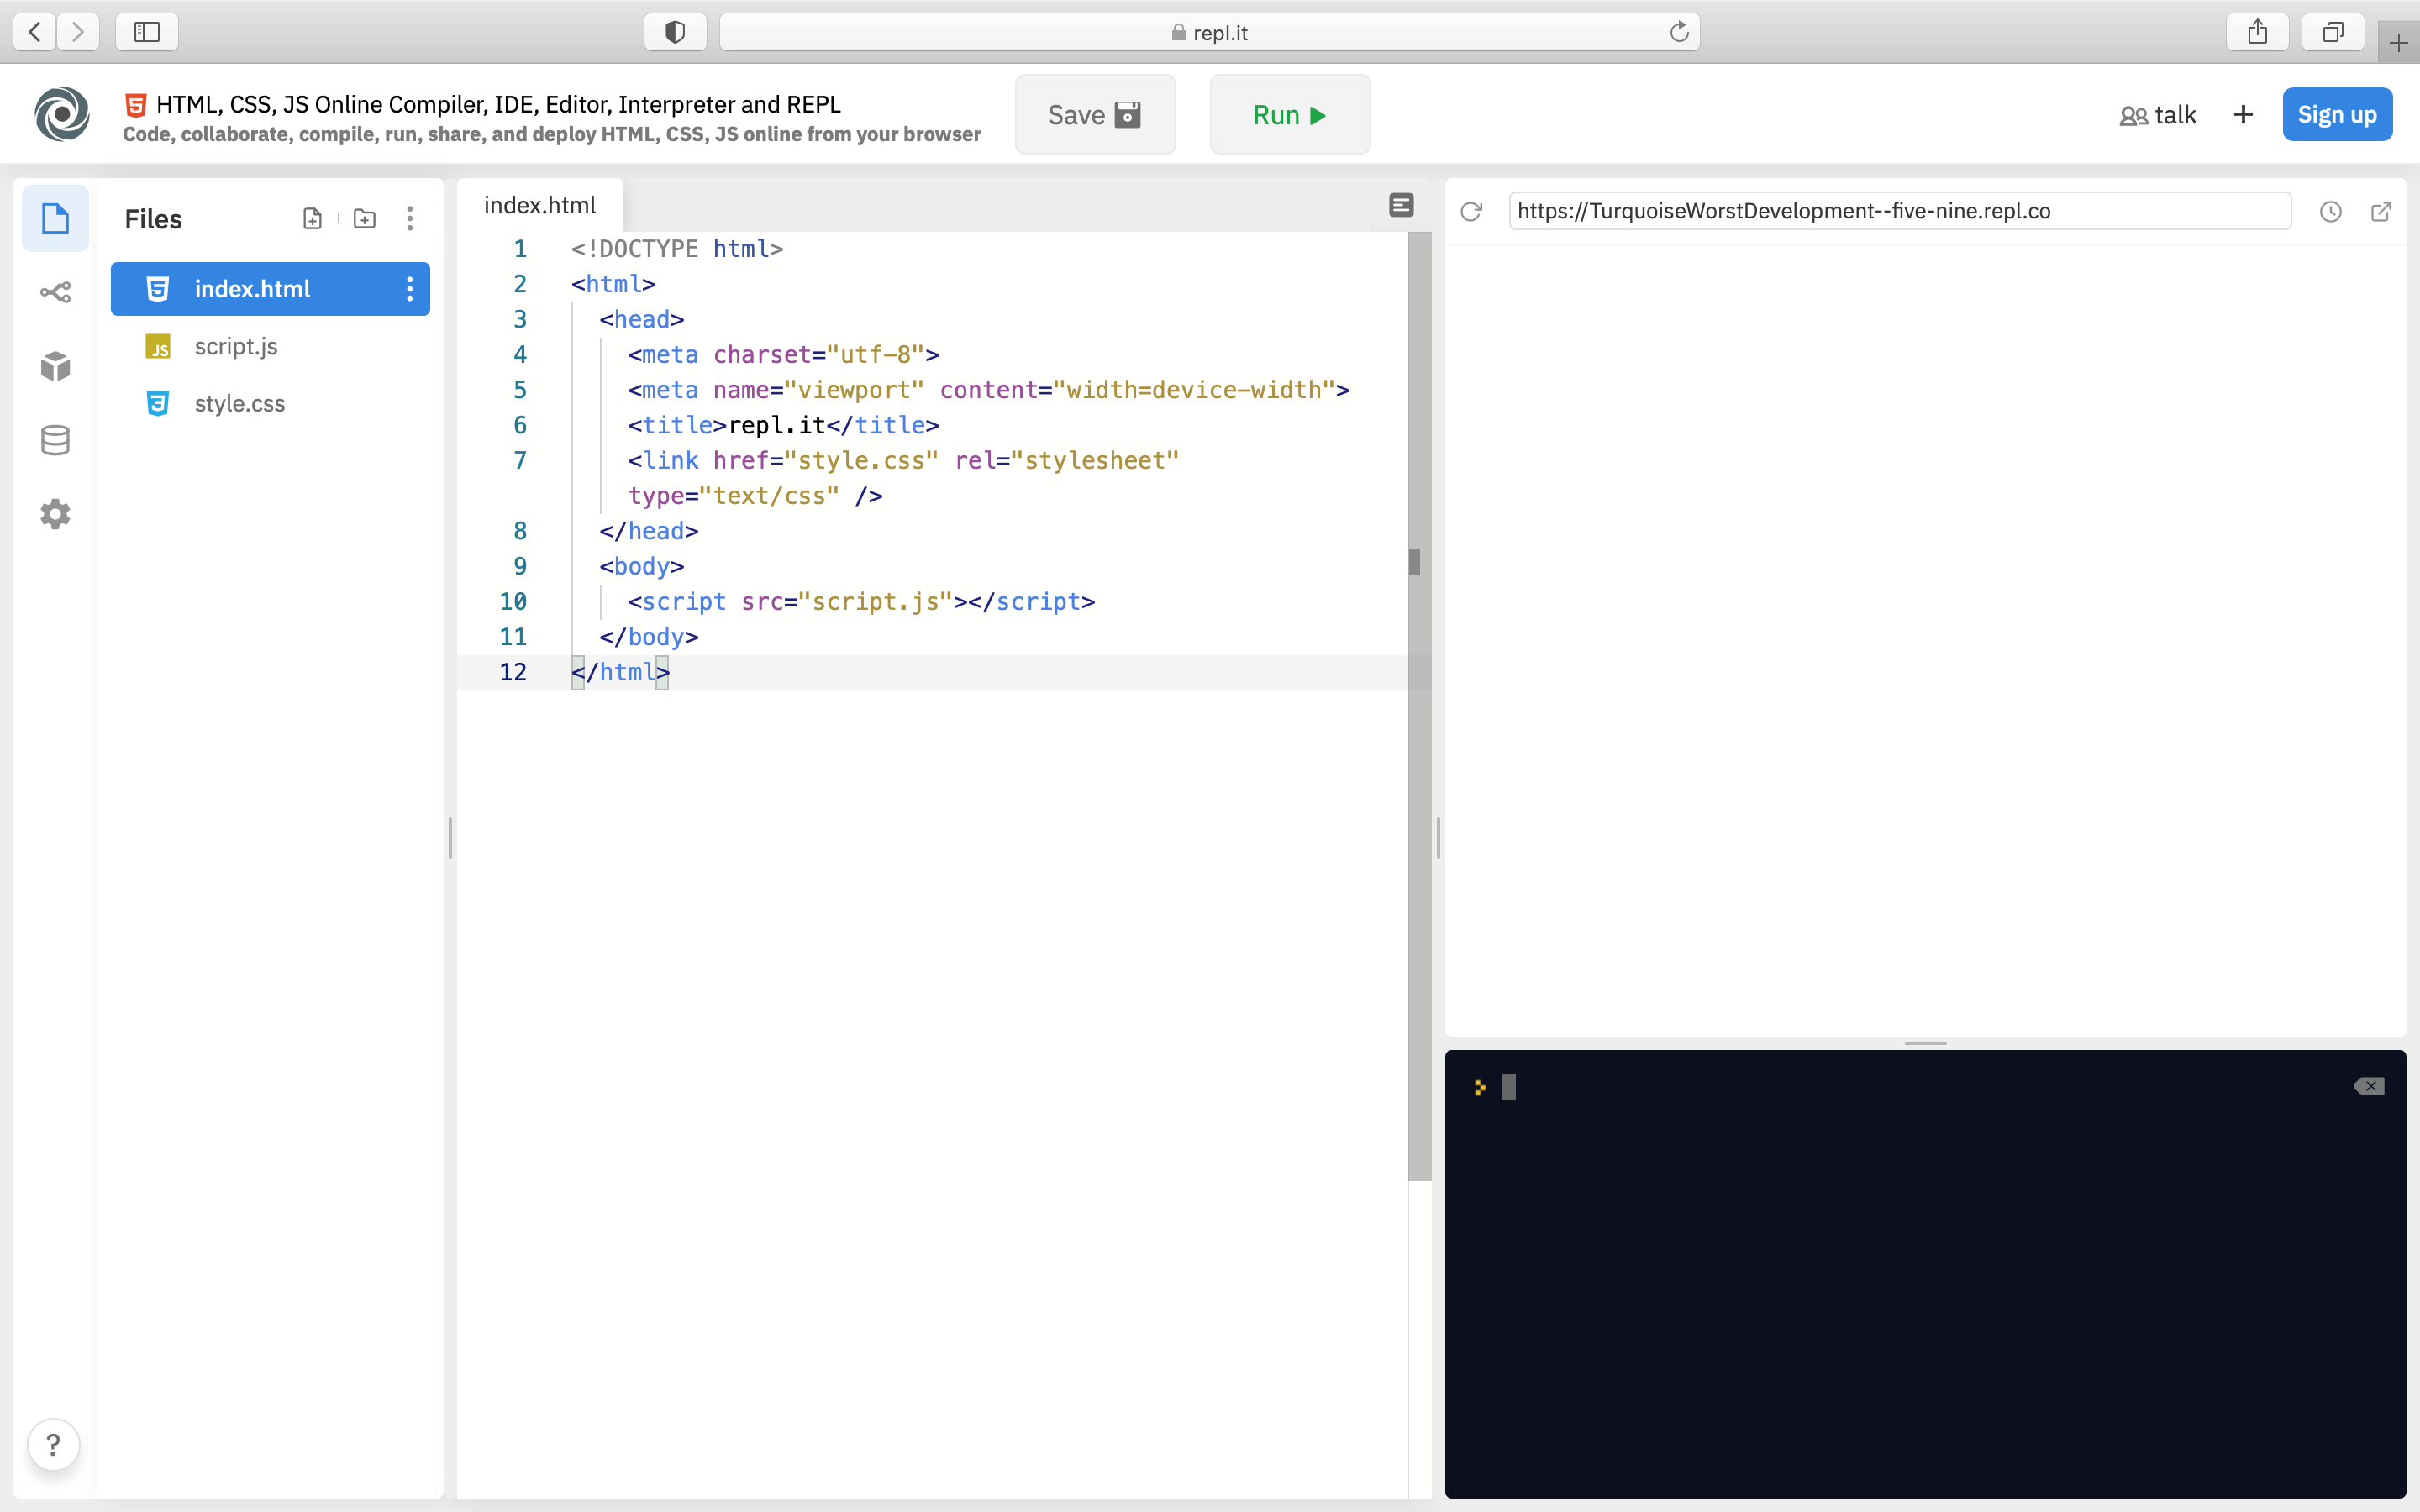
For this workshop we will use Repl.it, a free, online code editor. Click here to get started with a new HTML project on repl.it.
HTML
When your repl spins up, you should be automatically dumped into the index.html file. If you don't, navigate to that file in the sidebar on the left.
The first thing we need to do is create a div container with the class main-container with 2 more div elements inside. The first div container will have 3 button elements in, and the second one will have a textarea element. Put all of this in between the <body> </body> tags.
Here's what your HTML body will look like once you've done this:
<body>
  <div class="container">
    <div>
      <button id="btnStartRecord">START</button>
      <button id="btnStopRecord">STOP</button>
      <button id="playText">PLAY</button>
    </div>

    <div>
      <textarea id="text" cols="30" rows="10"></textarea>
    </div>
  </div>
  <script src="script.js"></script>
</body>
- Using the
<div>tag, we are creating a container, in which theSTART,STOPandPLAYbuttons are going to be in. - Each button will have an
idthat will let us work with our buttons later in JavaScript. - We are creating a
<textarea>element, in which all the text will be in. - The
<script>element is linking our JavaScript file with our HTML document.
This is the result of the code above:
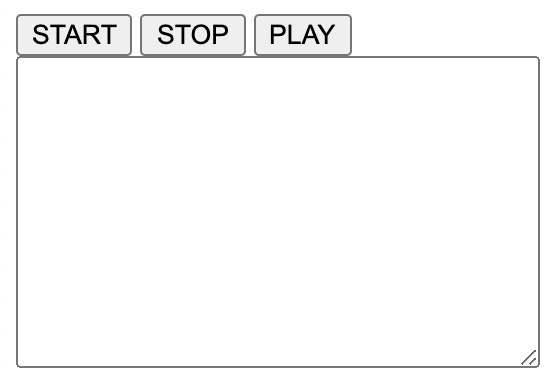
Nice! This is all the HTML we need to write. Now, let's add some styling.
CSS
Navigate to the style.css file.
First, we'll give to our website a background color:
body {
  background: #c5c5c5;
}
Then, we want to center the main-container vertically and horizontally on the page.
.main-container {
  display: flex;
  flex-direction: column;
  justify-content: center;
  align-items: center;
  height: 100vh;
}
Let's break this down:
- The
displayproperty sets whether an element is treated as a block or inline element and the layout used for its children, such as flow layout, grid or flex. - The
flex-directionproperty sets how flex items are placed in the flex container defining the main axis and the direction (normal or reversed). - The
justify-contentdefines how the browser distributes space between and around content items along the main-axis of a flex container, and the inline axis of a grid container. - The
align-itemsproperty sets the align-self value on all direct children as a group.
Here's how our website looks so far:

And finally, we'll style the button and textarea elements.
button {
  background-color: #34495E;
  color: #fff;
  font-size: 15px;
  padding: 8px 20px;
  margin: 0 3px 5px 0;
  border: 0;
  border-radius: 2px;
  cursor: pointer;
}

#text {
  border: 2px #34495E solid;
  border-radius: 2px;
  overflow-y: scroll;
}
Let's break this down:
- The
background-color,colorandfont-sizeproperties give the buttons a background color, a color to the text and a size to the text respectively. - The
paddingandmarginproperties are part of the CSS box model. - The
borderandborder-radiusallow you to specify the style, width, and color of an element's border and define the radius of the element's corners respectively. - The
cursorproperty sets the type of mouse cursor, if any, to show when the mouse pointer is over the buttons. - The
overflow-yproperty sets what shows when content overflows a block-level element's top and bottom edges. This may be nothing, a scroll bar, or the overflow content.
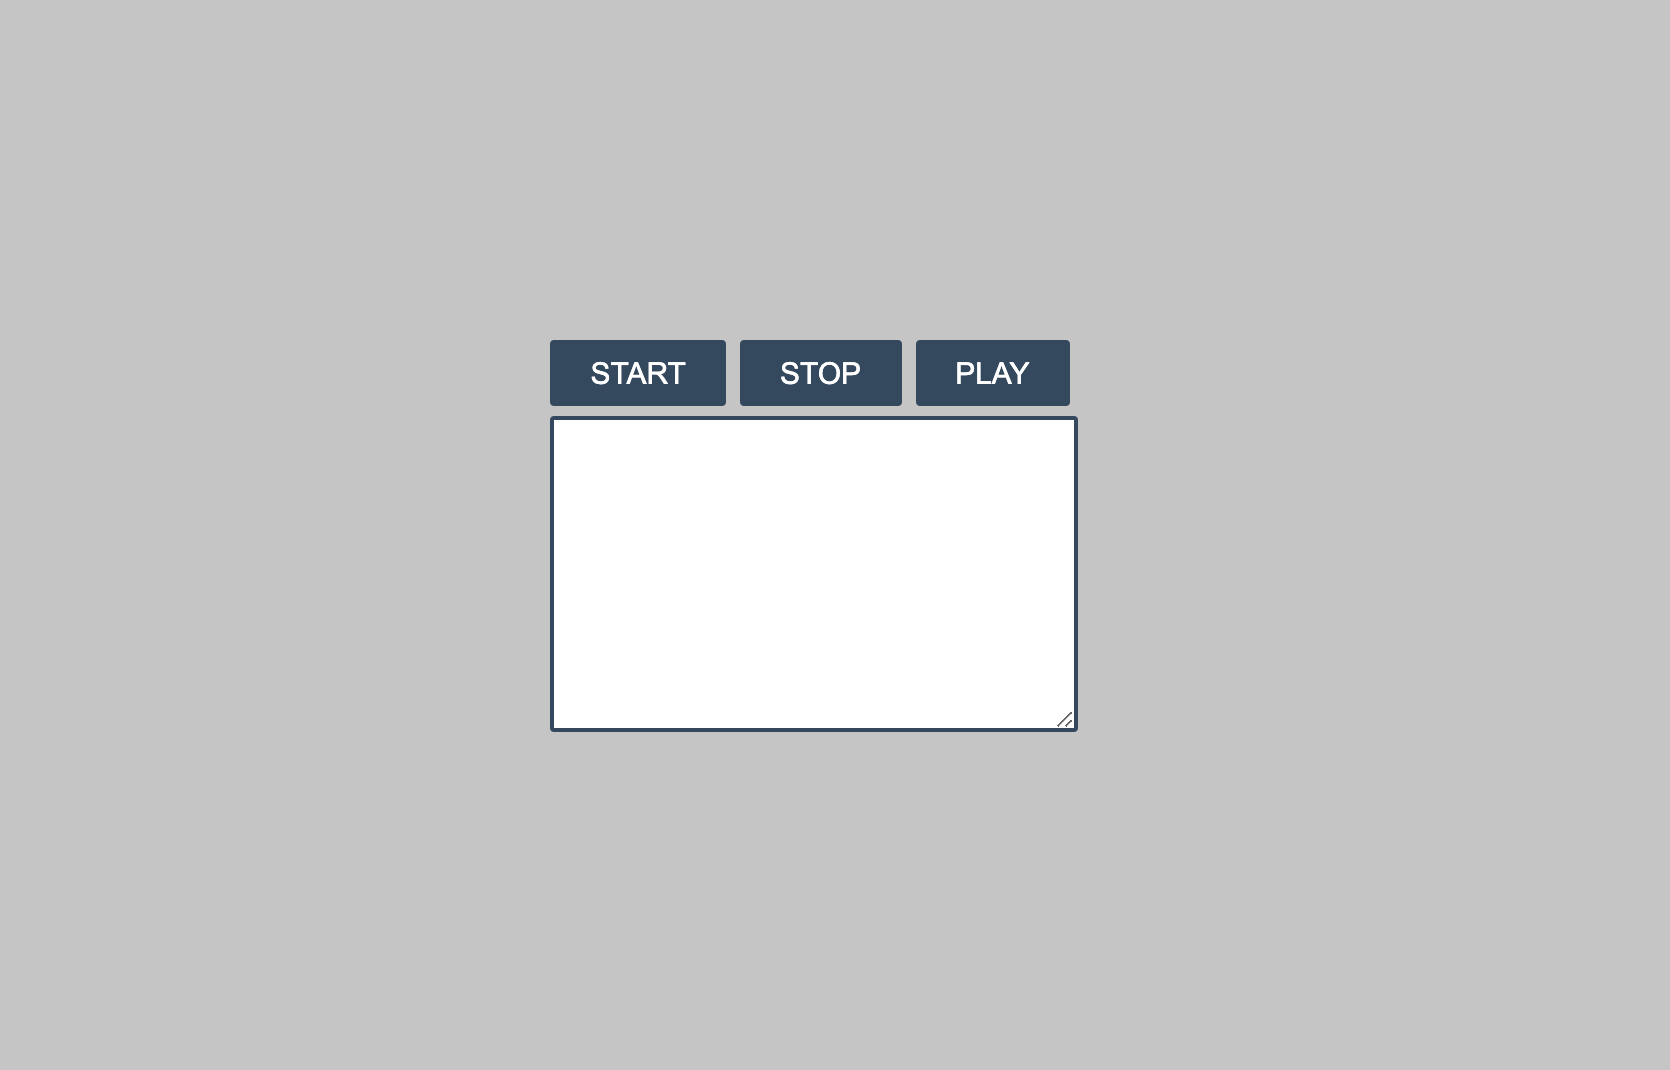
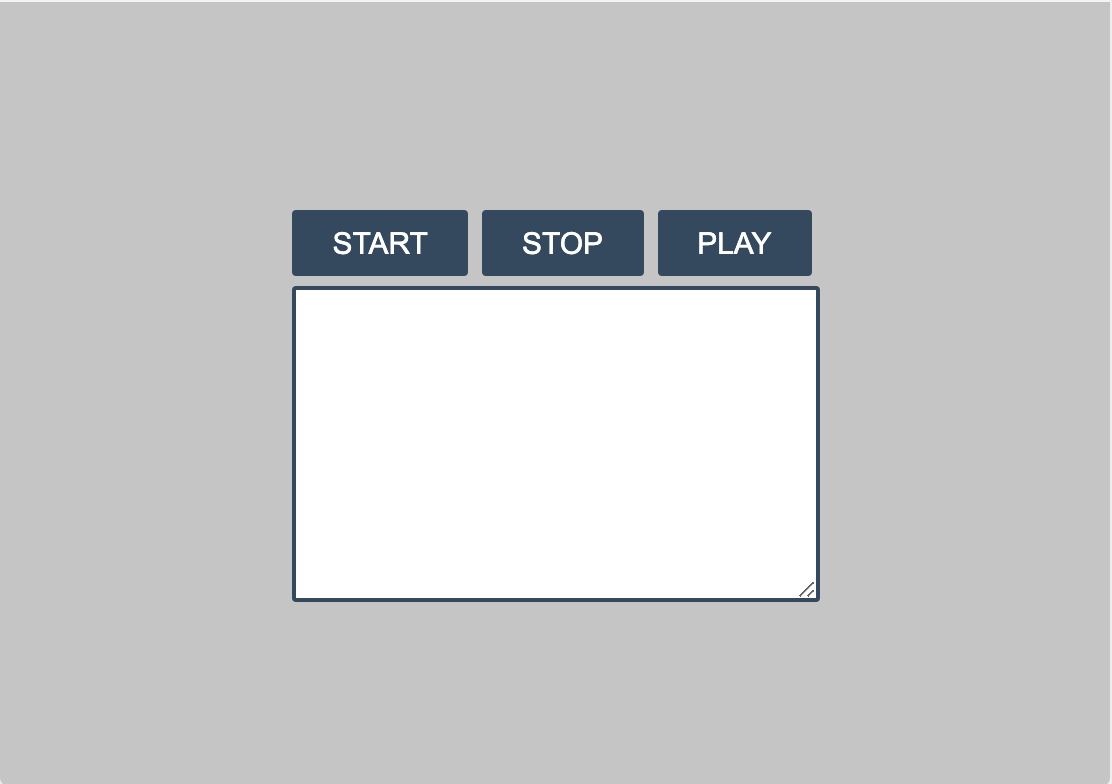
Finally, this is how our website looks like:
JavaScript
Now that we've styled our page, let's write some JavaScript! Navigate to the script.js file.
First, we'll need to take the buttons from our HTML document and then assign them to the following variables:
const btnStartRecord = document.getElementById('btnStartRecord');
const btnStopRecord = document.getElementById('btnStopRecord');
const btnPlayText = document.getElementById('playText');
const text = document.getElementById('text');
Let's break this down:
- Using the method
document.getElementById(), we are getting the elements in the document that have the corresponding IDs. - We are holding those elements that we got in constant variables.
The next thing to do is define a speech recognition instance to control the recognition for our applicationn. To do this, we'll use the webkitSpeechRecognition() constructor.
let recognition = new webkitSpeechRecognition();
Now we can control the way the speech recognition constructor works:
recognition.lang =‘en-US’
recognition.continuous = true;
recognition.interimResults = false;
recognition.langis used to set a language for the speech recognition. Here, you can find a table that contains language codes.recognition.continuousis used to define whether the microphone records continuous or not.recognition.interimResultsis used to define if the speech recognition shows the results immediately or once the speech recognition recognize an entire sentence. We can leave it as false, because it's more precise.
The next thing we want to do is return the results that the speech recognition app got:
recognition.onresult = (event) => {
  const results = event.results;
  const sentence = results[results.length - 1][0].transcript;
  text.value += sentence;
}
- The
onresultproperty of the SpeechRecognition interface represents an event handler that will run when the speech recognition service returns a result — a word or phrase has been positively recognized and this has been communicated back to the app. - The
resultsvariable contains the returned values, it has a getter so it can be accessed like an array. - The
sentencevariable takes theresultvariable and access the items [result.length - 1] and [0], and then it transcripts those items. - Finally,
text.value += sentence;gets the value of the element text and then using the assignment operator+=, we add the gotten result to the current text.
Now, we'll create an event that shows a message when the speech recognition ends.
recognition.onend = (event) => {
  console.log('the microphone stops listening');
}
- The
console.logis a function that writes a message to log on the debugging console recognition.onendis an event that runs certain code when the speech recognition ends.
And we'll create another event that shows us when an error occurs.
recognition.onerror = (event) => {
  console.log(event.error)
}
recognition.onerrorruns certain code when an error occurs.console.log (event.error)writes in the console the occurred error.
Now, we'll make the buttons work when they are clicked.
btnStartRecord.addEventListener('click', () => {
  recognition.start();
});
btnStopRecord.addEventListener('click', () => {
  recognition.abort();
});
btnPlayText.addEventListener('click', () => {
  readText(text.value);
});
- The method
addEventListener()sets up a function that will be called whenever theclickevent is delivered to the buttons. - The
recognition.start()event starts the speech recognition app. - The
recognition.abort();even stops the speech recognition app. - In the third event listener we are calling the function
readText()that we'll create.
The last thing we'll do is to create a function that reads the text gotten from the speech recognition app.
function readText(text) {
  const speech = new SpeechSynthesisUtterance();
  speech.text = text;
  speech.volume = 1;
  speech.rate = 1;
  speech.pitch = 1;
  window.speechSynthesis.speak(speech);
}
Let's break this down:
- First we are creating an object called
SpeechSynthesisUtterance. It contains the content the speech service should read and information about how to read it. speech.textdefines which text is going to be read, in this case it will be the text inside of the<textarea>element in our document.- The property
speech.volumeof the interface gets and sets the volume that the utterance will be spoken at - The
speech.rateproperty of the interface gets and sets the speed at which the utterance will be spoken at. - The
speech.pitchproperty of the interface gets and sets the pitch at which the utterance will be spoken at. - This line of code
window.speechSynthesis.speak(speech);makes the speech synthesis start speaking.
Running the program
Alright, let's test it out! Click the green "Run" button at the top of your repl to run the program. I recommend opening the preview in a new tab. If all goes well, Google Chrome will prompt you to allow microphone access. Give it access to your microphone. Then, speak into your computer!
If it doesn't work, go through your code line by line and try to see if you can find what went wrong. If you're stuck, ask your club leader.
Here's the final JavaScript code:
const btnStartRecord = document.getElementById('btnStartRecord');
const btnStopRecord = document.getElementById('btnStopRecord');
const btnPlayText = document.getElementById('playText');
const text = document.getElementById('text');

let recognition = new webkitSpeechRecognition();
recognition.lang ='en-EN'
recognition.continuous = true;
recognition.interimResults = false;

recognition.onresult = (event) => {
  const results = event.results;
  const sentence = results[results.length - 1] [0].transcript;
  text.value += sentence;
}

recognition.onend = (event) => {
  console.log('the microphone stops listening');
}

recognition.onerror = (event) => {
  console.log(event.error)
}

btnStartRecord.addEventListener('click',() => {
  recognition.start();
});

btnStopRecord.addEventListener('click',() => {
  recognition.abort();
})

btnPlayText.addEventListener('click',() => {
  readText(text.value);
});

function readText(text) {
  const speech = new SpeechSynthesisUtterance();
  speech.text = text;
  speech.volume = 1;
  speech.rate = 1;
  speech.pitch = 1;

  window.speechSynthesis.speak(speech);
}
Hack it
Yay! you made it to the end of this workshop. I know this was a pretty simple workshop, but you can still make pretty complex stuff... Let me give you some ideas:
- Use if statatements to do certaing thing when the speech recognition app returns text.
- Create an app that play, stop and skip songs.
- Style your app to make it look cool.
Here are some demos made by other people: